Posts

LITTLE ITALY IN THE HUDSON VALLEY

 Curing my Olive Harvest

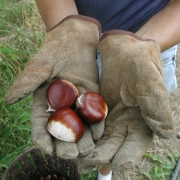
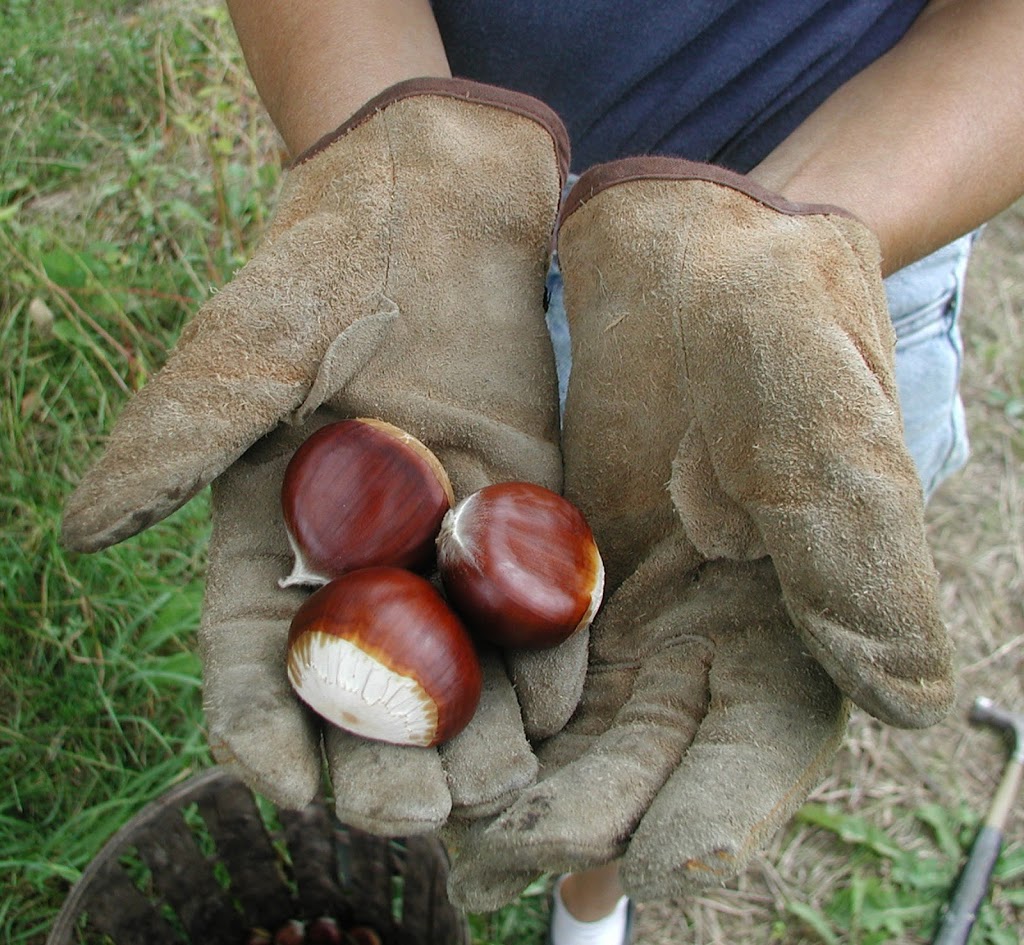
   My olive harvest, about which I recently wrote, was such a success that I want to up my production beyond this year’s bountiful 6 fruits. Those 6 fruits, once cured, were truly delicious. (Yes, the halo effect — my assessment of them veiled by my having grown them — could come into play.)
    Part of the reason for the fruits’ high quality was how I cured them. Not very complicated: I just let them sit and dry out. After about two weeks, they had lost their bitterness, and, without the distraction of salt, oil, or spices, their rich, olive flavor shined through.

New Roots, New Shoots

    Part one of my twofold plan to increase production is to put the plant into a larger pot. A larger pot makes for a larger plant; a larger plant has more branches on which to hang more fruit.
    Looking more closely at the plant told me that re-potting was necessary immediately! New flower buds are already beginning for the next crop. Because the plant is moving up to a larger pot, no root pruning is necessary. I put some potting soil in the bottom of a pot, set the exposed root ball on top of the soil, loosened some roots along the outside of the root ball, and packed new soil in the space between the root ball the the side of the pot.My potted olive tree, pruned
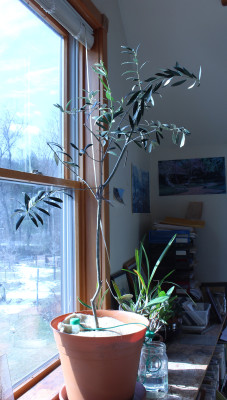
    With soil firmed and a thorough watering, the roots have a happy home — for a year or two, when root pruning and re-potting become necessary. If moved up to a yet larger pot, the plant would be too unwieldy to muscle indoors and out.
    Part two of my plan to increase production is pruning. To prune any fruit plant for best yield and quality, you  have to know something about how the particular plant bears its fruits. For instance, peaches are pruned very differently from apples because peaches bear only on one-year-old wood and apples bear on wood a couple of years old on up to a decade or older. One of the goals in pruning peaches is to coax enough new growth this year for a good crop next year.
    To figure out how to best prune an olive, I referred back to The Pruning Book (which I wrote, and also details pruning of apples, peaches, and just about every other plant). “Fruits form in leaf axils along, but not to the end of, the previous year’s stems (and sometimes from dormant buds in one- or two-year-old wood).”
    So olive fruits something like a peach, on young wood. Actually more like an apricot, which bears fruit on wood from one to three years old.
    My ploy was too shorten some stems, focussing on those making the plant look gawky. Without sacrificing yield, shortening stems has the benefit of encouraging new, branching growth. More branching will make the plant look prettier and provide more young stems on which to hang fruit next year.

Sleep, Sweet Fig

    Going from the sun-drenched window, in front of which my olive tree basks, all the way down to the basement, I check out another Mediterranean fruit, my potted fig trees. What’s happening with them? Nothing, I hope.
    Now is a crucial time of year for a potted fig tree. The goal is to keep them dormant. Unfortunately, just a bit more warmth or a bit more light and they’ll start to awaken. If awakened, new growth will be soft and sappy, even if the plants sit in front of a sunny window. Then, when the plants finally go outdoors, intense sunlight, wind, and cooler temperatures are apt to burn back such growth.
  Figs buds, still dormant in basement  
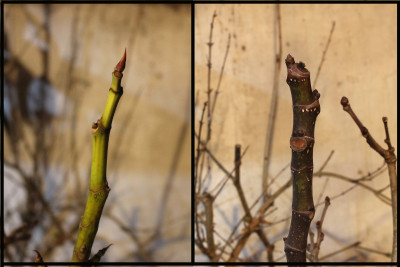
Temperatures stay relatively consistent and cool (40-45°F.) in my basement and it’s dark down there, so the plants generally stay dormant until sometime, probably next month, when I can set them outside. Keeping the plants slightly on the dry side also helps hold back growth.
    Last year was perfect. I moved the dormant figs outdoors while the weather was still cool without temperatures dropping too low below freezing. (Dormant figs tolerate temperatures down to the low 20s.) Growth began in synch with increasing temperatures, culminating in branches draped with soft, ripe figs by summer’s end. I’m planning for a repeat performance.

Colossal chestnut

FINDING THE RIGHT CURE

“Cure” is a funny sort of word. It means, on the one hand, to relieve from illness, and, on the other hand, to subject to some sort of preservative process. (And, on yet another hand, a few other things.)
The chestnut variety ‘Colossal’
Which brings me to my chestnuts . . .  no, they’re not diseased, but they do need to be cured. We chestnut growers face two opposing goals with our harvested nuts: Good storage versus good eating. A freshly fallen chestnut is rich in starch and moisture and, because it is alive, it’s able to fight off mold and store well if kept near freezing temperatures. But it doesn’t taste good. For best eating, the nuts need to cure, a process whereby some moisture is lost and some of the starch changes to sugars, dramatically improving flavor. But cured nuts don’t keep well.
This story has one other wrinkle, the chestnut weevil. This bugger lays eggs in the nuts while they’re on the tree and, after nuts drop, eats some nutmeat and then crawls into the ground for winter. 
Chestnuts begin to lose moisture usually as soon as they touch ground. They start at about 50% moisture and once moisture drops below 35%, they’re dead and will rot unless eaten quickly or thoroughly dried (for chestnut flour, for instance). The way to store chestnuts, then, is to make sure they’re plumped up with water, and the way to do this is with a dunk in water for about a week. Soaking also kills weevils. The nuts may begin to ferment, so the flavor is ruined after the dunking — but they’re not supposed to be eaten yet. 
Another way to deal with hydration and weevils is with a 30 minute dunk in water heated to 120° F. The temperature and timing are exacting so I this week opted for the less exacting week-long soaking from my just-harvested nuts.
Kept plump with moisture and at temperatures near freezing, nuts subjected to either water treatment will store well until — since they are alive — they begin to sprout.
The way to get chestnuts ready for eating is to bring them to a drier and slightly warmer, but still cool, location. Depending on temperature and humidity, the transformation from foul to flavorful could take from 3 to 14 days. Cooler temperatures and moister air lengthen the curing time, but also offer better flavored chestnuts.
(Much of this information was gleaned from an article by Greg Miller in The Chestnut Grower, http://www.centerforagroforestry.org/pubs/chestnut/v8n3/v8n3.pdf. Greg is the owner of the Empire Chestnut Company, http://www.empirechestnut.com, which sells high-quality chestnuts, chestnut trees, and chestnut seeds.)
——————————————–
The sweet potato harvest is in, as it should be before cold threatens. Soil temperatures below 50° F. cause chilling injury to the roots and internal decay. As I’ve written previously, I planted the vines atop piles of wood chips and leaves that arborists and landscapers dump here and that I spread as mulch later in autumn. All summer, the sweet potatoe vines multiplied and stretched out as far as 20 feet from my original plants. 
Unfortunately, it looks like the plants put more energy into making vines than fat roots. From 4 plants and a lot of vine growth I harvested a mere half-bushel of sweet potatoes. A couple of the potatoes were football-sized, others were below average, and too many were like swollen, orange strings. 
Stringy roots result from too rich a soil, but I didn’t even plant in soil! Probably the hot summer and sometime moist weather sped decomposition of the chips and leaves to release nutrients.
But we’re here to talk about curing. Like chestnuts, sweet potatoes need to be cured for good storage and good flavor. In this case, what’s needed are a week and a half of temperatures 80 to 85° F. and high humidity, not easy to find this time of year. My greenhouse benches are cleared and temperatures there  get quite warm on sunny days, so that’s were I’ve spread out the sweet potatoes. Longer curing times are needed at cooler temperatures, such as at room temperature. Covering potatoes with cloth or putting them in perforated plastic bags, or keeping them in the greenhouse, maintains high humidity.
Once cured, sweet potatoes are ready for eating. My paltry crop will be eaten soon, but for longer storage, medium humidity and temperature around 60° F. are ideal. Refrigeration is a no-no. The roots get chilled, just as they would in the ground (or my mulch pile), and show it. 
——————————————–
Black walnuts trees abound and the nuts are raining down and free for the taking. The sooner the fleshy husk is taken off, the less stained and better-flavored the nuts. No end of innovative ways have been devised for separating the husk from the shell, everything from spreading the harvested nuts on the driveway and running over them with your car to stomping on each nut to cutting the husks off to letting the weight of a small sledge loosen them and then twisting them off with gloved hand. We opt mostly for the latter, followed by hosing and drying them in the sun for a couple of days.
Of course, hulled black walnuts are not yet ready to crack and eat; they need to be cured, for a couple of months. Curing black walnuts is simple, involving nothing more than storage in any cool or cold, dry location impervious to squirrels. There are plenty of black walnuts for human and squirrels alike, but a cache of hulled, clean nuts is too tempting to those rats with tails.