FEAST OR FAMINE
Is Gardening Too Easy?
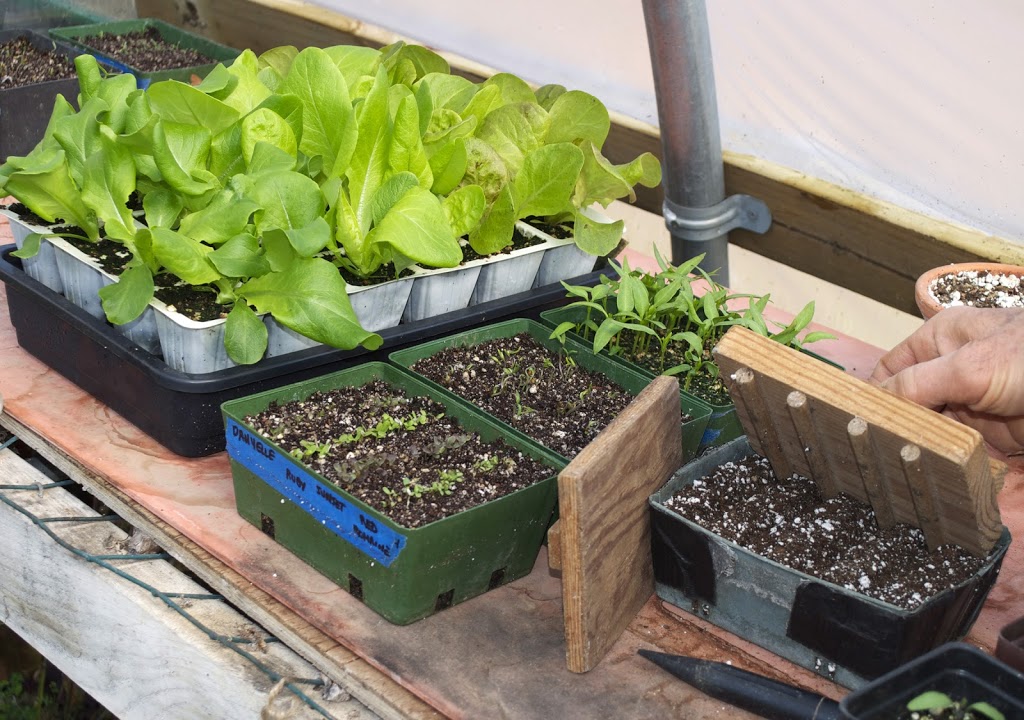
Control yourself, Lee! Growing seedlings this time of year is too easy. Within a single packet of seeds is the potential for a gardenful of vegetable or flower plants, even shrubs and trees. As such, a packet of seeds is relatively inexpensive.
I have envisioned delphinium in my garden, its tall, blue studded spires backed by the fence surrounding my blueberry planting. I could have just gone out and purchased a few potted delphinium plants, but I wanted a bolder effect so purchased instead a packet of seeds. Who would have thought that germination would be so good. After all, the seed germinates best when fresh and likes some cool temperatures to awaken; some people freeze the seeds in ice cubes for awhile before sowing them. I used nothing but patience, and not that much was needed.
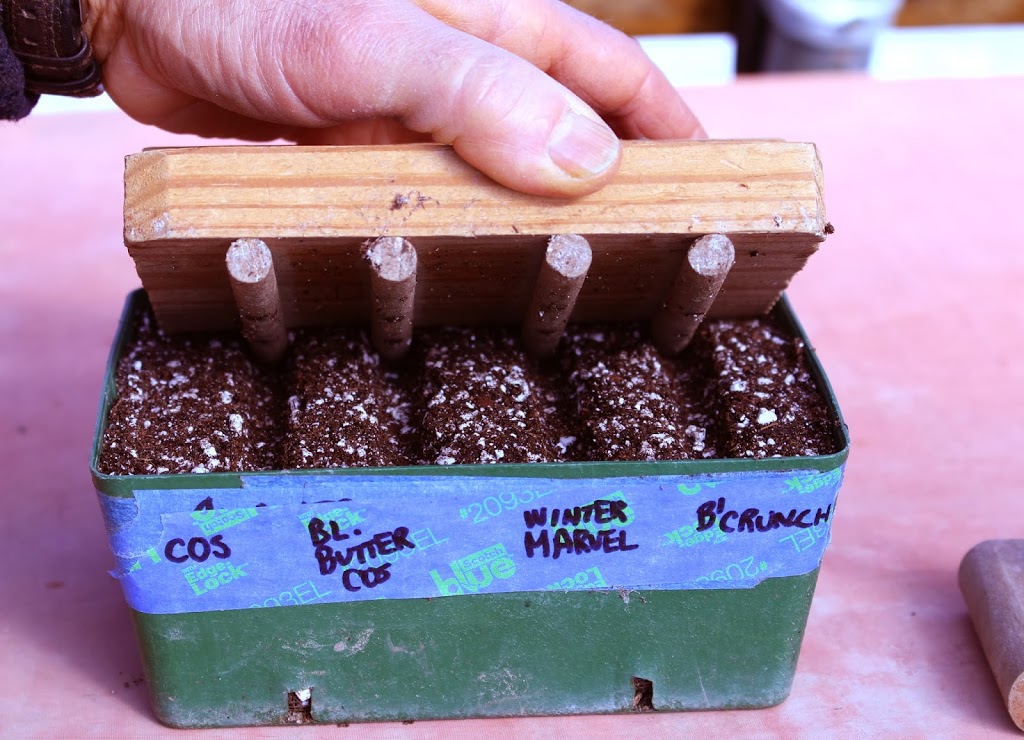
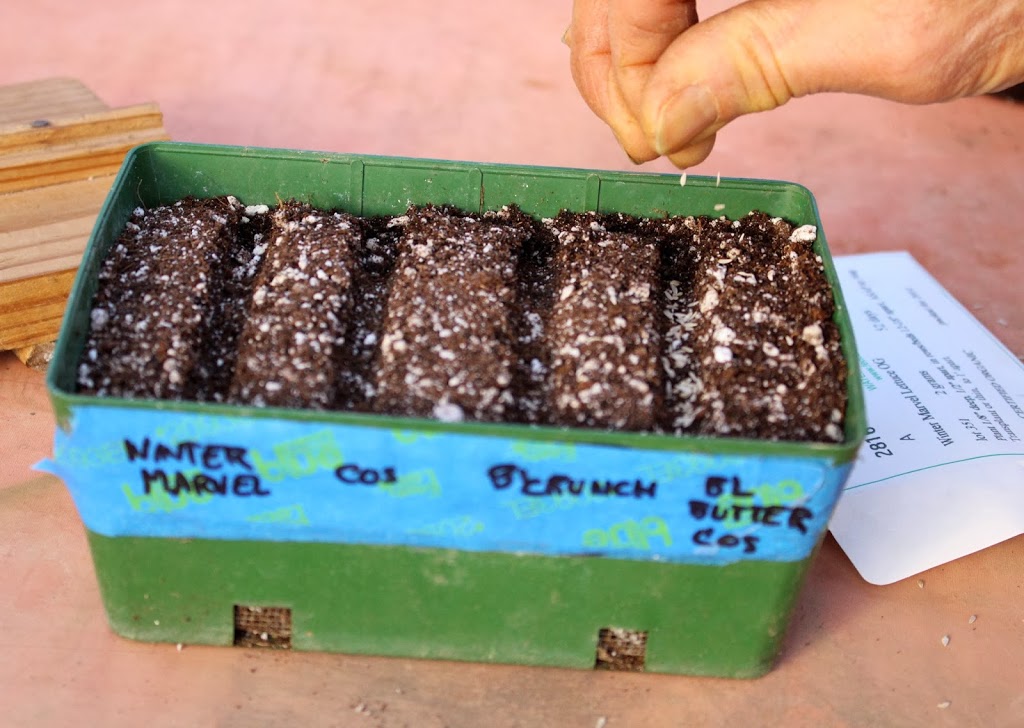
I couldn’t bear to discard most of the seedling, so “pricked out” 24 of them into cells of my APS seedling flat.
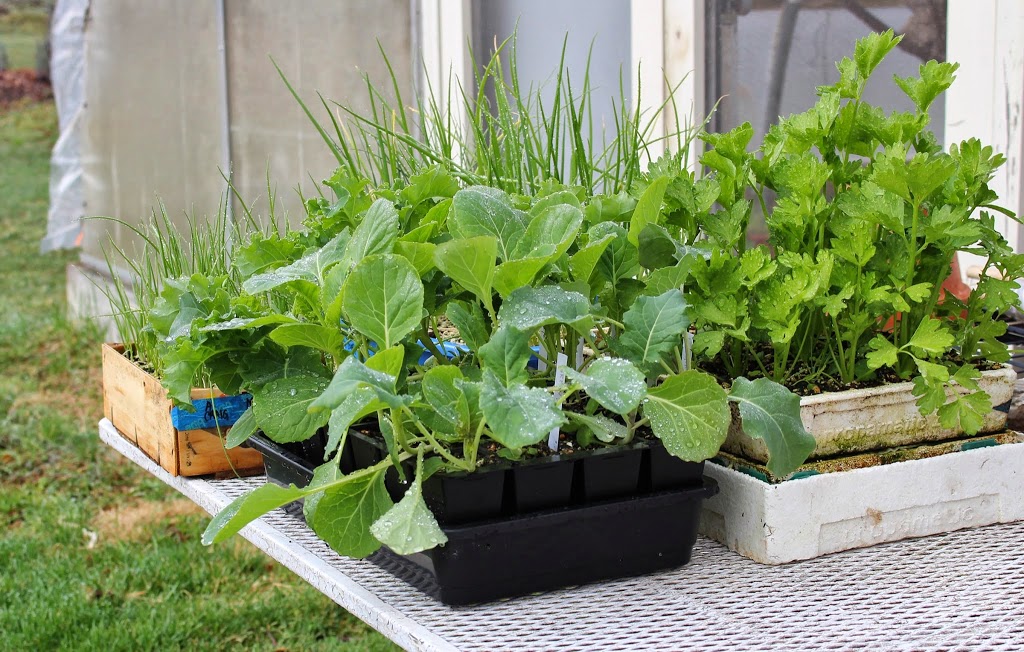
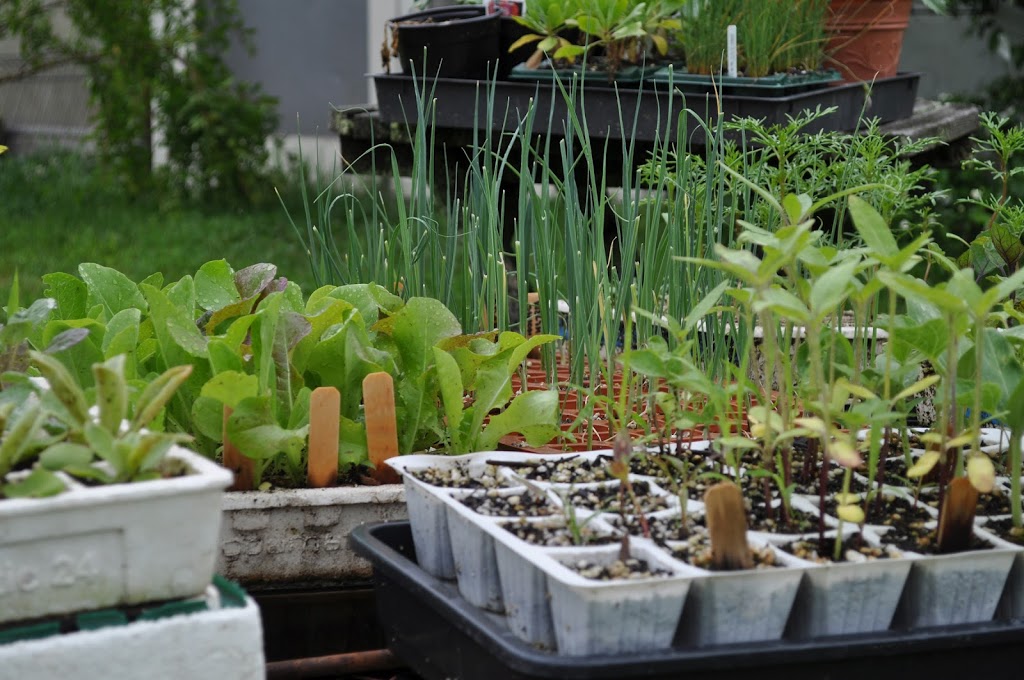
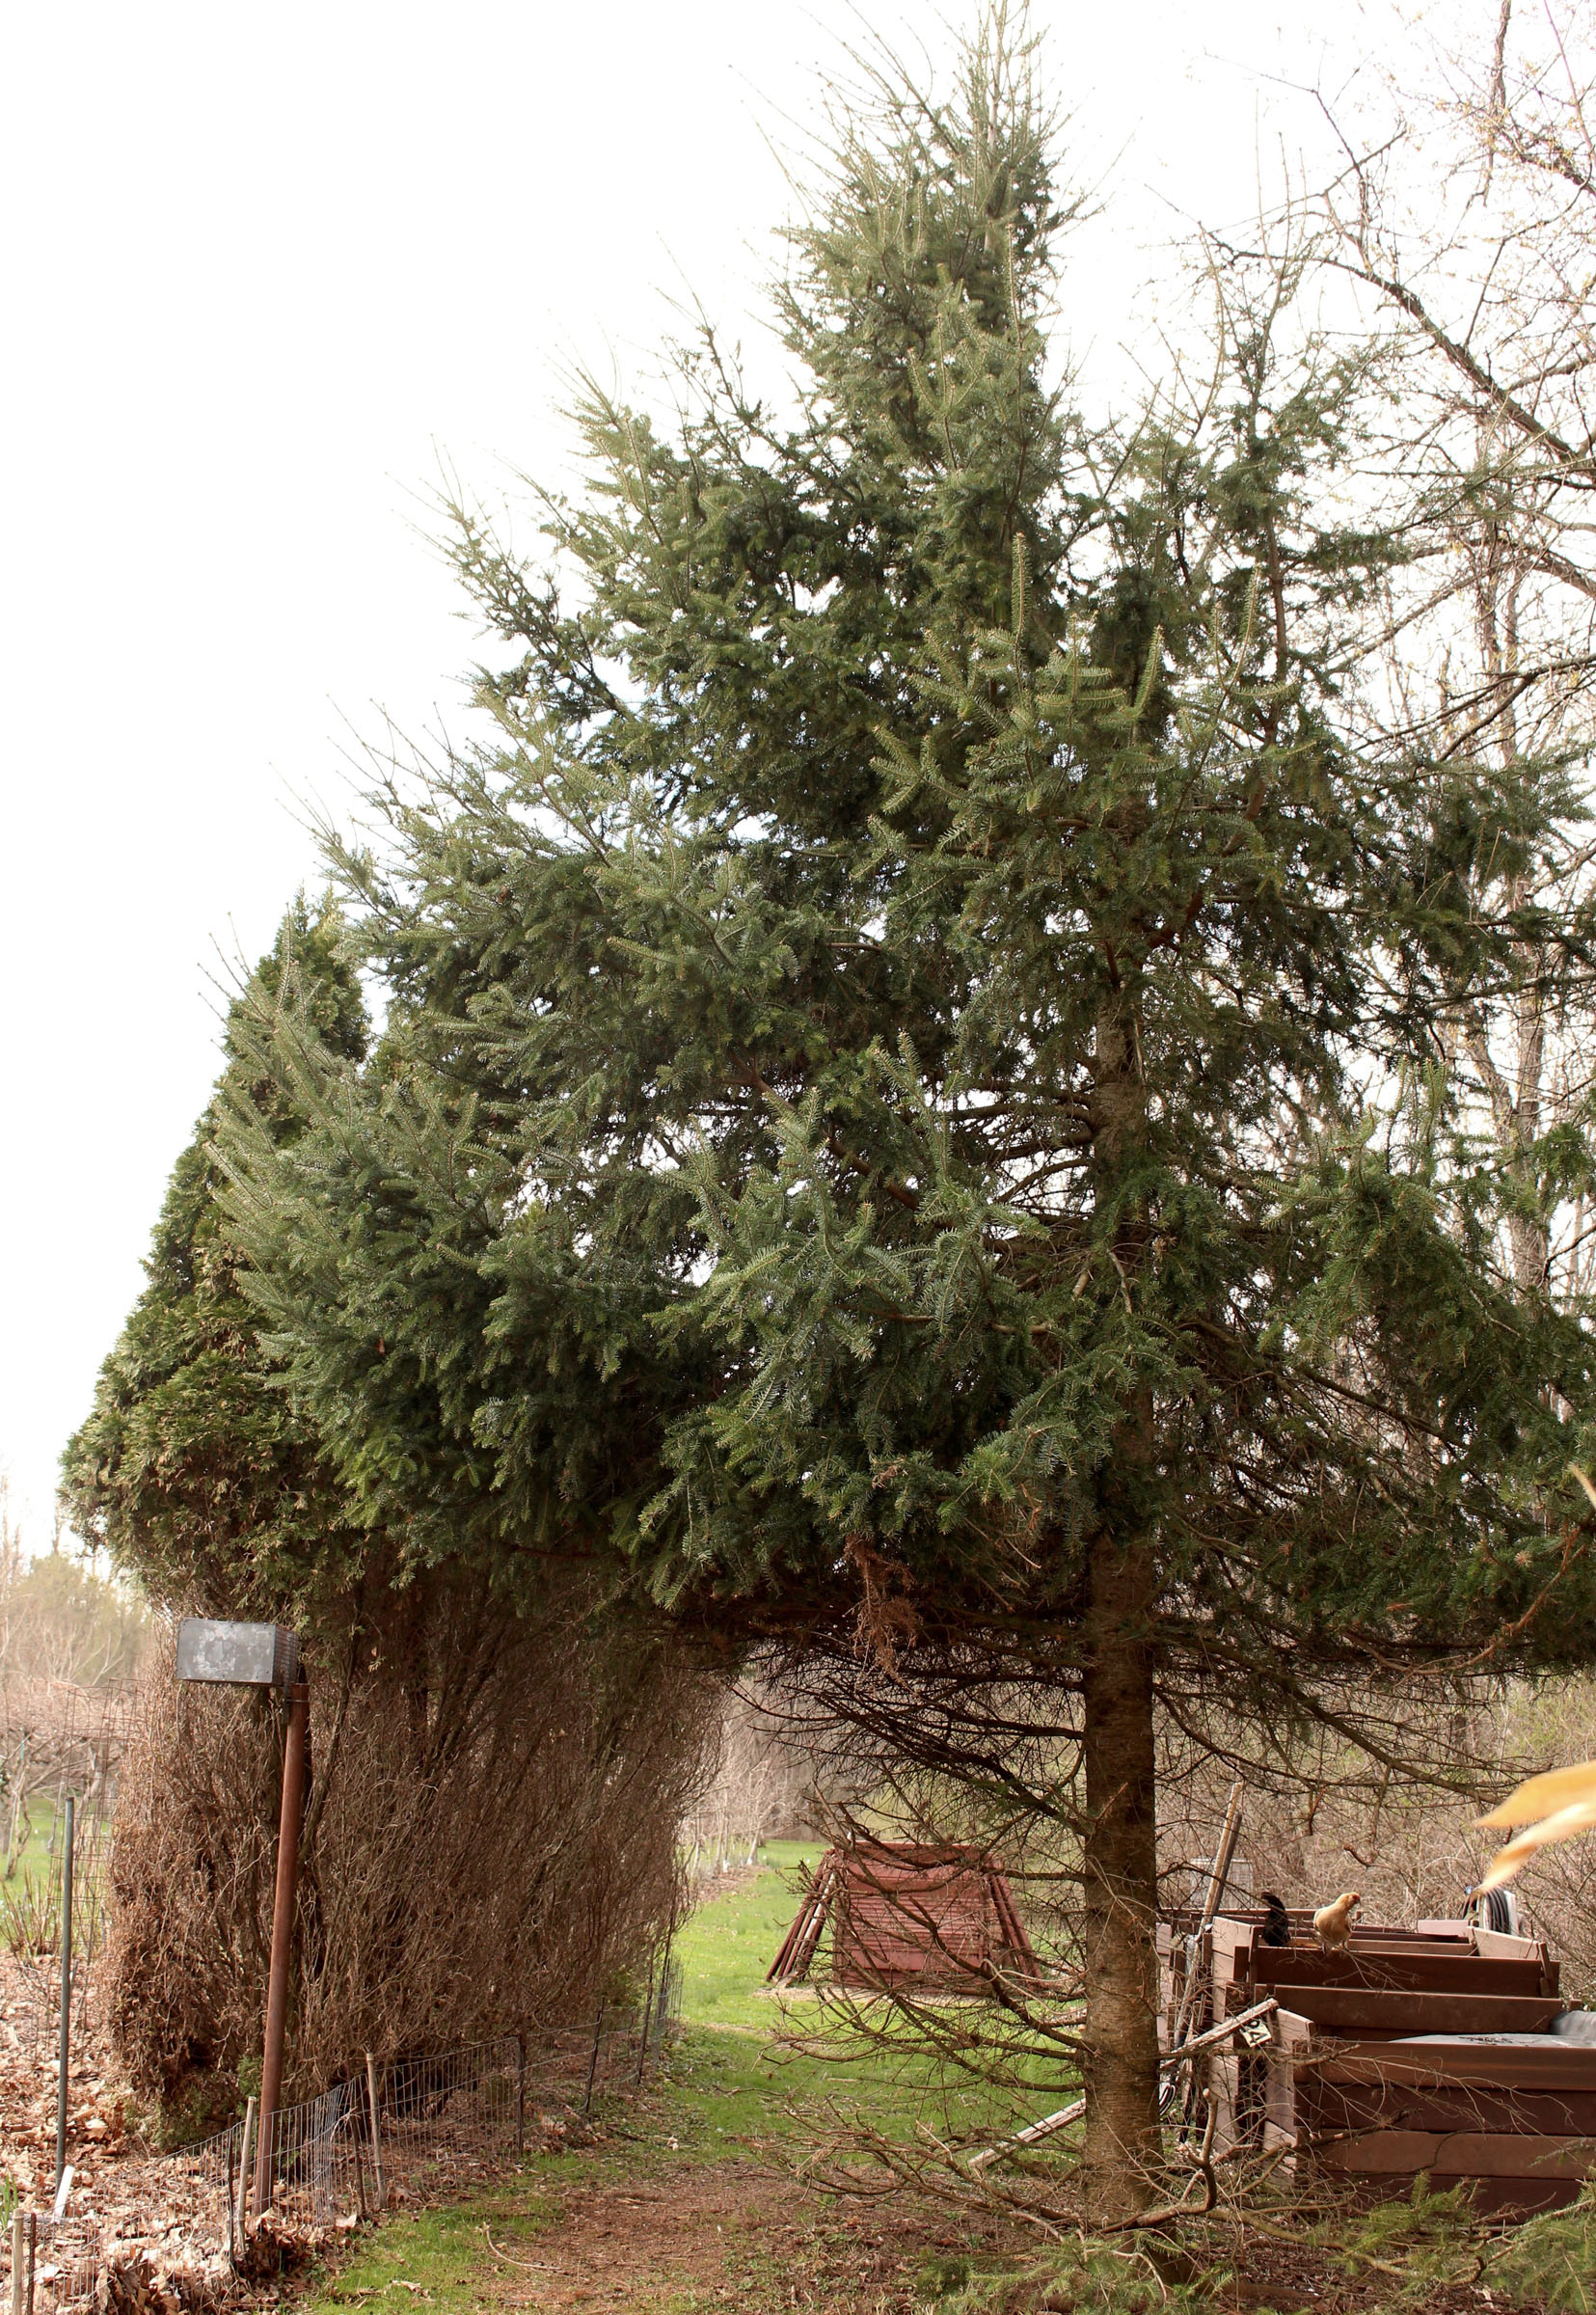
Seedling plants (and Sammy the dog) in spring
The same thing happened with red lupines, chocolate daisies, Yellow Gem marigolds, and . . . Growing transplants is the easy part. The difficulty will be in about a month when I’m wandering around the garden, seedling flat in one hand, trowel in the other, wondering where to plant all these flowers. (This problem does not arise with growing vegetable transplants because I keep harvest records for vegetables that let me know how many plants I need of each. Could my eyes get too full or too fat on too many flowers? No.)
Damn-ping Off, No More
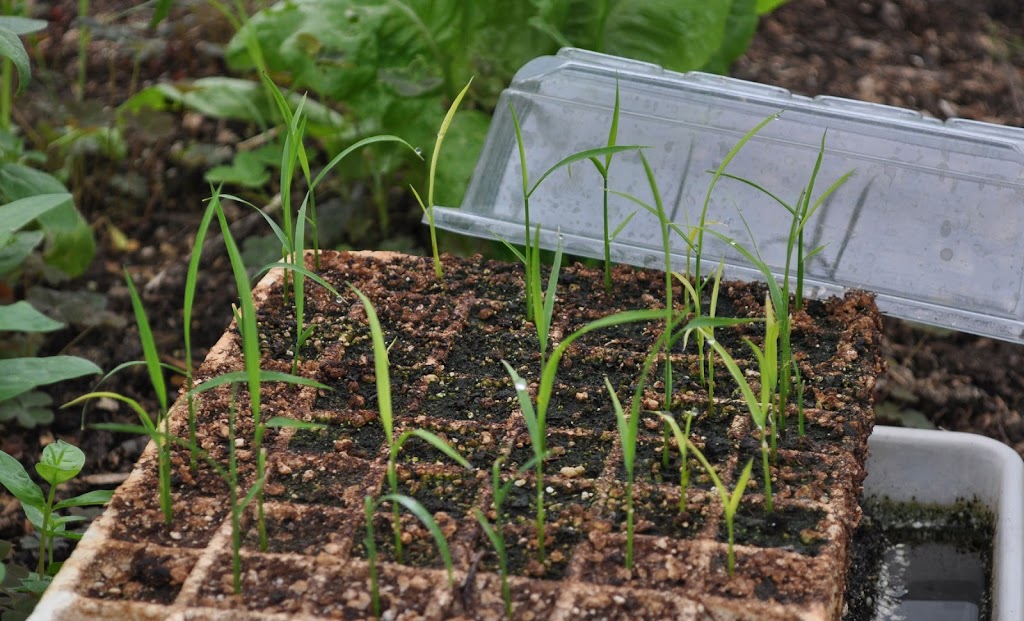
Raising transplants wasn’t always so easy for me. Decades ago, as a graduate student, I lived in a converted motel room which also became home to seedlings for my first garden. The shelves were lined with peat pots of sprouting chamomile (very easy), lettuce, beans, and other plants.
Thence was my abrupt introduction to “damping off,” a disease that attacks seeds and newly emerged seedlings. Imagine the disappointment of a beginning gardener (me) watching seedling stems pinch in at he soil line and topple over — the telltale symptom of damping off disease.
I soon learned that damping off was not uncommon, even among experienced gardeners. The disease is caused by any one of a few soil dwelling fungi that raise their ugly head (figuratively) given the right conditions (for them). One obvious way to try to avoid the problem is to sterilize the potting media.
Most commercial potting mixes are sterile, as were the peat pots I was using. The problem is that the culpable microbes are everywhere, just waiting to attack when conditions are just right, conditions that I unknowingly provided for them in my motel room. The peat pots were excessively moist; the air stood still; and little light entered the room — perfect for damping off development.
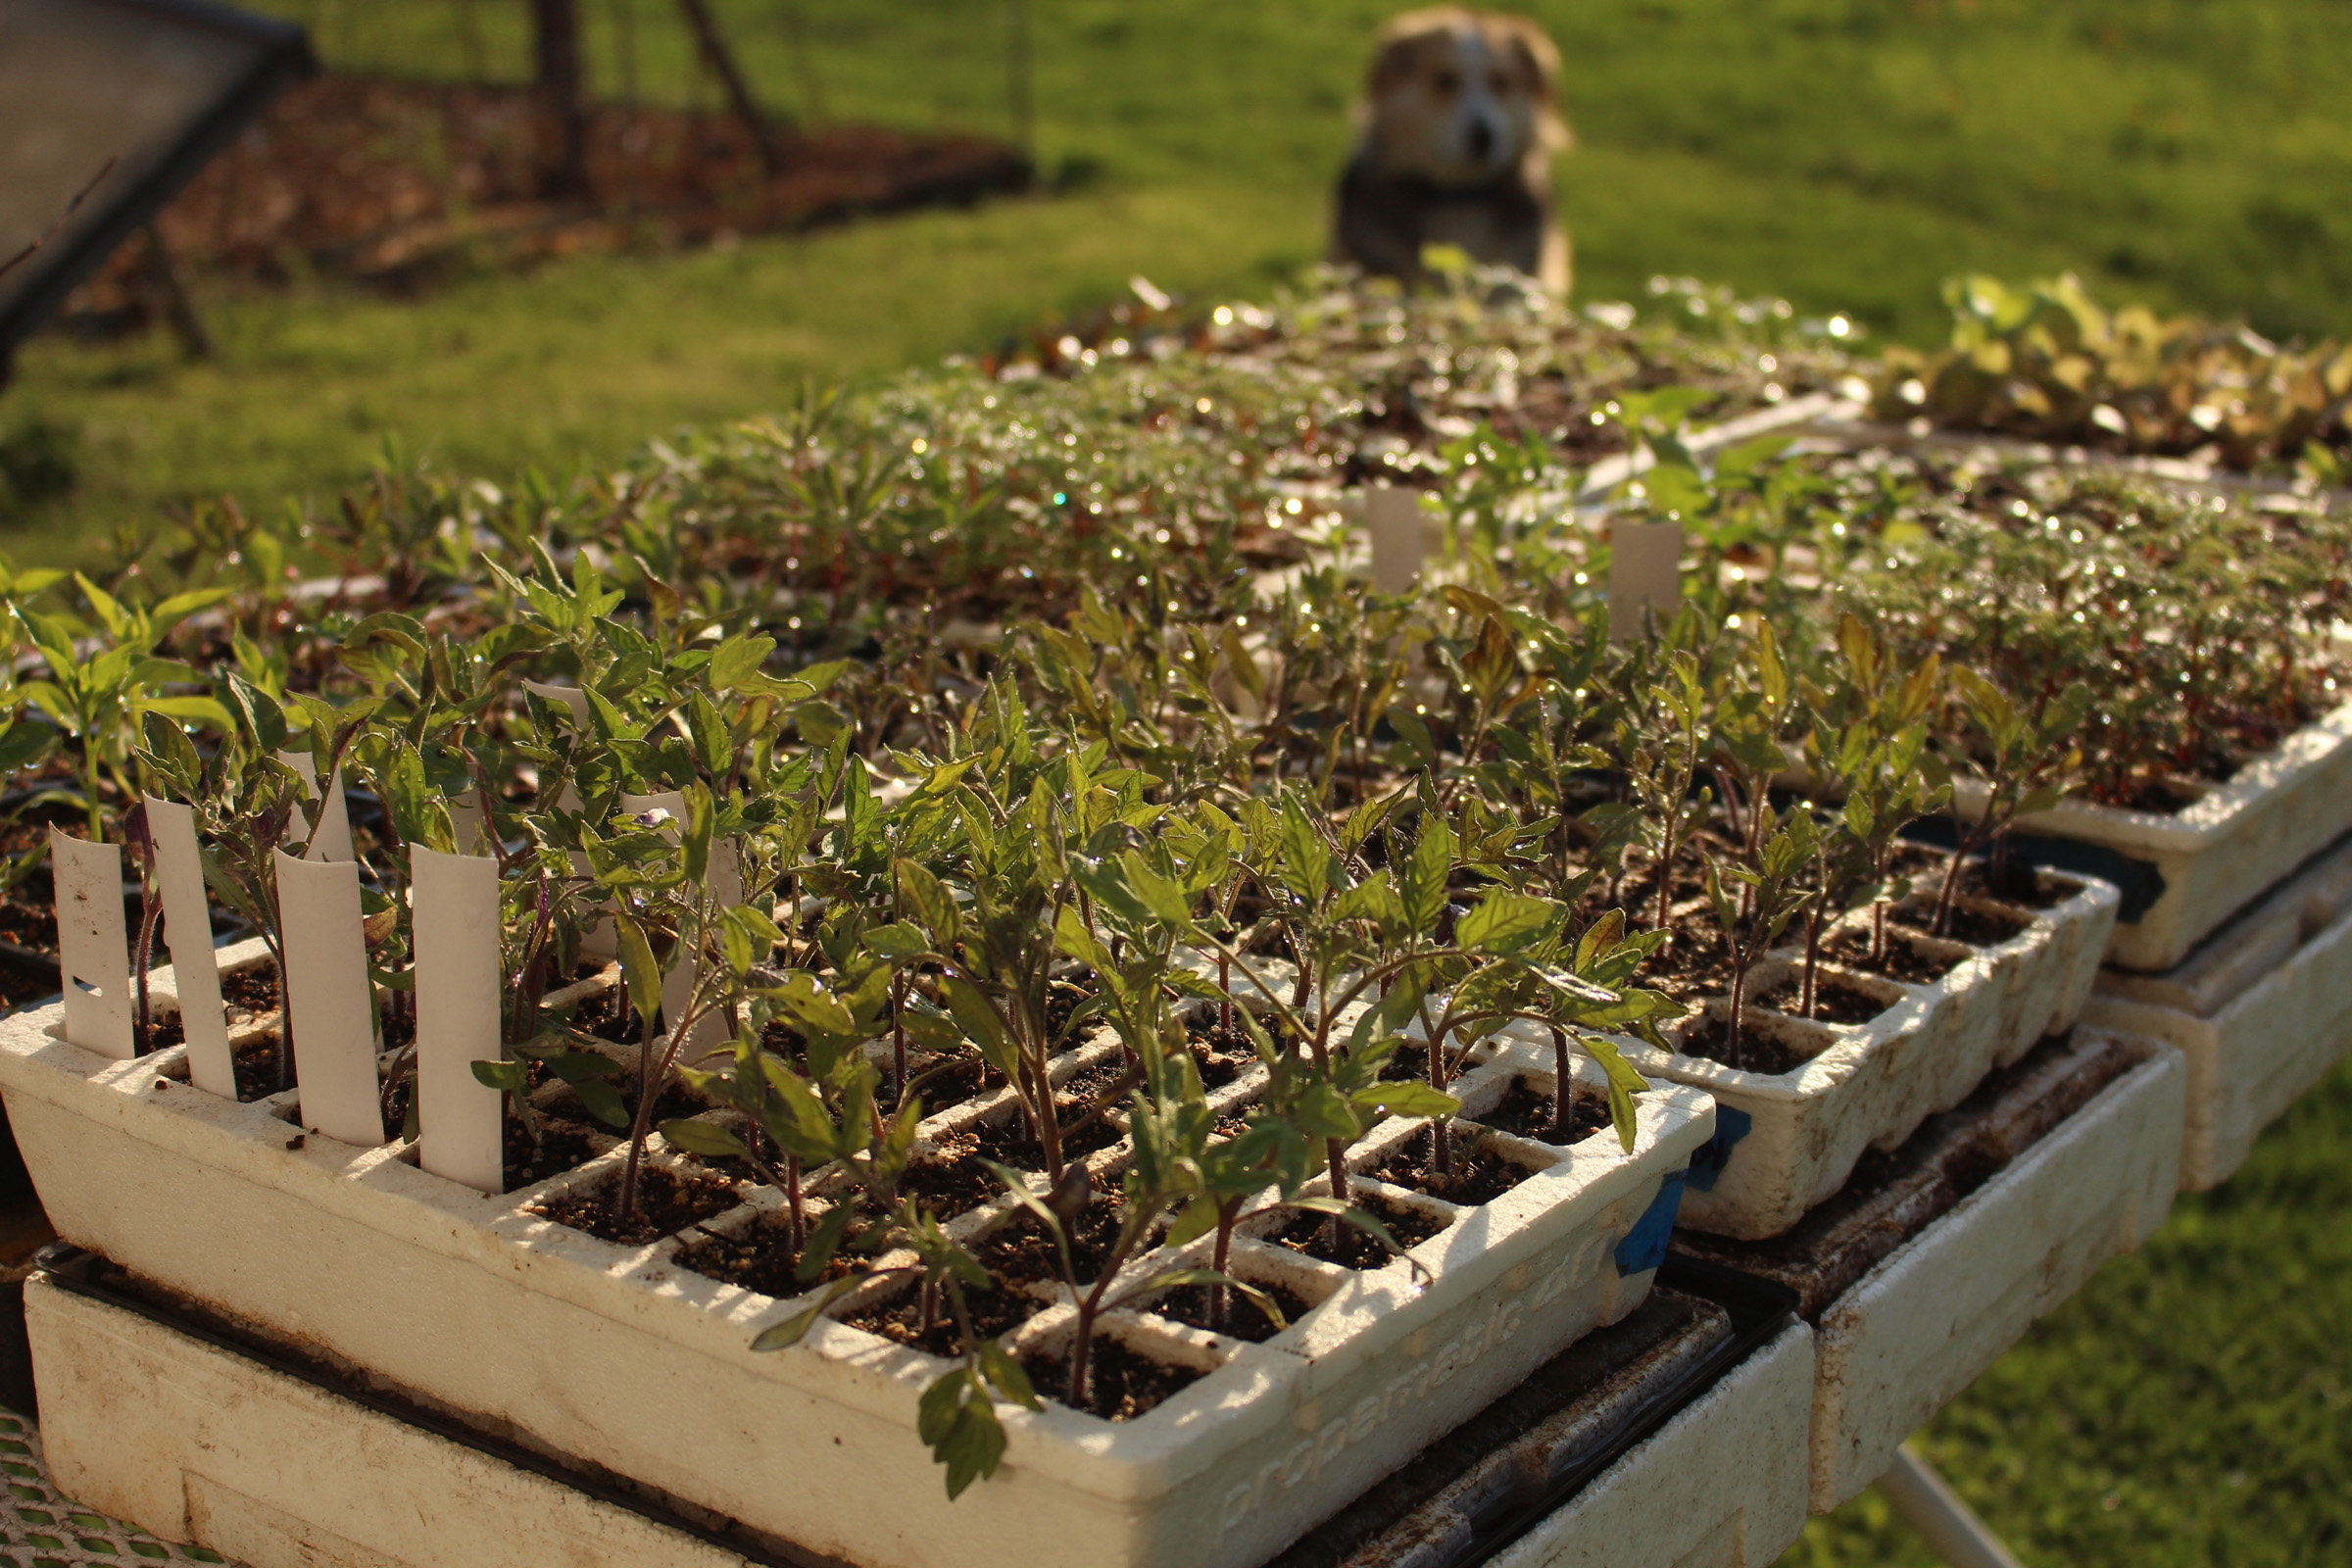
Nowadays, my seedlings rarely experience damping off. The plants get off to a good start at temperatures they enjoy, bathe in light in my greenhouse or sunny windows (or, in the past, cozied up very close to fluorescent bulbs), and a fan keeps the air moving. I also add sufficient perlite to my potting mixes so that excess water drains feely down and out of the mix.
Years ago, soothing brews of chamomile tea would also come to the rescue — for the seedlings, not for me. That tea hasn’t been needed for a long time. I also don’t pasteurize or sterilize my potting mixes. Beneficial microbes, from the compost in my mix, and good growing conditions have thankfully made damping off nothing more than a distant memory for me.
Oh Deer!
Bigger creatures are still an ever present nightmare. Especially deer and especially after this winter. They have sheared the greenery from nearly every evergreen they could reach here, the hollies, arborvitaes (white cedar), yews, hemlock, and junipers (red cedar).
Deer damaged arborvitae and balsam fir.
Interesting about the yews, because the foliage is toxic to many ruminants; a mouthful will kill a horse or cow within 5 minutes. Deer, according to most reliable sources, can feed on yew without ill effect. With that said, this past winter, I did find a deer dead on the ground near my yew bushes, which had been nibbled free of their foliage.
How about the plants; how will they fare, bare. Yew tolerates all sorts of abuse in the form of pruning. Soon, new needles will start appearing along their stems. Or, if the stems are cut back, new needled shoots will soon appear. My other evergreens should also fare well. Rhododendrons and mountain laurels, which the deer left alone, also generally sprout new growth when nibbled. So any of these so-called random-branching conifers or broad-leaved evergreens can be pruned to look prettier after deer have ravaged them.
Not so with so-called whorled branching conifers, such as pines, spruces, and firs. They generally do not resprout from bare wood, so there’s not much that can be done to prettify them now. Just lop back bare branches because they’re always going to be just that: bare.
For more about pruning evergreens, and other plants, see my book, The Pruning Book.