Small Plants
Weeding. Planting. Harvesting. Making compost. Spreading compost. Staking. Pruning. Mowing. These are some of the activities I share with my plants this time of year. But, as Charles Dudley Warner wrote in his 1870 classic, My Summer in a Garden, “Blessed be agriculture! If one does not have too much of it.” Which prompts me to weed, plant, harvest, etc. most efficiently.
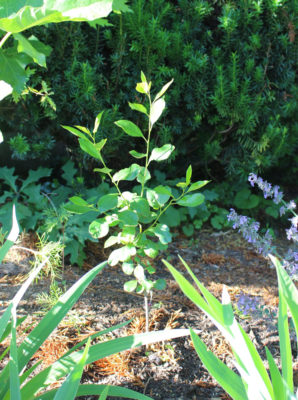
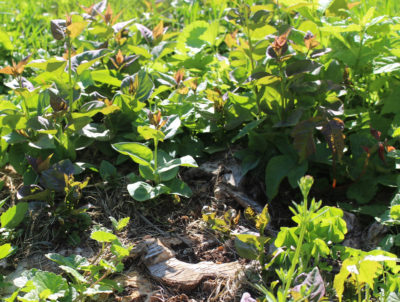
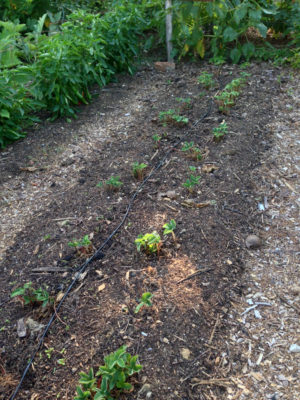
Bush cherry, 1 month after planting
Let’s take a look at some of the trees and shrubs I’ve planted this spring: Romeo and Carmen Jewel bush cherries, aronia, Grainger shellbark hickory, Great Wall Asian persimmon, Rosa canina, and Hidcote St. Johnswort. Just getting all those plants through their first season could entail lugging around many buckets of water. But it doesn’t.
Large plants of any of these could possibly be sourced but I chose small plants. And that was the first step to making sure that, paraphrasing C. W., I wasn’t overburdened with my agriculture.
With smaller root systems, small plants establish more quickly than large plants. In fact, establishing more quickly, smaller plants usually outgrow their larger counterparts after a few years.
A tree or shrub with a two-foot diameter root ball might require 3 gallons of water weekly until enough roots foraged out into surrounding soil to make the plant self-sufficient water-wise. Two cups of water weekly is enough to keep my newly planted Romeo bush cherry alive since its move from the 4-inch-diameter pot it previously called home.
By the end of this growing season, all these small plants will be firmly established and pretty much water independent. They’ll get supplemental water only if there’s any extended dry spells in their second season.
Small Planting Holes
Water for these young plants isn’t all about watering per se.
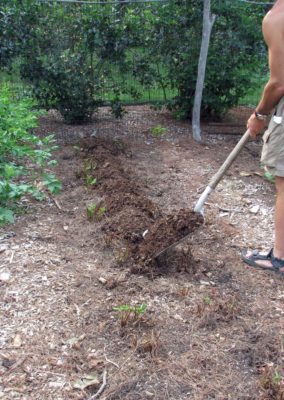
Site preparation is also important. Not that, as older gardening books used to suggest, it’s “better to dig a $50 hole for a $5 tree than a $5 hole for a $50 tree,” the dollar amounts reflecting the size of the tree and the hole. No need for such heroic measures. Digging that large a hole breaks up the capillary channels in a large volume of soil, leaving large air gaps in the soil through which water just runs down and out. Capillary channels can move water, down, up, and sideways.
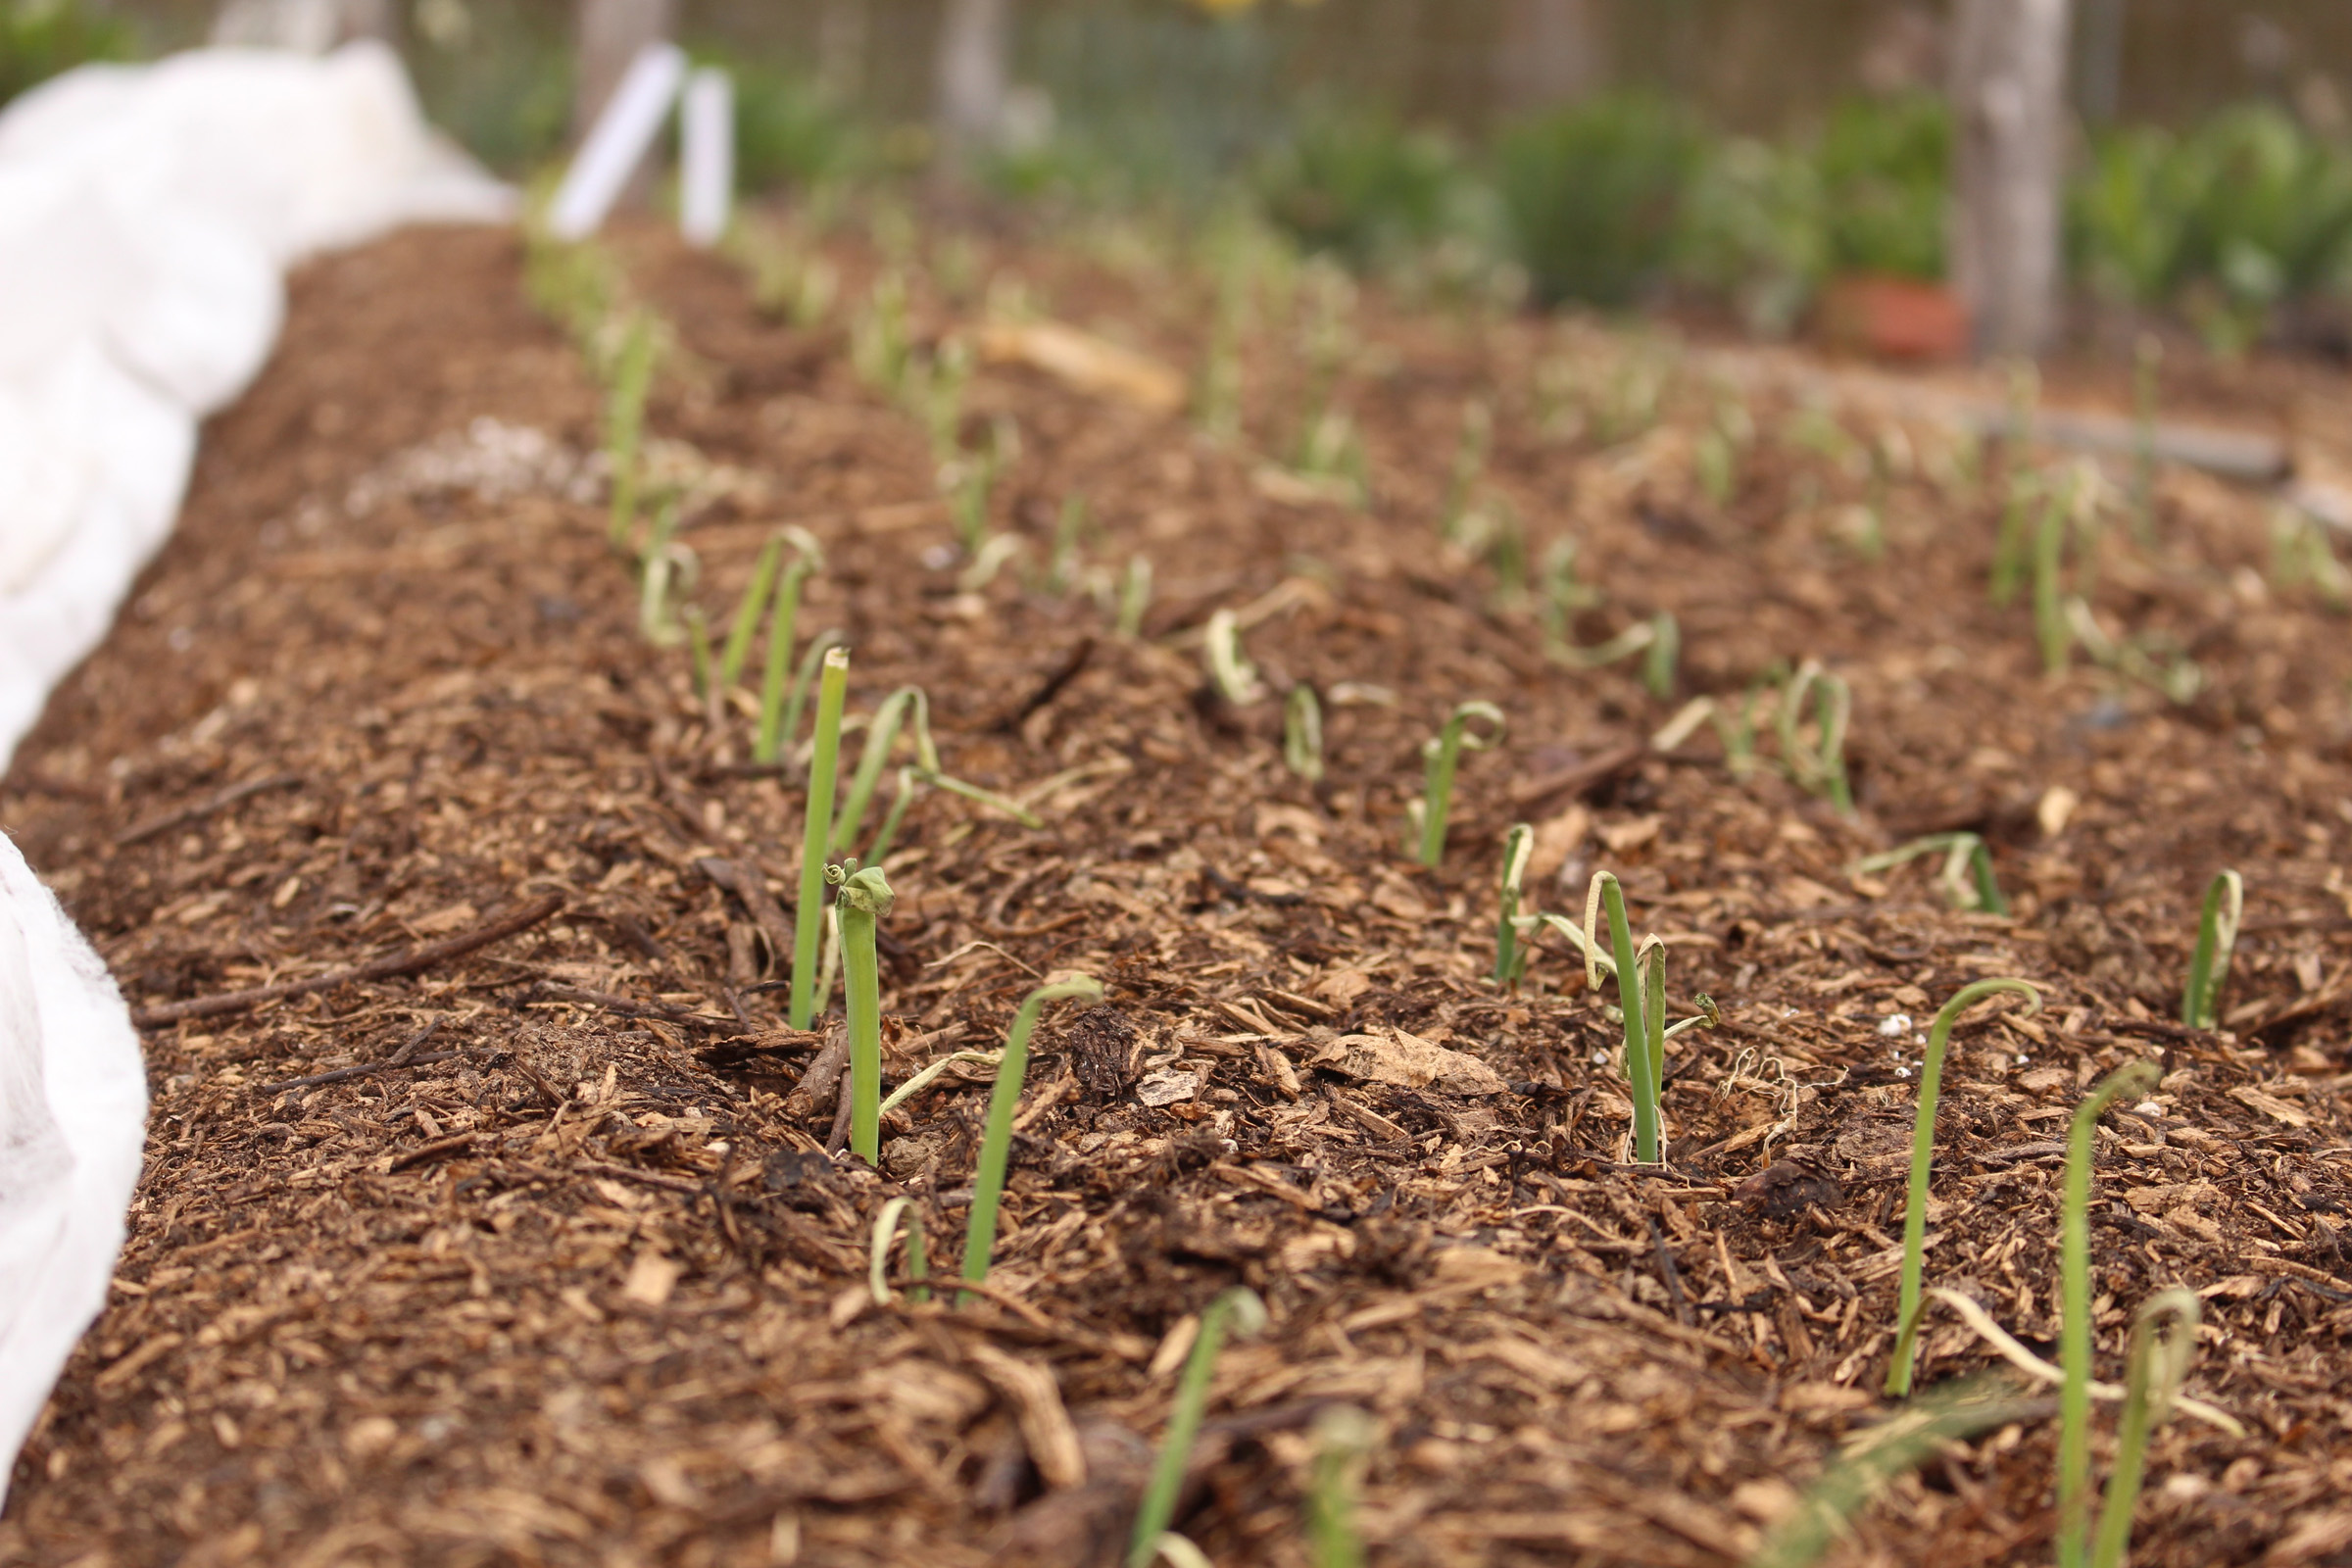
Shellbark hickory, 1 mo. after planting
Better — and easier — is to dig a hole only twice as wide as the spread of the roots or root ball (if potted), and only as deep as needed so a plants sits at the same depth as it did its pot or the nursery.
With few exceptions, no need to add compost, peat moss, fertilizer, or anything else to the soil in the planting hole. After all, the expectation is for roots to eventually extend well beyond the planting hole. Create excessively posh conditions in the hole and roots have no incentive to leave. Then roots grow only in their planting hole, not beyond.
All soil goodies are best lathered on top of the ground. My first choice is for compost. Nutrients and beneficial soil organisms within the compost, over time, meld with the soil below. Compost also softens impact of raindrops so that water can percolate down into the ground rather than running off in rivulets — lessening my need for watering.
A mulch is the final icing on this layer cake. I’ll top the compost with wood chips, leaves, straw — any weed-free, organic material. This top layer further softens the impact of raindrops, keeps compost moist and vibrant, and slowly decomposes to nourish soil microorganisms and then the tree or shrub.
Yesternight’s rain or 1.25” did a week’s watering for me. A good rule of thumb is to apply one-inch of water once a week, or, equivalently, three-quarters of a gallon per estimated square foot spread of the roots. Potted trees and shrubs need that one-inch of water spread over 2 or 3 days of the week for a couple of weeks after being planted, until their roots begin to spread into surrounding soil. Larger tree and shrub transplants need more water, more frequently, for a longer period of time.
Followup on Drastic, and Less Drastic Pruning
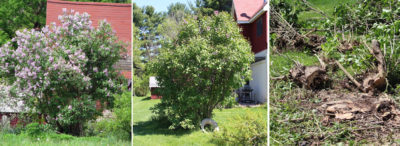
I recently wrote of “renovating” my old lilac shrub, a no-brainer as far as pruning. You just lop each and every part of the plant right to the ground. My fears that such drastic pruning might also kill the plant were unfounded. Already, new sprouts are growing from the sawed off remains of the plant as well as from some distance away. All that’s needed now is to choose which sprouts to keep to grow into a whole new shrub.
Lilac regrowth from stump
My blueberry shrubs also received more drastic pruning than usual. To lower their height and to encourage and make space for younger, more fruitful stems, I lopped a few of the oldest stems of each bush right to ground level. Like the lilac, new sprouts soon rose from ground level.
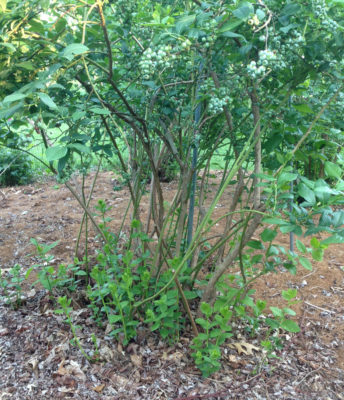
Blueberry, new sprouts
Late next winter, I’ll save the most vigorous of these new sprouts and lop the rest of them all the way to the ground. And, of course, again lop to ground level some of next year’s oldest stems.
Such pruning (covered in my book The Pruning Book) keeps blueberry and lilacs perennially renewed, without any stems that are too old to flower or fruit well as well as plenty, but not too many, young replacement stems for the future.


 (Autumn olive is often confused with Russian olive, E. angustifolium, a close relative that is more tree-like, less invasive, and with sweet, olive-green fruits. Another equally attractive, fragrant, tasty, and soil-building plant is gumi, E. multiflora, not well known but closely related to the other “olives.”)
 Offer an explanation and, if correct, you’ll be in the pool of readers, one of whom, randomly selected, gets sent a free copy of my book