Fig Abuse?
Anyone watching what I was doing to my fig trees might have called “Fig Protective Services” to have my trees removed to a new home. But figs are tough plants and tolerate a lot of what looks like abuse.
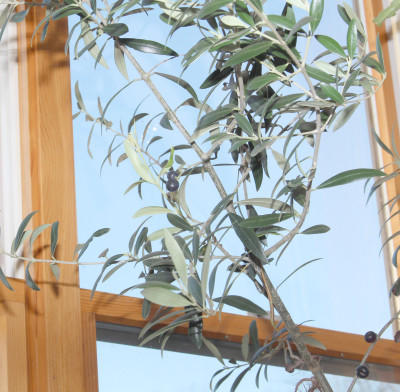
Let me offer some background: Figs are subtropical plants so can’t survive to fruit outdoors around here. I grow a few fig trees in pots that I can put in a protected location for winter (more on that later). Problem is that the trees’ roots eventually fill the pots and exhaust nutrients in the mix.
I could move each tree to a larger pot. Then the branches could grow commensurately larger, and more growth of branches translates to more figs to harvest. But these pots have to be moved every spring and fall, and there’s a limit to how big a pot I can handle.
The other way to give the roots new ground to explore is to root prune them. That is, slice off some roots to make space for new soil in the same pot. Trust me; I’ve done this for many years and the plants tolerate it well, growing happily each spring following the operation. (Fall or spring, when the plants are leafless, is the best time for root pruning and re-potting.)
So I tipped each plant on its side and pulled on the stem while holding the pot in place to slide the root ball out of the pot.  After standing the root ball upright, I started slicing it from top to bottom. For root balls 18 to 24 inches across, I slice a couple inches off all around. I used to use an old kitchen knife but discovered that my reciprocating saw with a medium-tooth blade works much better.
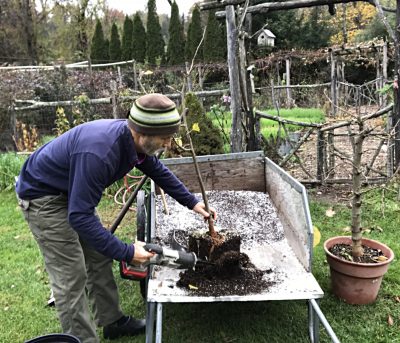
With the old root ball shrunken, it goes back into its pot and I start packing potting soil back in the space between the pared down root ball and the sides of the pot. 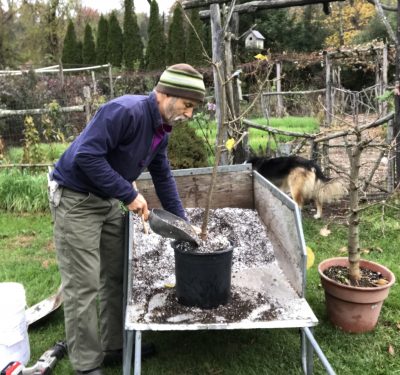 For good contact, I pack the potting soil in with my fingers and the flat end of a 3/4 inch dowel.
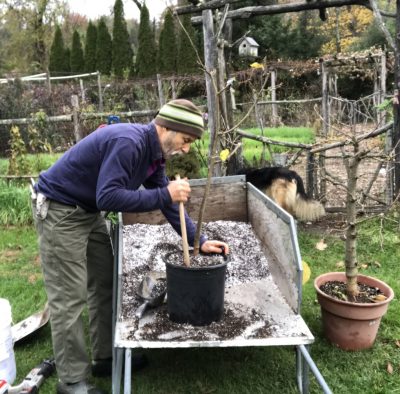
Next year at this time or, at most, two years from now, trees will get root-pruned again.
Winter Quarters
Now, what will I do with the fig trees for winter. It’s a conundrum, because the trees, being subtropical, do well with a cold season rest, ideally below 50°. On the other hand, they can’t tolerate cold much below about 25°F. in their pots.
Some places that might provide temperatures within this range are an unheated garage that’s attached to a house, an unheated and uninsulated basement, or an unheated foyer or mudroom. As long as they are dormant, the plants do not need light.
For many years, I’ve lugged my plants down the rather narrow stairway to my basement. There’s an oil burner down there but it’s rarely used since most of our heat is with wood. In midwinter, basement temperatures hover around 40°F.
As of this year, my days of lugging the heavy pots down stairs are over. I now have access to a ground level, unheated room in a well-insulated, rarely heated building having a concrete floor for good thermal mass. The Ritz!
The goal is to keep the plants cold enough so that they stay dormant until it’s safe to move them outdoors in spring. If all goes well, the plants are still dormant when outdoor temperatures rarely dip below 32°F. Then the plants, moved outdoors, slowly awaken with cool temperatures and bright sun promoting sturdy growth.
Because fig trees in pots tolerate temperatures down into the 20s, there’s no rush to move them into storage. I usually wait until sometime in December.
What Makes Soil Potting Soil?
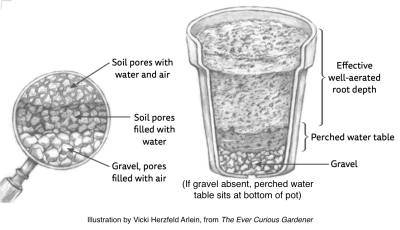
Notice that I mentioned my trees growing in “potting soil.” Straight soil, even good, well-drained garden soil, is unsuitable for plants in pots because it becomes unavoidably waterlogged. (The reason, described in my book The Ever Curious Gardener: Using a Little Natural Science for a Much Better Garden, has to do with what is known as a “perched water table;” take my word for it or read the book.)
Drainage is improved in potting soils by adding aggregate such as perlite, vermiculite, or calcined montmorillonite clay (the latter better known and more often sold as kitty litter).
Roots in containers have more limited volume to explore for nutrients, so potting soils also need to be richer that even good garden soils. Compost is one way to provide nutrition. Among the advantages of compost is its ability to offer nutrients over a long period of time, as soil microbes slowly decompose it.
Water, like nutrients, also must be accessed from a limited volume of soil. The compost helps a potting soil hold water; I boost that further with the addition of some peat moss or coir.
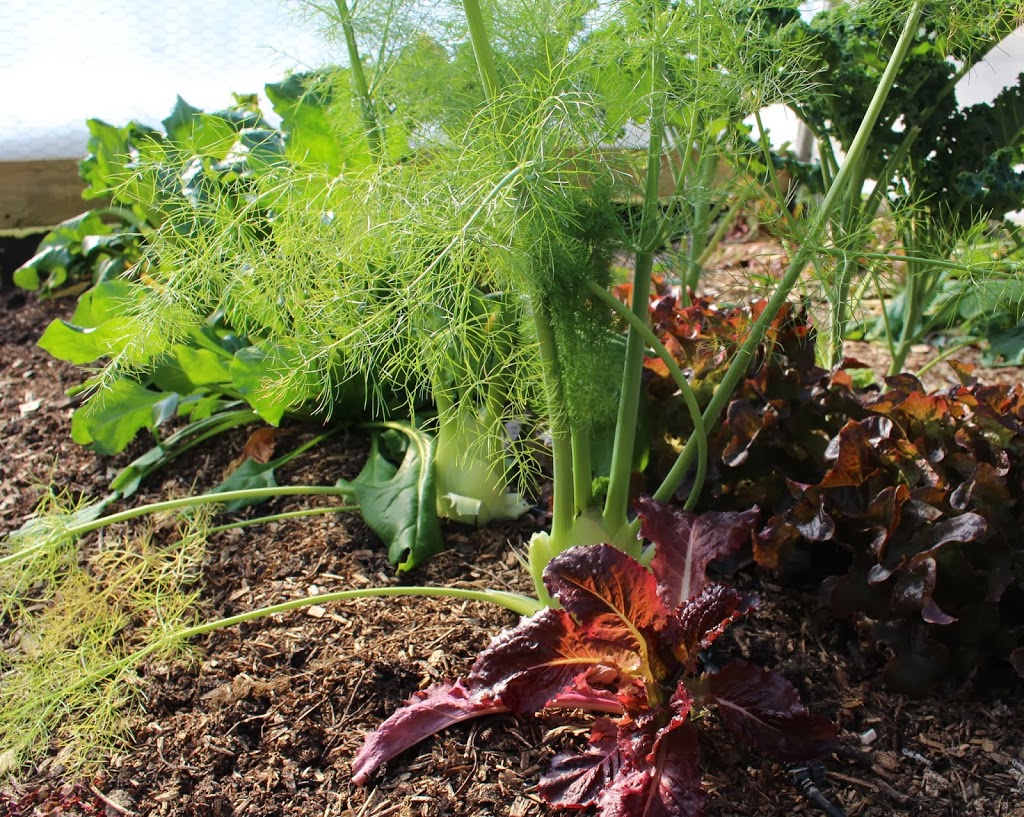
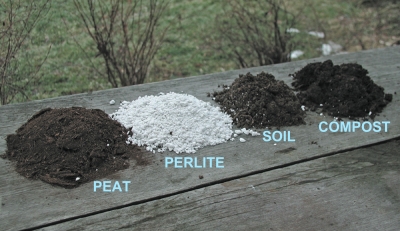
My finished mix is made up of equal parts garden soil, perlite, compost, and peat moss. All my plants, not just the figs, like it.
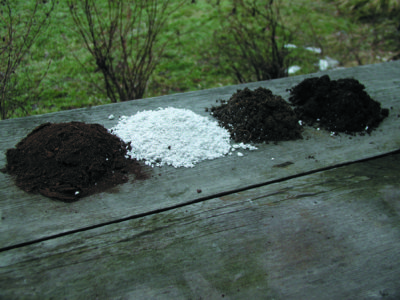
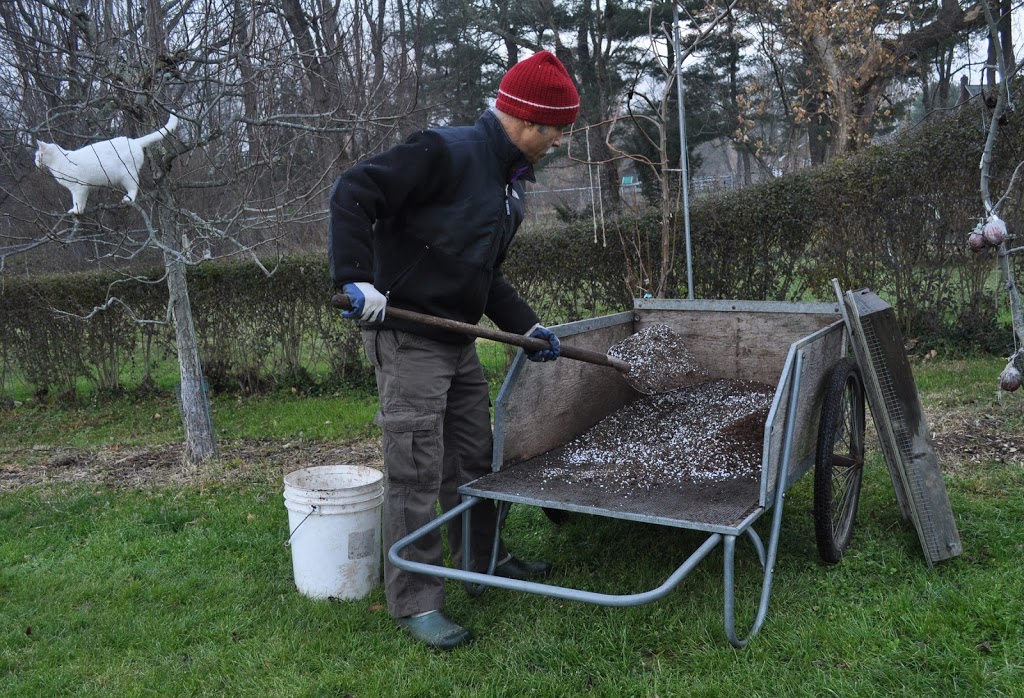
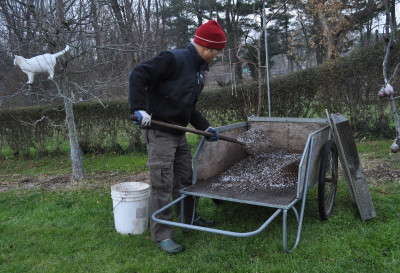
Peat, perlite, soil, and compost


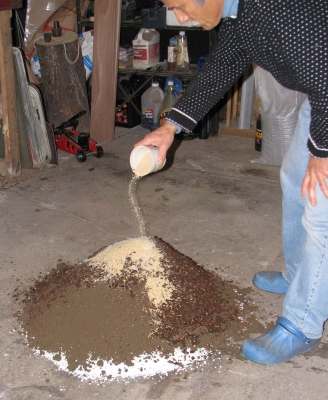 Then I pile up on the floor two gallons each of garden soil, peat moss, perlite, and compost. On top of the mound I sprinkle a cup of lime (except if I’ve sprinkled limestone on the compost piles as I build them), a half cup soybean, perhaps some kelp flakes.
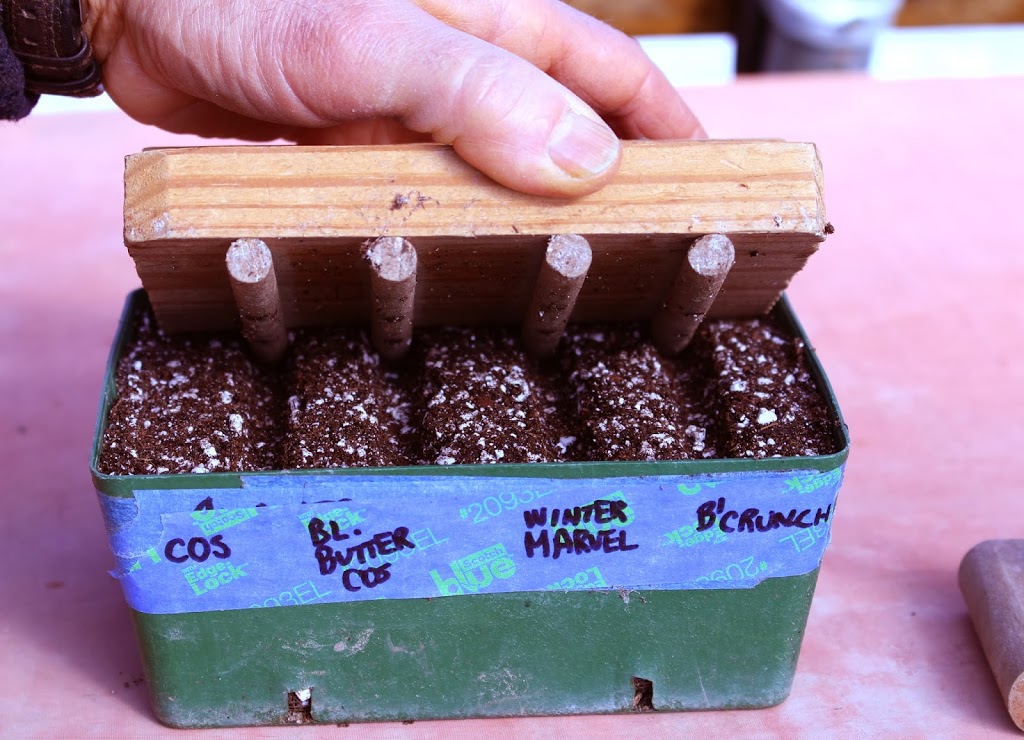
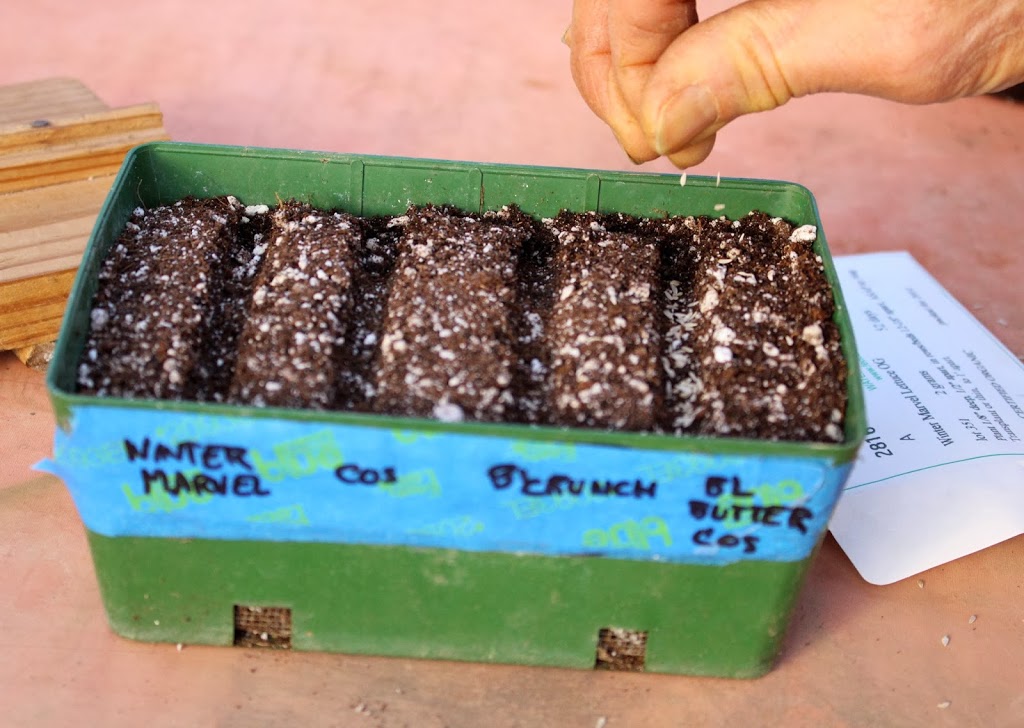
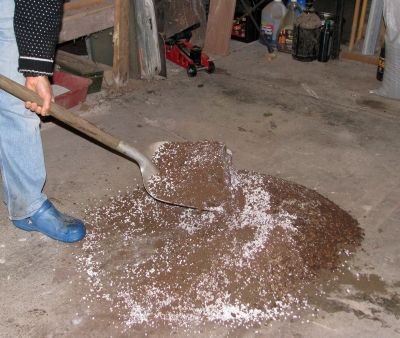 I moisten it slightly if it seems dry. When all mixed, the potting soil gets rubbed through a 1/2″ sieve, 1/4” if it’s going to be home for seedlings.
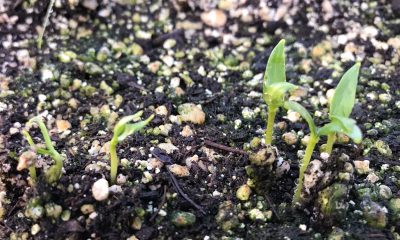
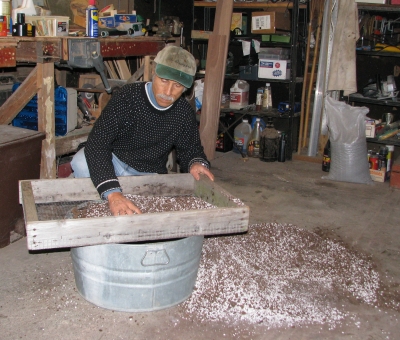
 I will now divulge my recipe for potting soil. The main ingredients are garden soil, compost, peat moss, and perlite. I thoroughly mix together equal volumes of these four ingredients, then add a cup of soybean or alfalfa meal (for extra nitrogen). If I’m feeling generous, I also throw in a half a cup or so of kelp meal (for micronutrients, although it’s probably superfluous with the panoply of nutrients from the compost). Perhaps also a half a cup of dolomitic limestone (for alkalinity, calcium, and magnesium, also probably superfluous with the buffering action and richness of the compost). Using wooden frames onto which I’ve stapled 1/2 inch hardware cloth, I sift together the mixture.