SLOW SEED
Appreciated but not Touched
“Flower in the crannied wall, I pluck you out of the crannies, I hold you here, root and all, in my hand, Little flower . . . “ Whoa! Hold on there Lord Tennyson! Relax, little flower. I’m not doing any plucking.
I had hardly a hand in some of my best plantings, and that little flower is one of them.
There’s a small, moss-covered ledge at the base of the brick wall next to my front door, an east-facing spot that enjoys some morning sun in summer but shade from the nearby north wall the rest of the year. In short, it’s a perfect place for a summer vacation for my orchids, bonsai, and cyclamen.
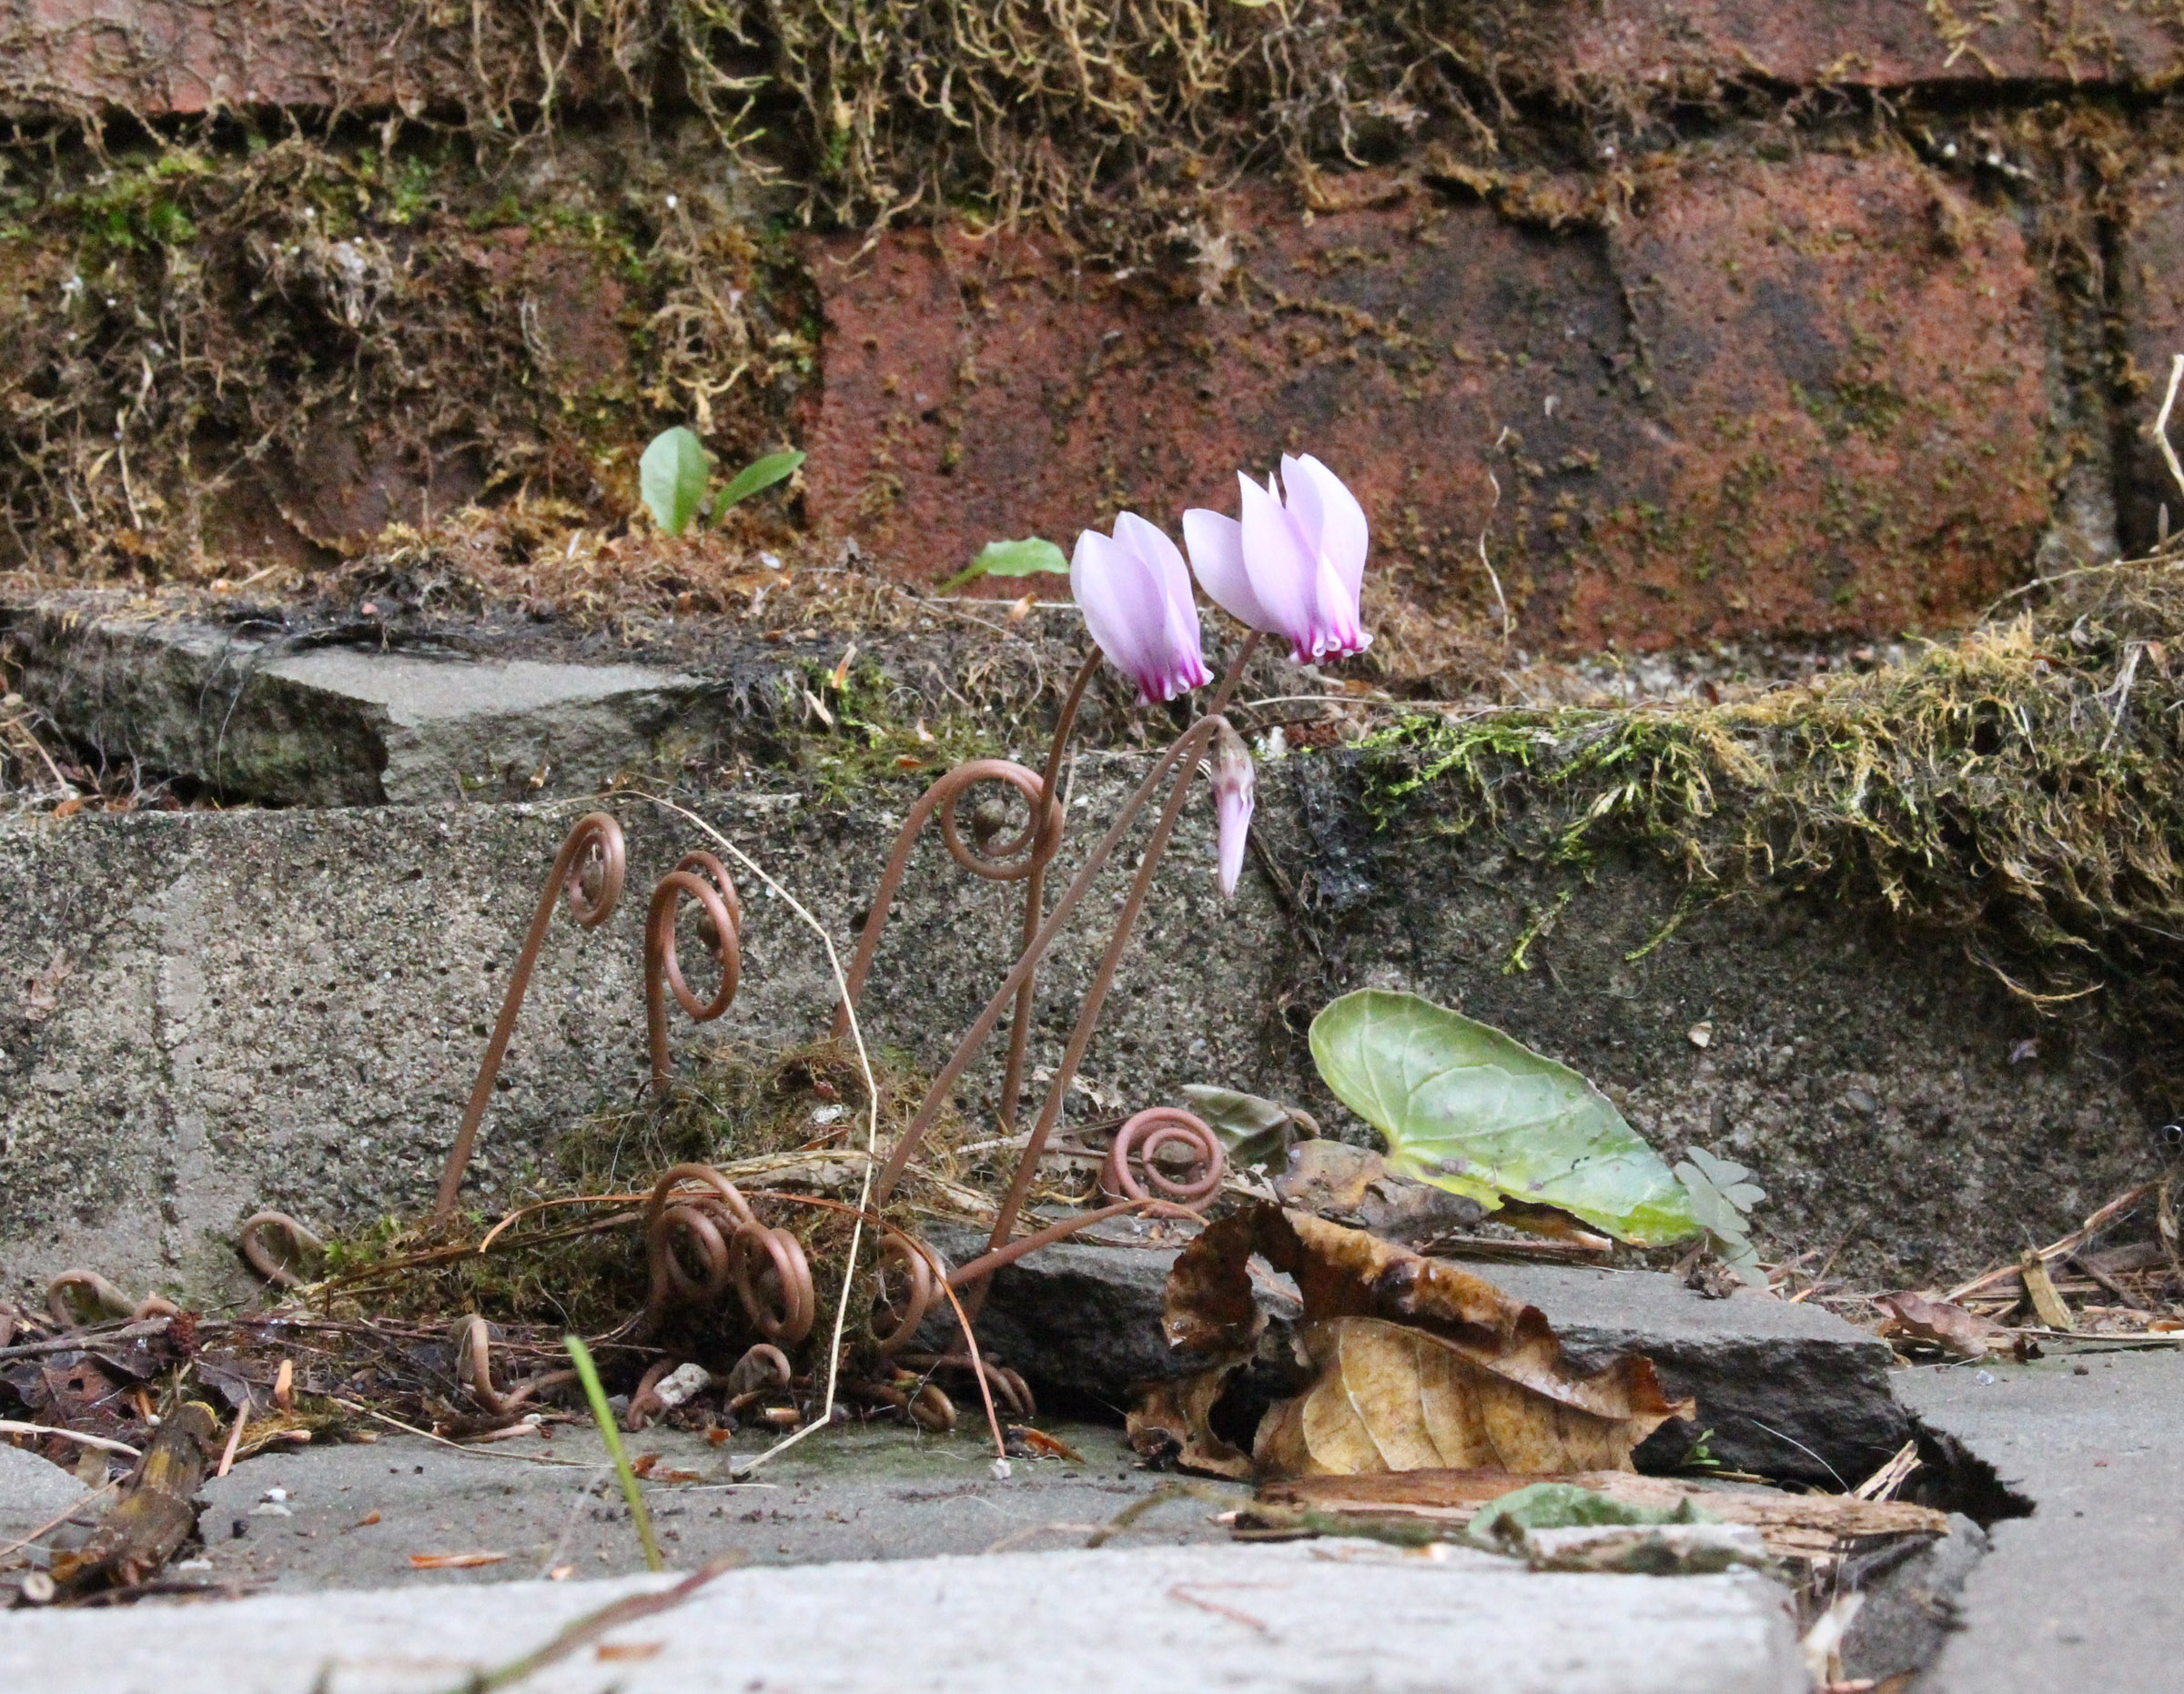
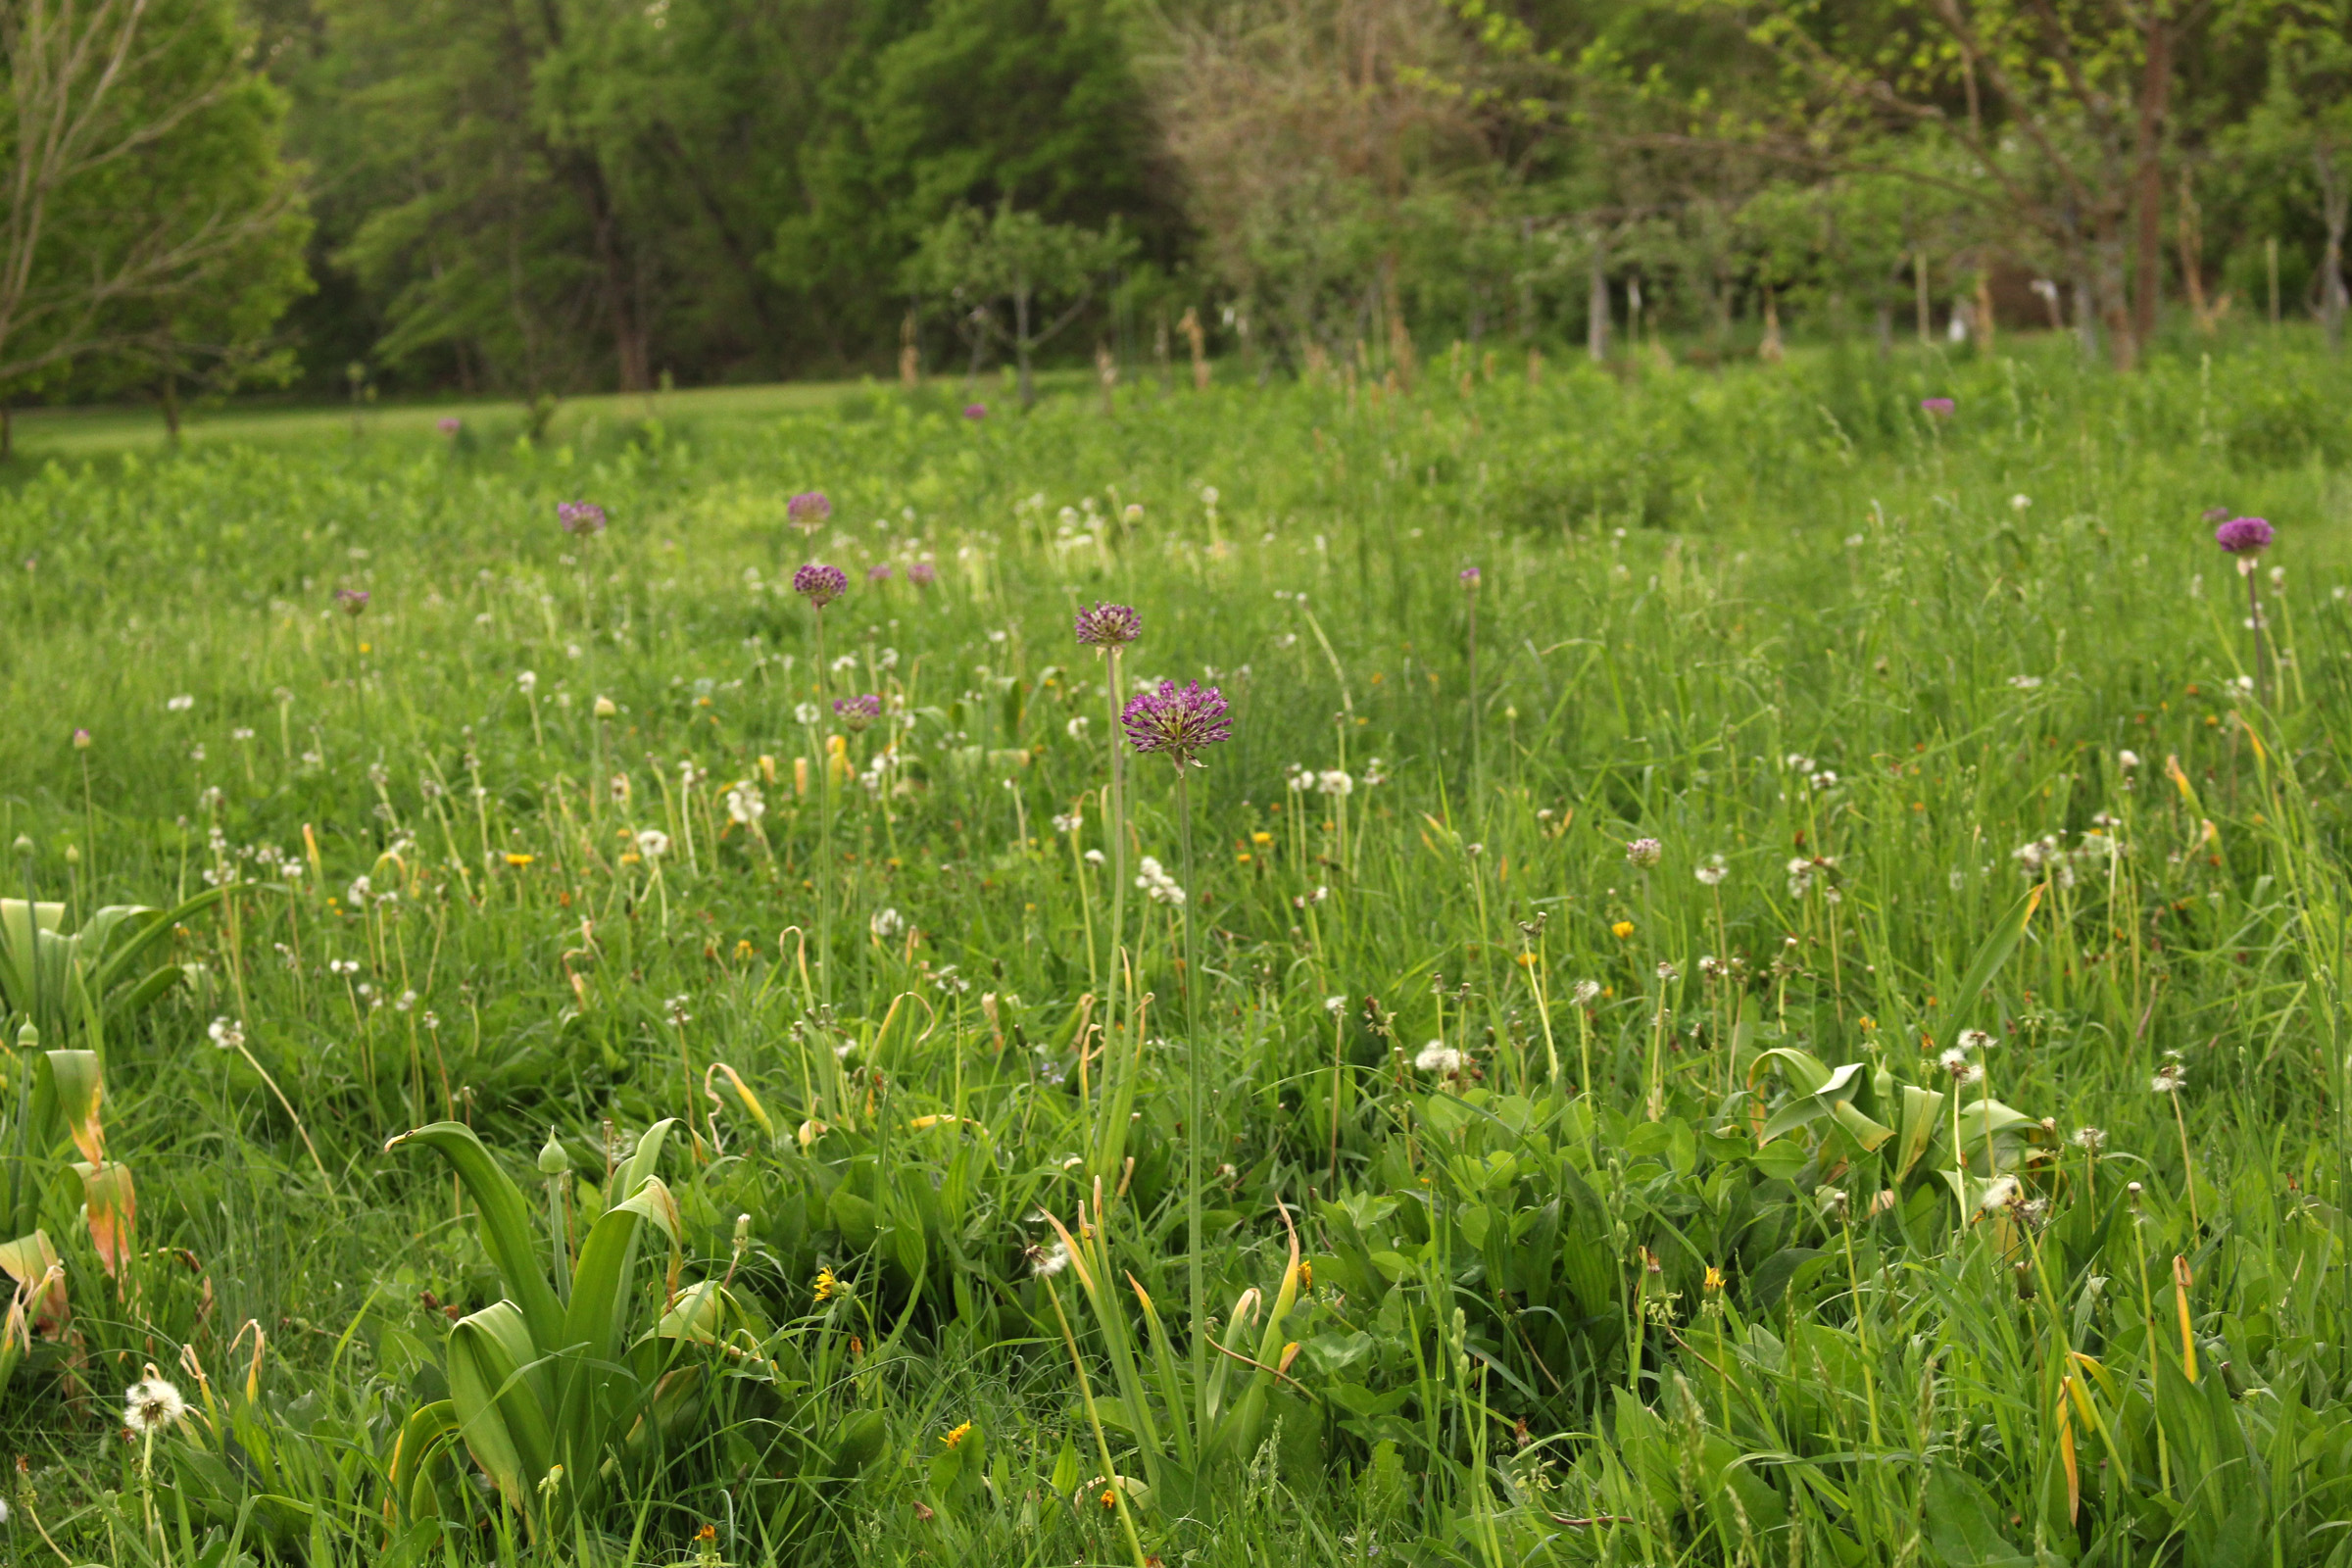
Cyclamen flower in a crannied wall
The cyclamen is Cyclamen hederifolium, sometimes commonly called Persian violet (though a violet it is not; hence the need for botanical names). Although the flowers and leaves resemble those of the better known florist’s cyclamen (C. persicum), the two cyclamen species part company in some ways. Both the flowers and the leaves of Persian violet are much smaller than those of florist’s cyclamen, and the leaves of this diminutive species have decorative patterning. They resemble those of English ivy; hence the specific epithet “hederifolium.” Hedera is the botanical genus of English ivy. Flowers hover a few inches above the leaves on thin stalks, much like small, pink butterflies.
Best of all, Persian violet is cold-hardy where winter lows plummet as low as minus 20° F. Florist’s cyclamen must be grown as a houseplant.
Decades ago, I purchased seeds of Persian violet, and managed to raise a small stable of plants. They are ideal for naturalizing in partially shaded areas. While naturalizing the cyclamens seemed like a good idea, the dainty cyclamens would be gobbled up by the exuberant growth coaxed in the rich soil here. So my carefully nurtured cyclamens remained in their pots, wintering in a very cold spot in my basement and summering on that ledge near my front door.
Lo and behold, this year I’ve noticed two little plants that have seeded themselves in the bit of soil where the flagstone terrace butts up again the ledge. The effect is subtle, to say the least, but the flowers are all the more charming for their shyness. I can appreciate the second half of Lord Tennyson’s poem — “Little flower—but if I could understand, What you are, root and all, and all in all, I should know what God and man is” — but feel no need to, an aversion, in fact, to plucking the flower from its crannied wall.
Slow Cyclamen
Years ago, I learned three things about growing cyclamen from seed. Fresh seed is best. Keep the growing medium consistently cool and moist. Be patient; germination could take many weeks, and keep plants growing well for at least two years to allow the tuber to develop.
After that, plants can begin their spring dormancy, flowering and sprouting new leaves in late summer, the latter lasting well into winter, depending on temperatures.
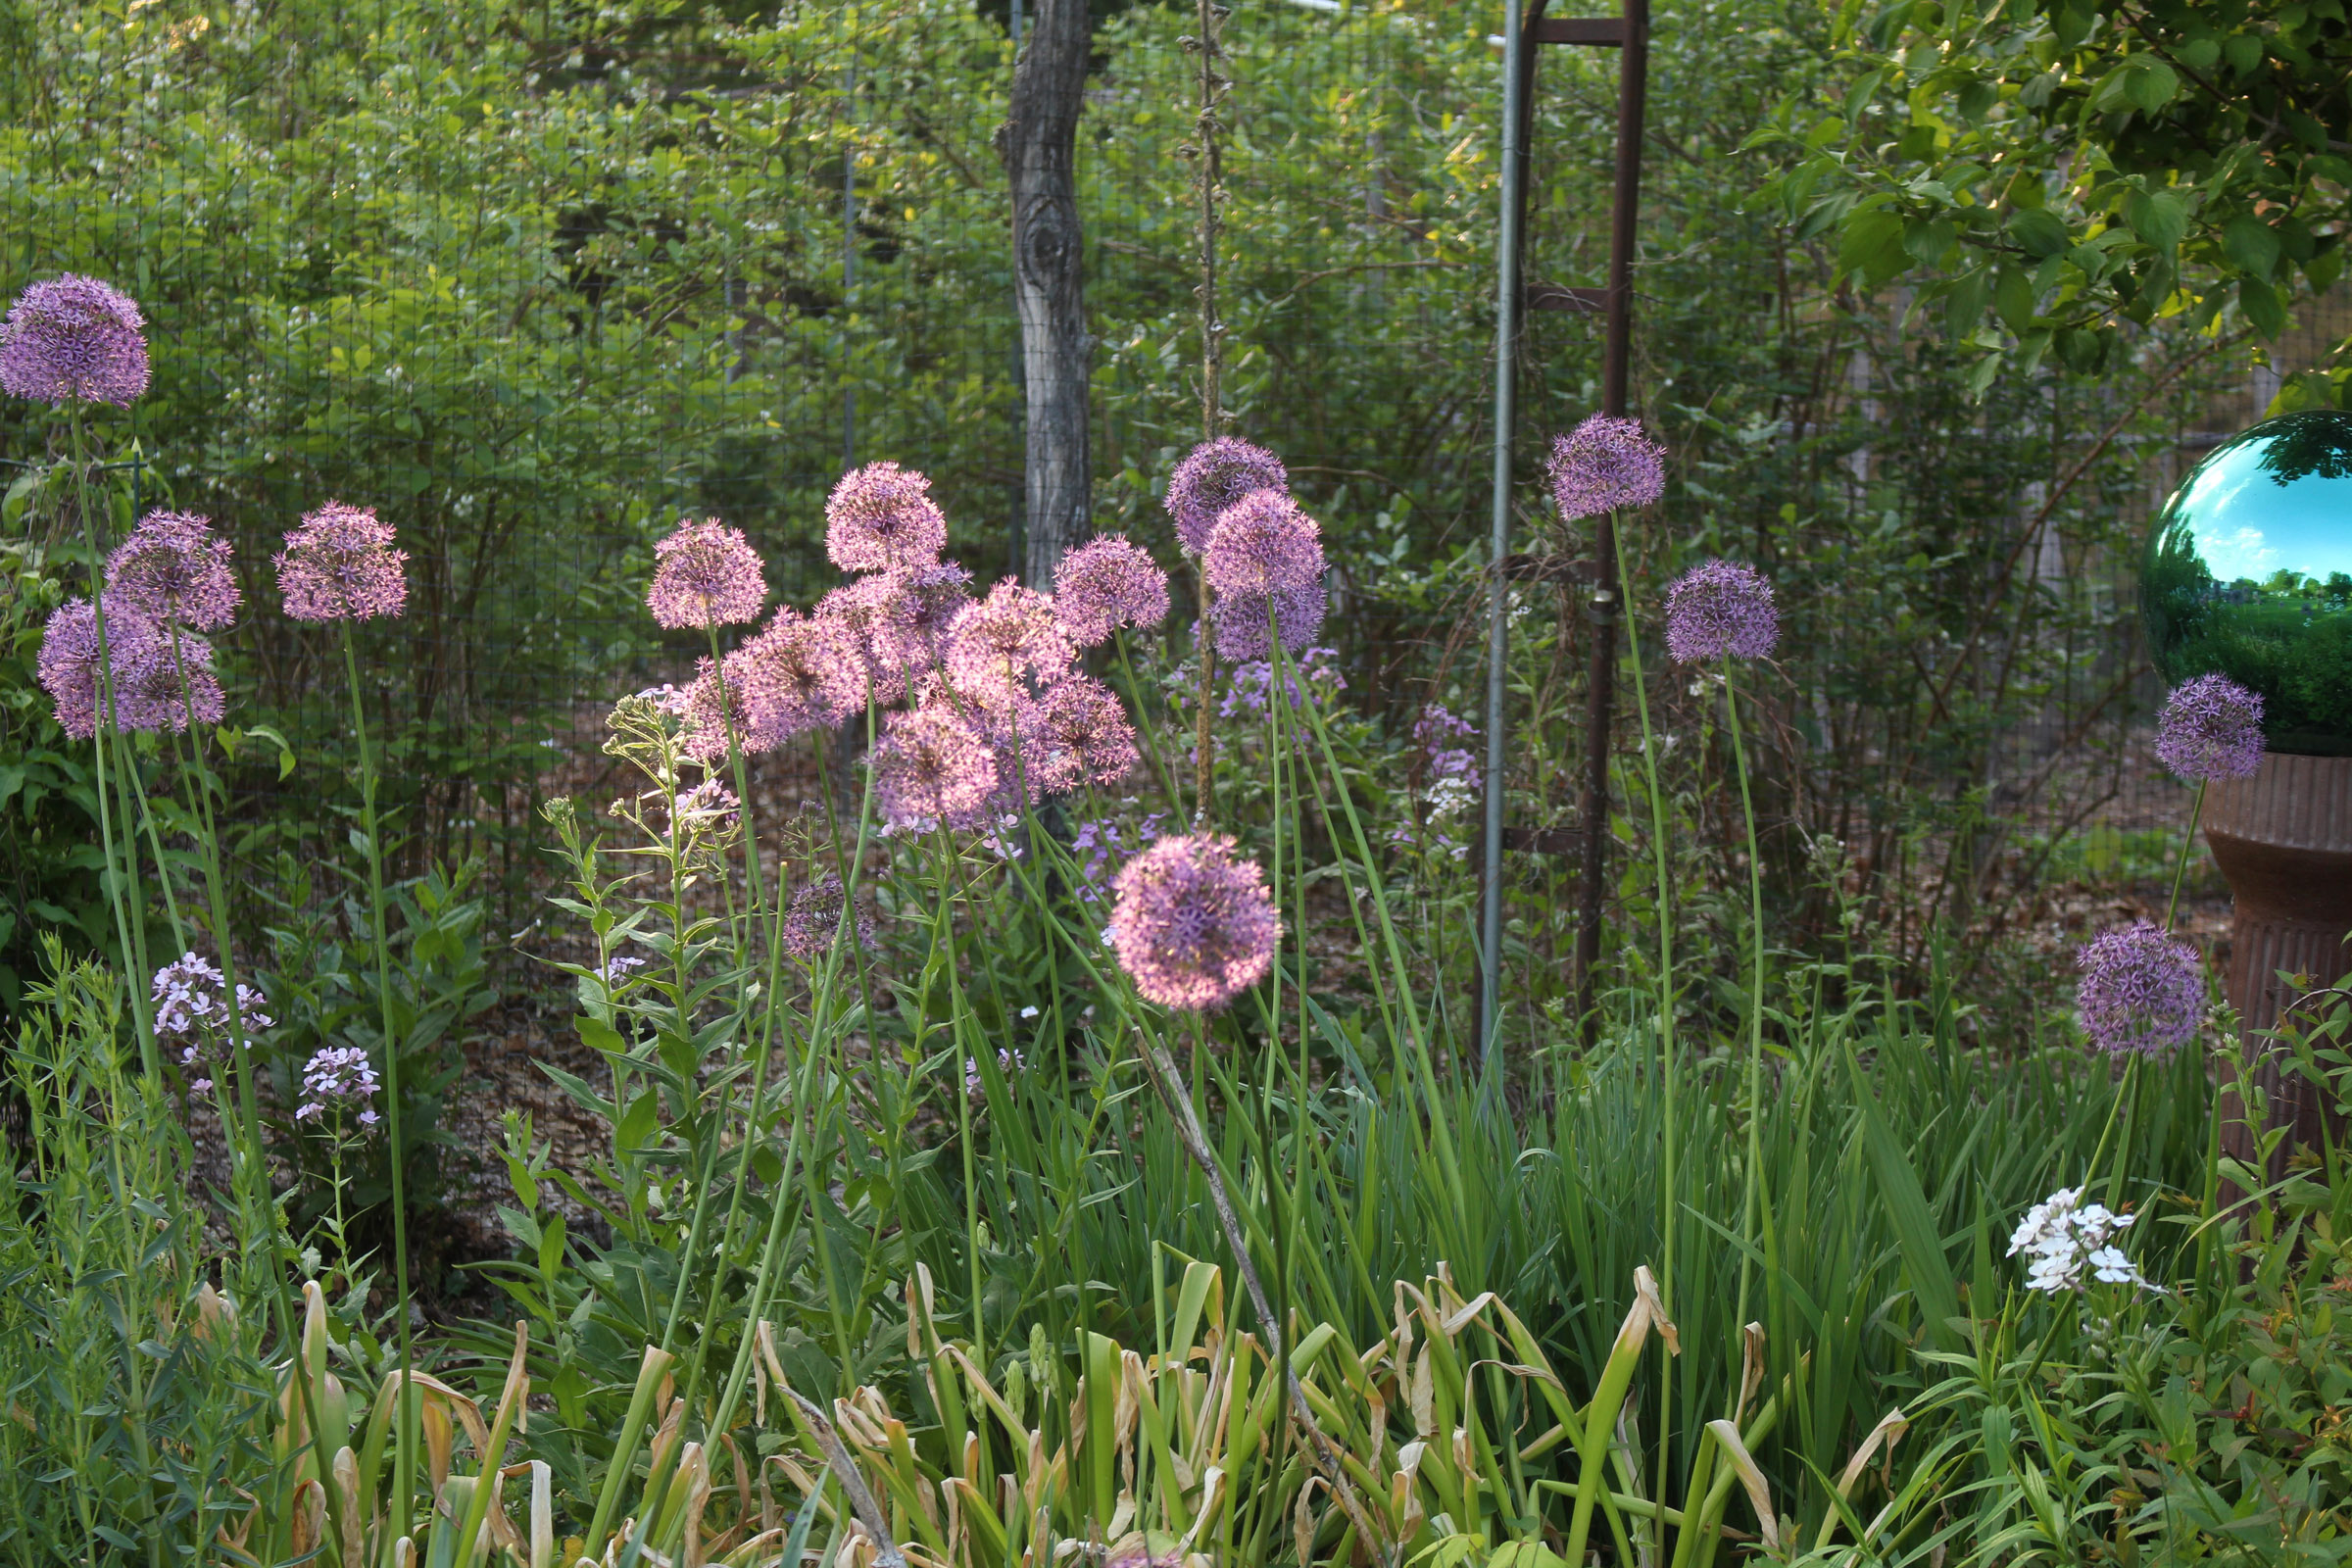
Slow Ramps
Ramps (Allium tricoccum) are all the rage; here also, and my plan is to expand my ramp planting of two potted plants into a passel of ramps by growing them from seed. My experience in growing cyclamen from seed might come in handy here.
Although both plants enjoy similar growing condition, at least as far as the need for part shade in spring, the life cycle of ramps is different from cyclamens. Ramps sprout leaves in spring, send up a flower stalk, and then the leaves fade away as the plant goes dormant. The flowers talk remains, developing a head full of seeds — which I collected last week.
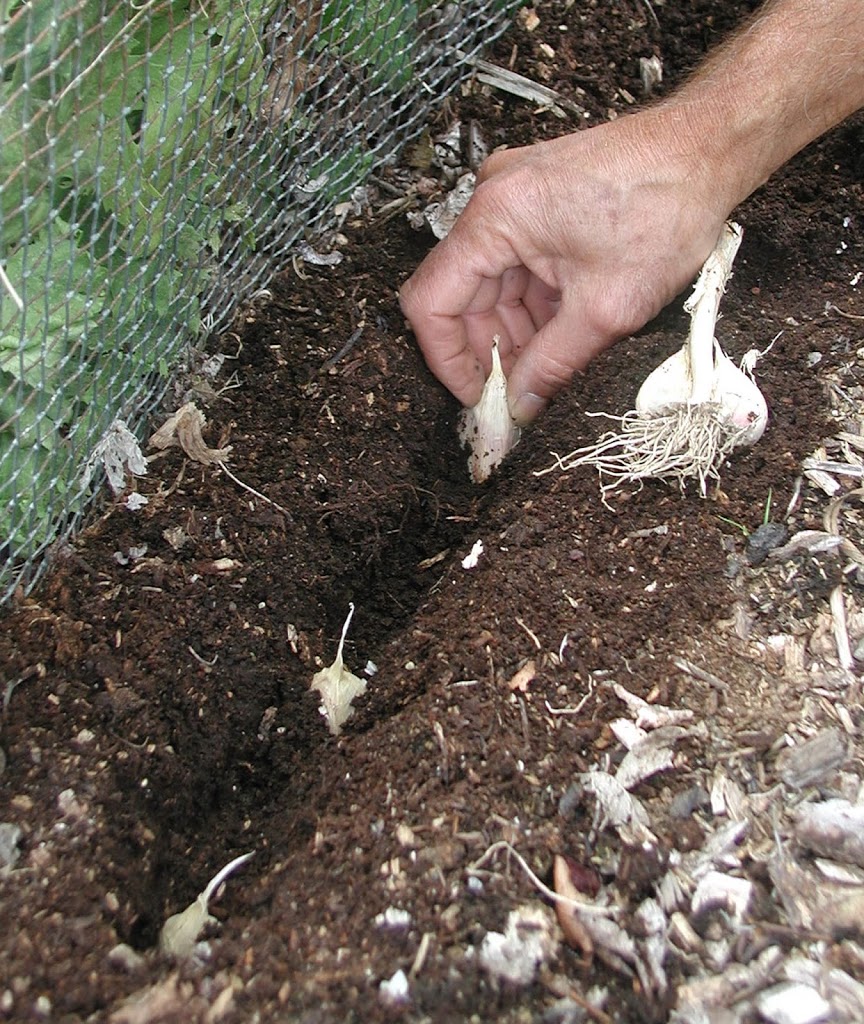
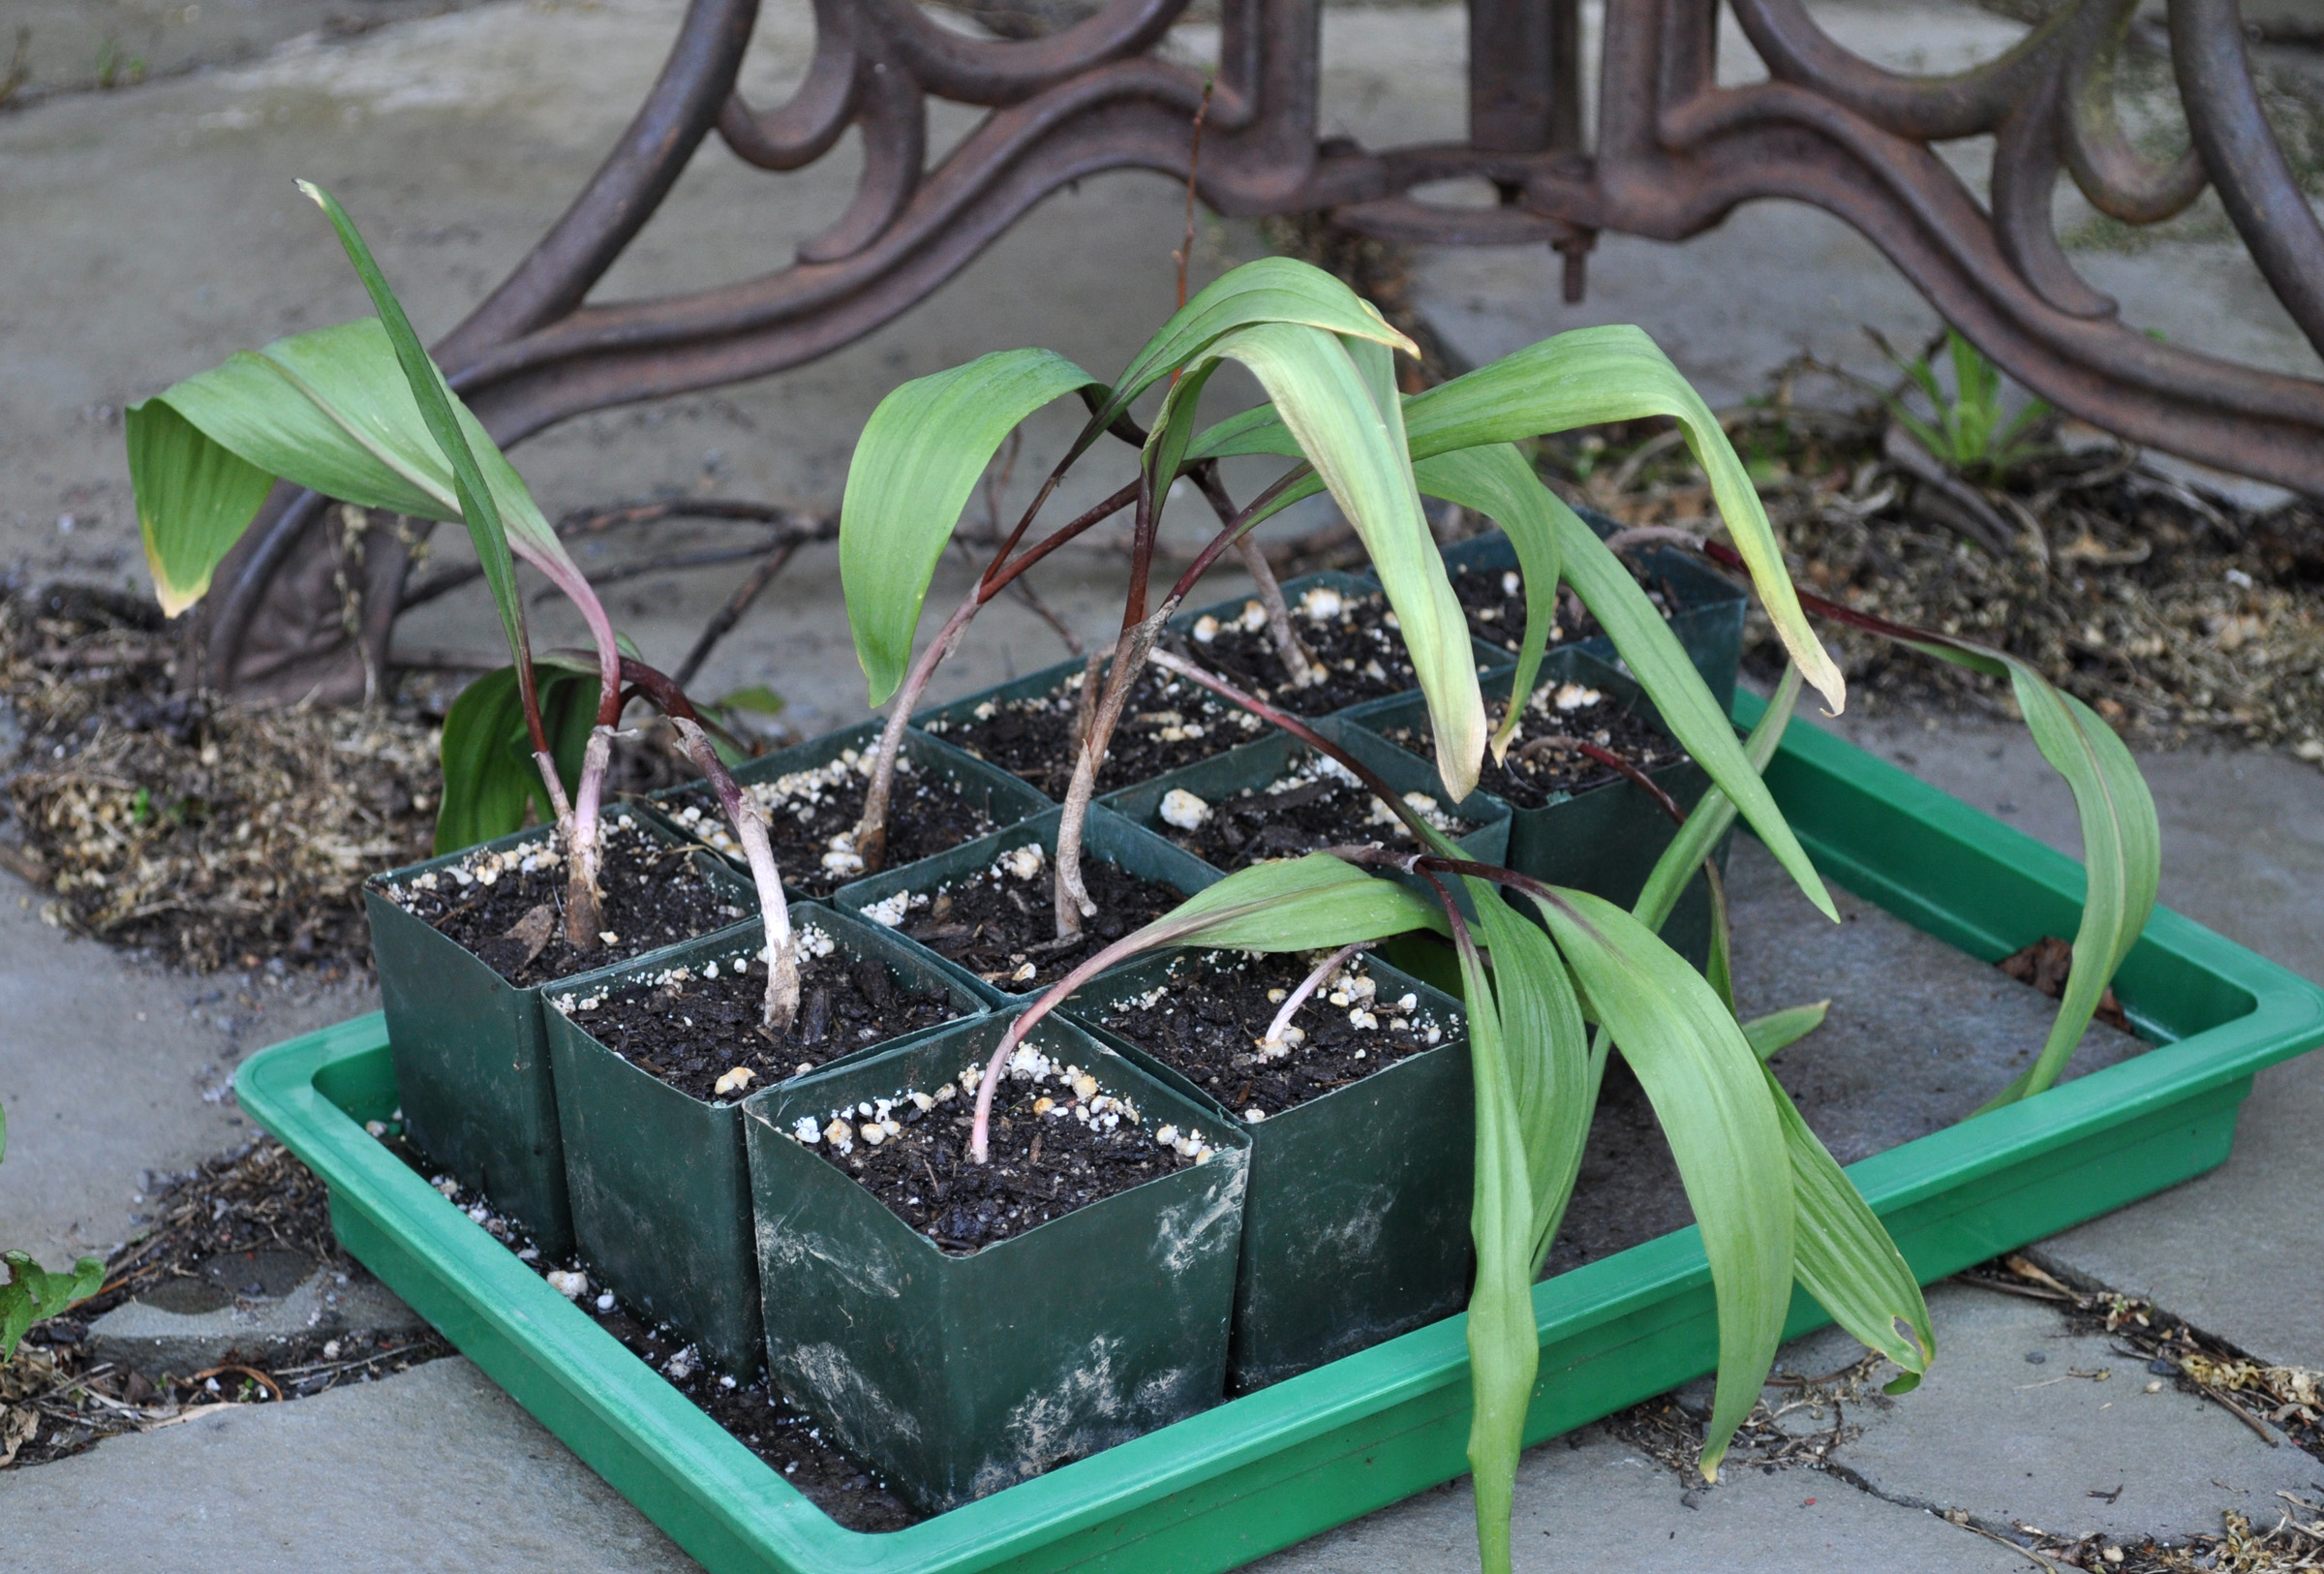 I planted the small seeds in potting soil in a flower pot. The journey begins. Those seeds could take anywhere from 6 to 18 months to sprout. When just ripe, ramp seeds have an under-developed embryo, a situation that inhibits germination. Keeping the seed warm and moist permits development of the embryo and, eventually, root growth.
Once root dormancy has been broken, there’s still shoot dormancy to contend with. Shoots won’t grow until the seeds, with their root sprouts, have experienced a period of cool, moist conditions — that is, they recognize that winter is over and it’s safe to send a green shoot aboveground.
If root dormancy isn’t completed before winter sets in, it has to finish the following year, with shoot dormancy needing fulfilling after that: 18 months after sowing. Fulfilling root dormancy before winter allows shoot growth the following spring: 6 months after sowing. I’m making sure of root dormancy being fulfilled before cold weather sets in by keeping the pot of seeds moist and in the greenhouse. Temperatures are cool in the greenhouse in winter, so I’m expecting — hoping — for sprouts to appear by late winter.
Growing ramps and cyclamen from seed is similar in that a prime ingredient for success is patience. In the case of ramps, if everything goes right, I could be harvesting my first home grown ramps in 5 to 7 years.