UNTRADITIONAL ROSES AND HOEING
Rose Fan: No, Yes?
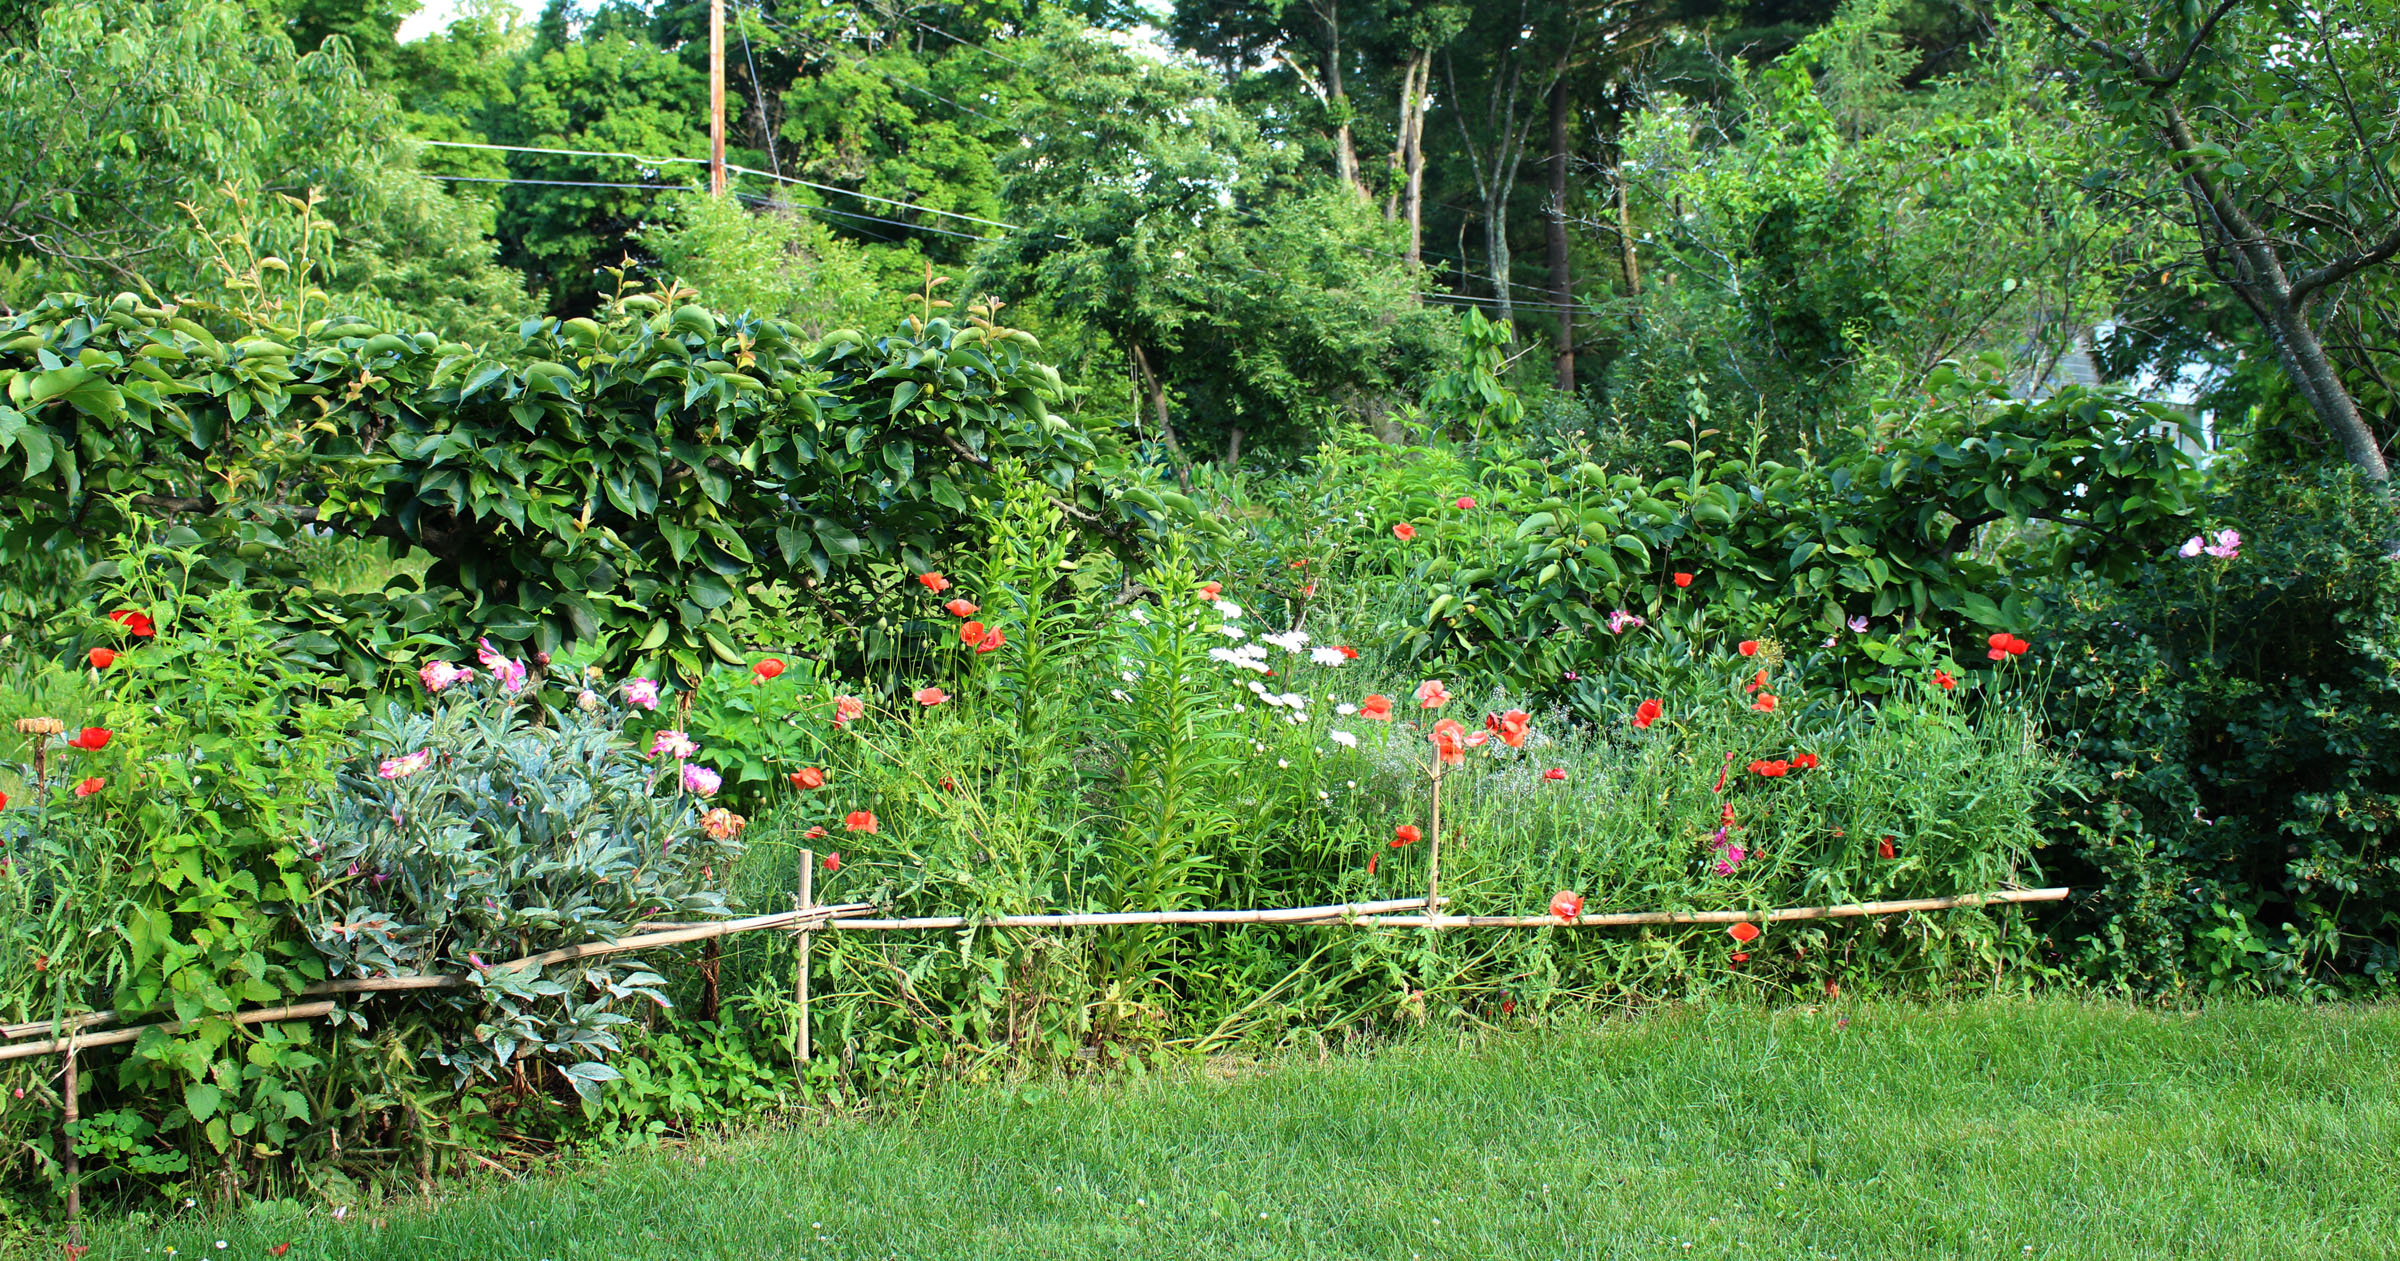
I’ve said it before and I’ll say it again: I’m not a big fan of roses. But I can’t help myself. The garden is awash in golden yellow, crimson red, soft pink, apricot pink, and plain old pink blossoms. Almost all of this is thanks to David Austin, breeder of roses.
My father was a big fan of roses, so I was exposed to them at an early age. Pre-dating Mr. Austin’s creations, my father’s roses were the ever popular — except with me — hybrid tea roses which everyone — except me — liked and likes for their pointy, formal blossoms, their bold colors, and their repeat bloom. Nobody mentions their gawky stature, general lack of strong or interesting fragrance, and attraction to pests.
L. D. Braithewaite rose, cold-hardy and just keeps blooming
David Austin roses won me over with their softer colors, fuller blossoms borne on more full-bodied bushes, delicious fragrance, disease resistance, and repeat bloom. Not all have all of these qualities, of course.
L. D. Braithewaite has been the most florific of my David Austin roses, even weathering two very cold winters unscathed. The crimson, red petals made their first appearance a few weeks ago, and are still going strong. They’re not my favorite color, though. Least successful of my roses has been Bibi Mazoon, which is my favorite of the David Austin roses, in its blossoms, at least. Cup-shaped and apricot pink, the blossoms are admittedly few and far between, and can hardly be held up by the weak stalks. The rich yellow color of Golden Celebration is another of my favorites; this variety blooms fairly well and also pulled through winter unscathed.
I grow a few pink David Austin roses, including Charlotte, Brother Cadfael, Sharifa Asma, and they’re all looking pretty and growing well.
Of all the roses I grow, my favorite is . . . well, I’m not one hundred percent sure of its name. It started life here many years ago as a cutting of Rose de Rescht, given to me by local herbalist Anne Solomon. Except that, reading descriptions of Rose de Rescht, I came to realize that mine wasn’t it. Whatever the name (after all, “a rose is a rose is a rose . . .”), the attractive crumpled, crêpe-paper blossoms fill the air with a delectable, heady fragrance, more than that of any of the roses I grow. The bush, robust, armed with prickles and clothed in leaves having having a bluish cast, has never been fazed by pests or cold.
With the help of some rosarians (especially those at www.heirloomroses.com), Rose de Rescht was assigned its probable proper name: Ispahan. The alluring name, the blossoms, and the toughness of the plant more than offset the plant’s one deficiency, that of blossoming only in spring.
Hoe, Hoe, Hoe, But It’s Not Xmas
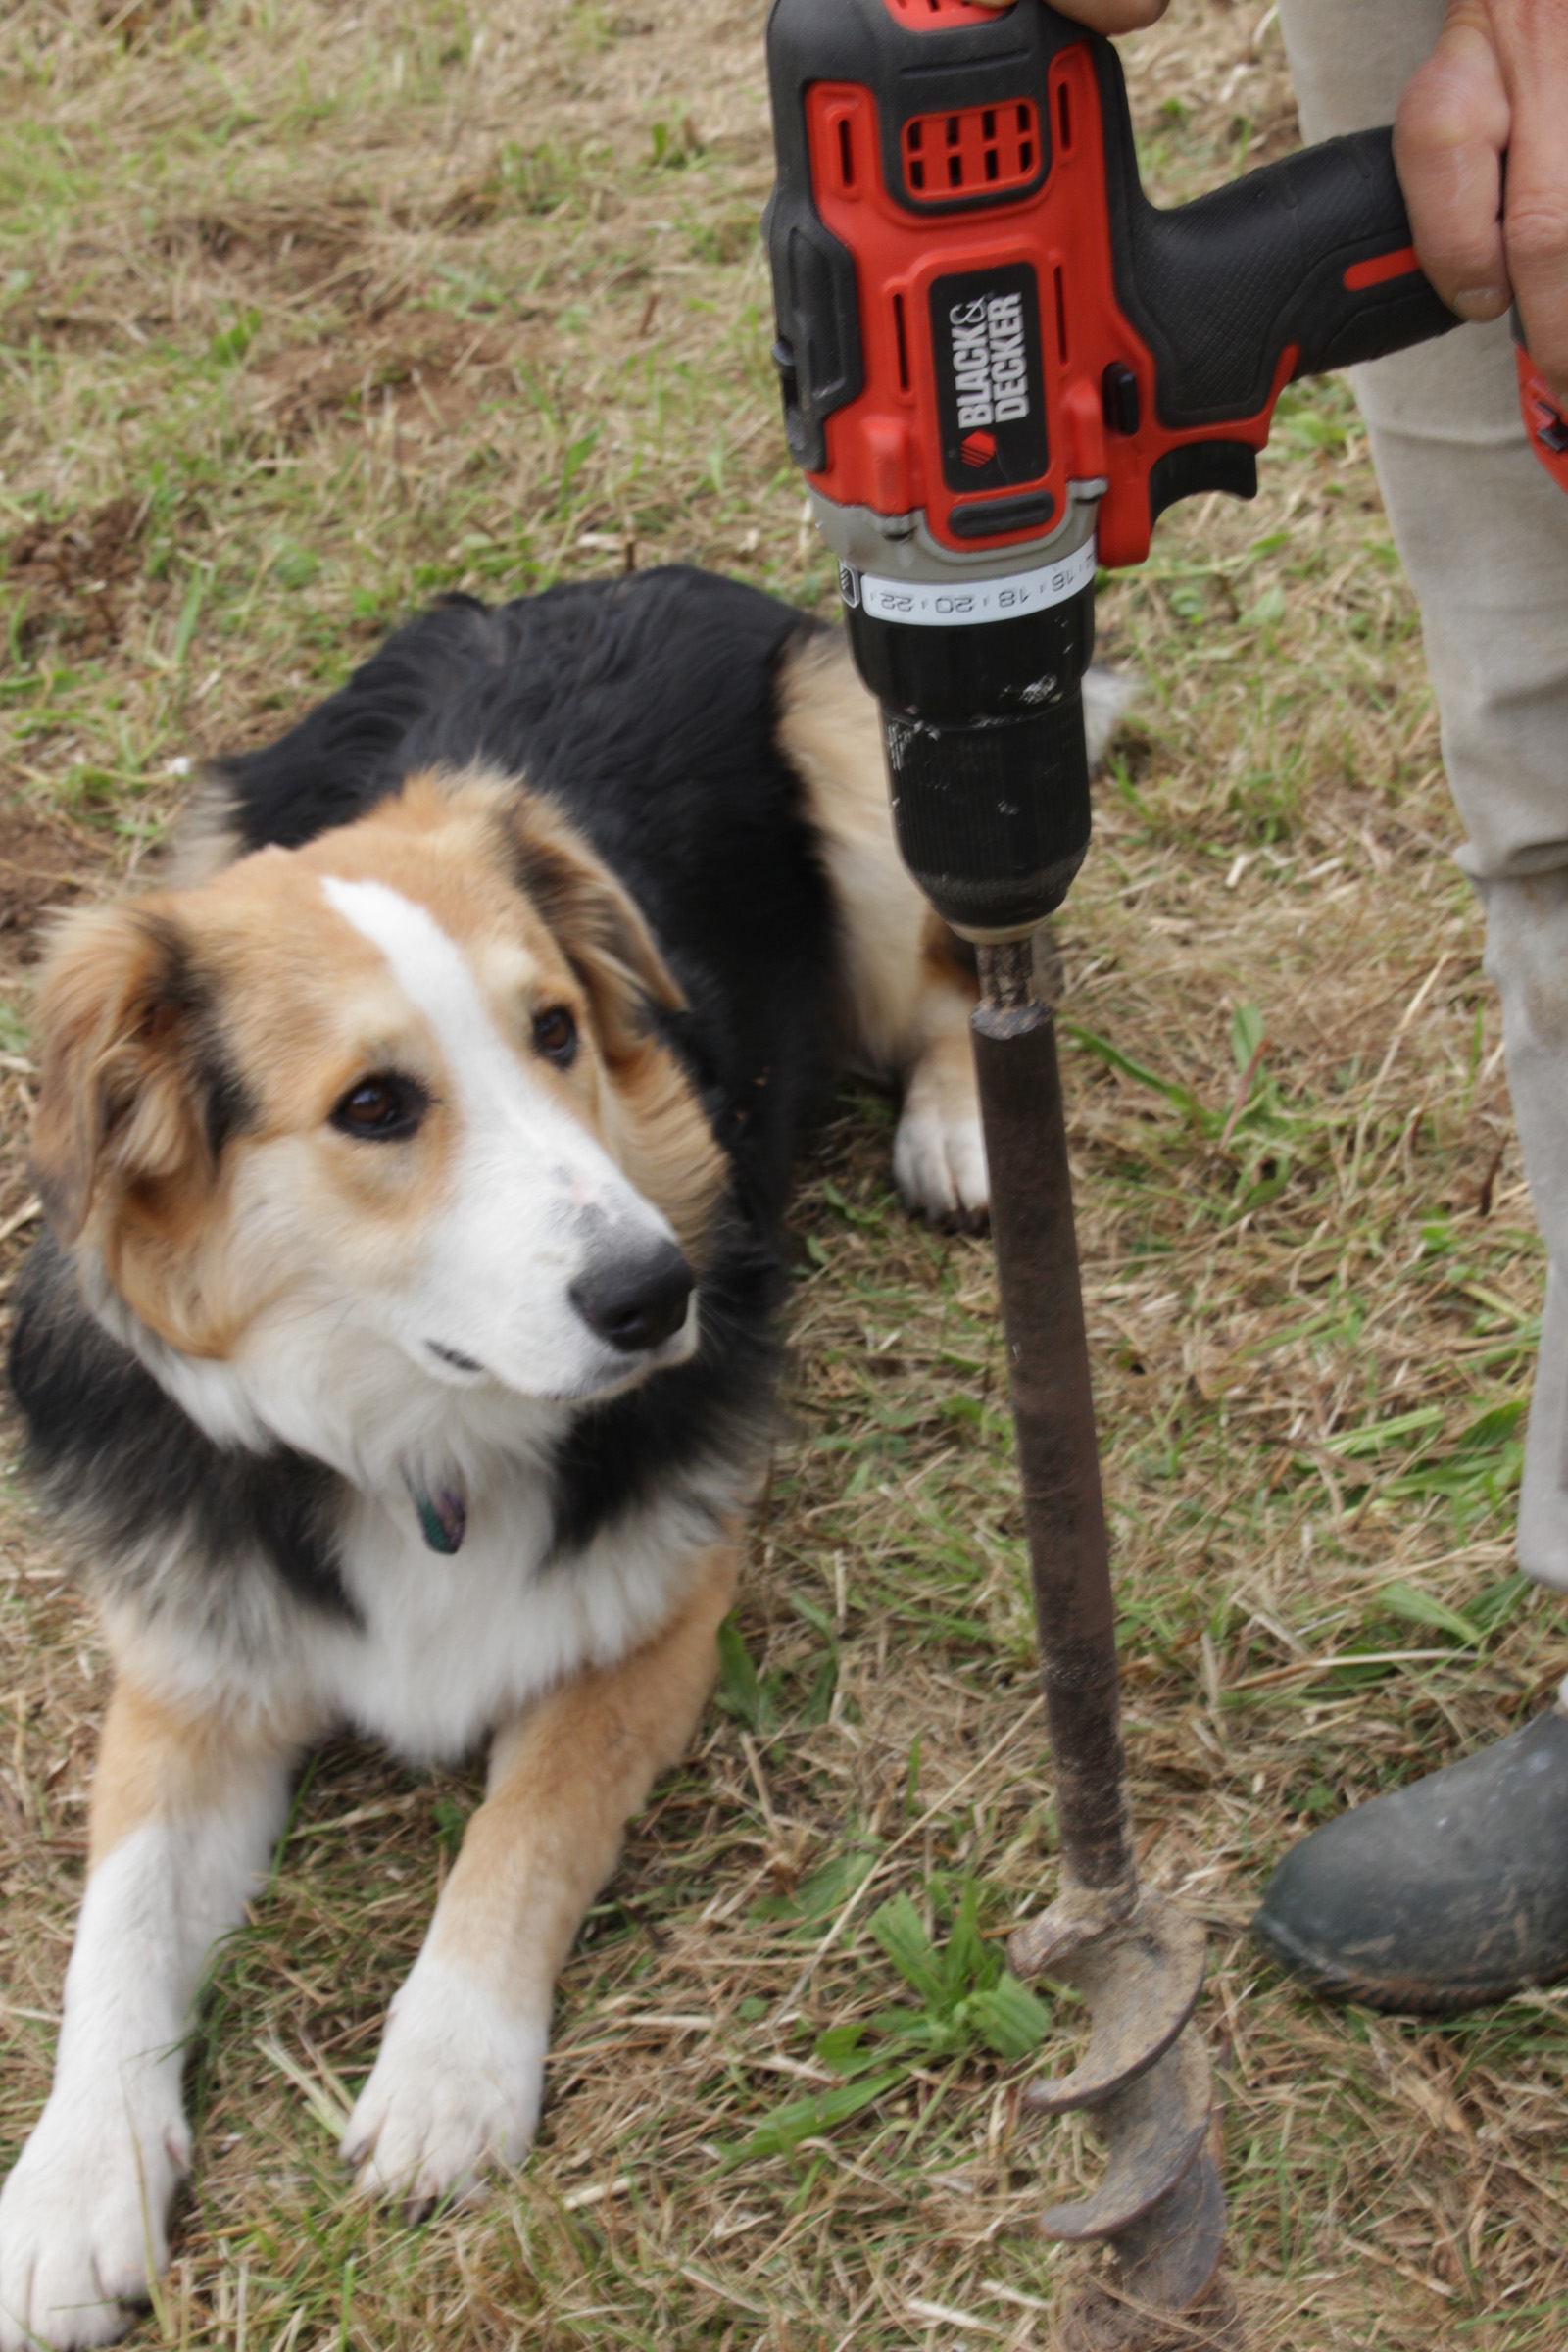
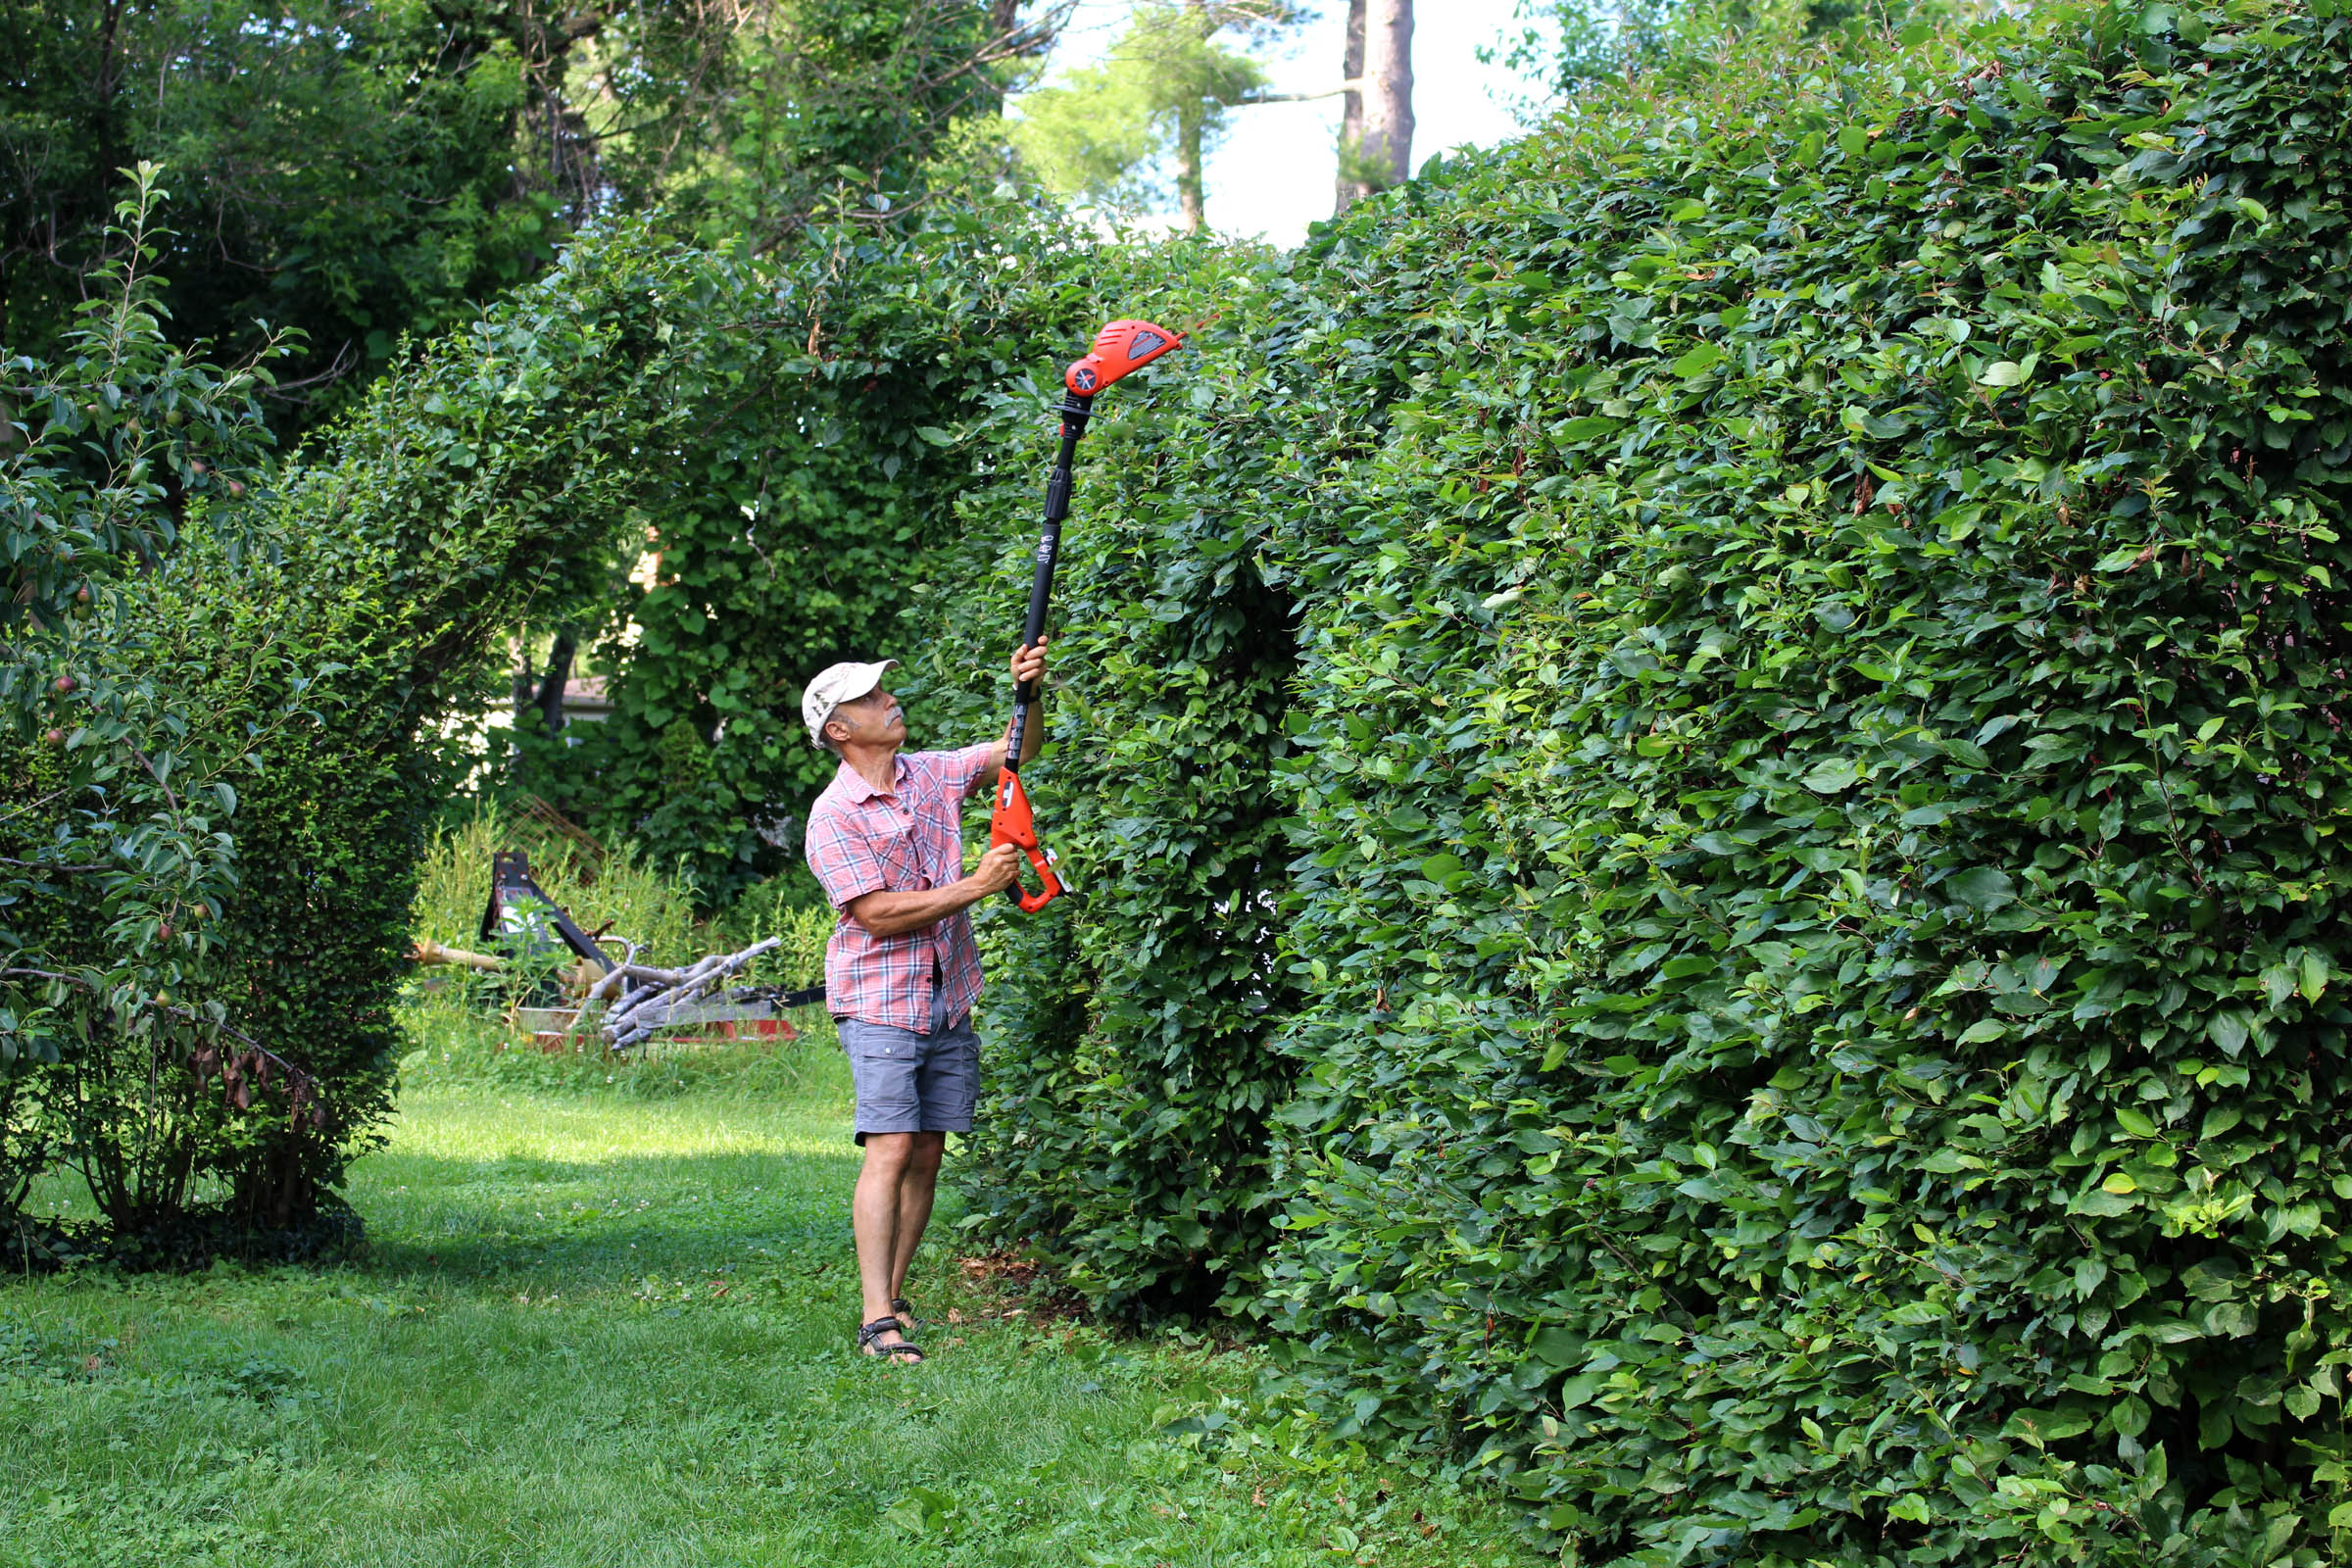
I can’t just stop and smell the roses all day long; there’s work to be done. Time to grab a hoe and hoe, hoe, hoe. How retro, you may think. What with all sorts of mulches and tillers and tilthers available, the hoe is an under appreciated and underused garden tool these days.
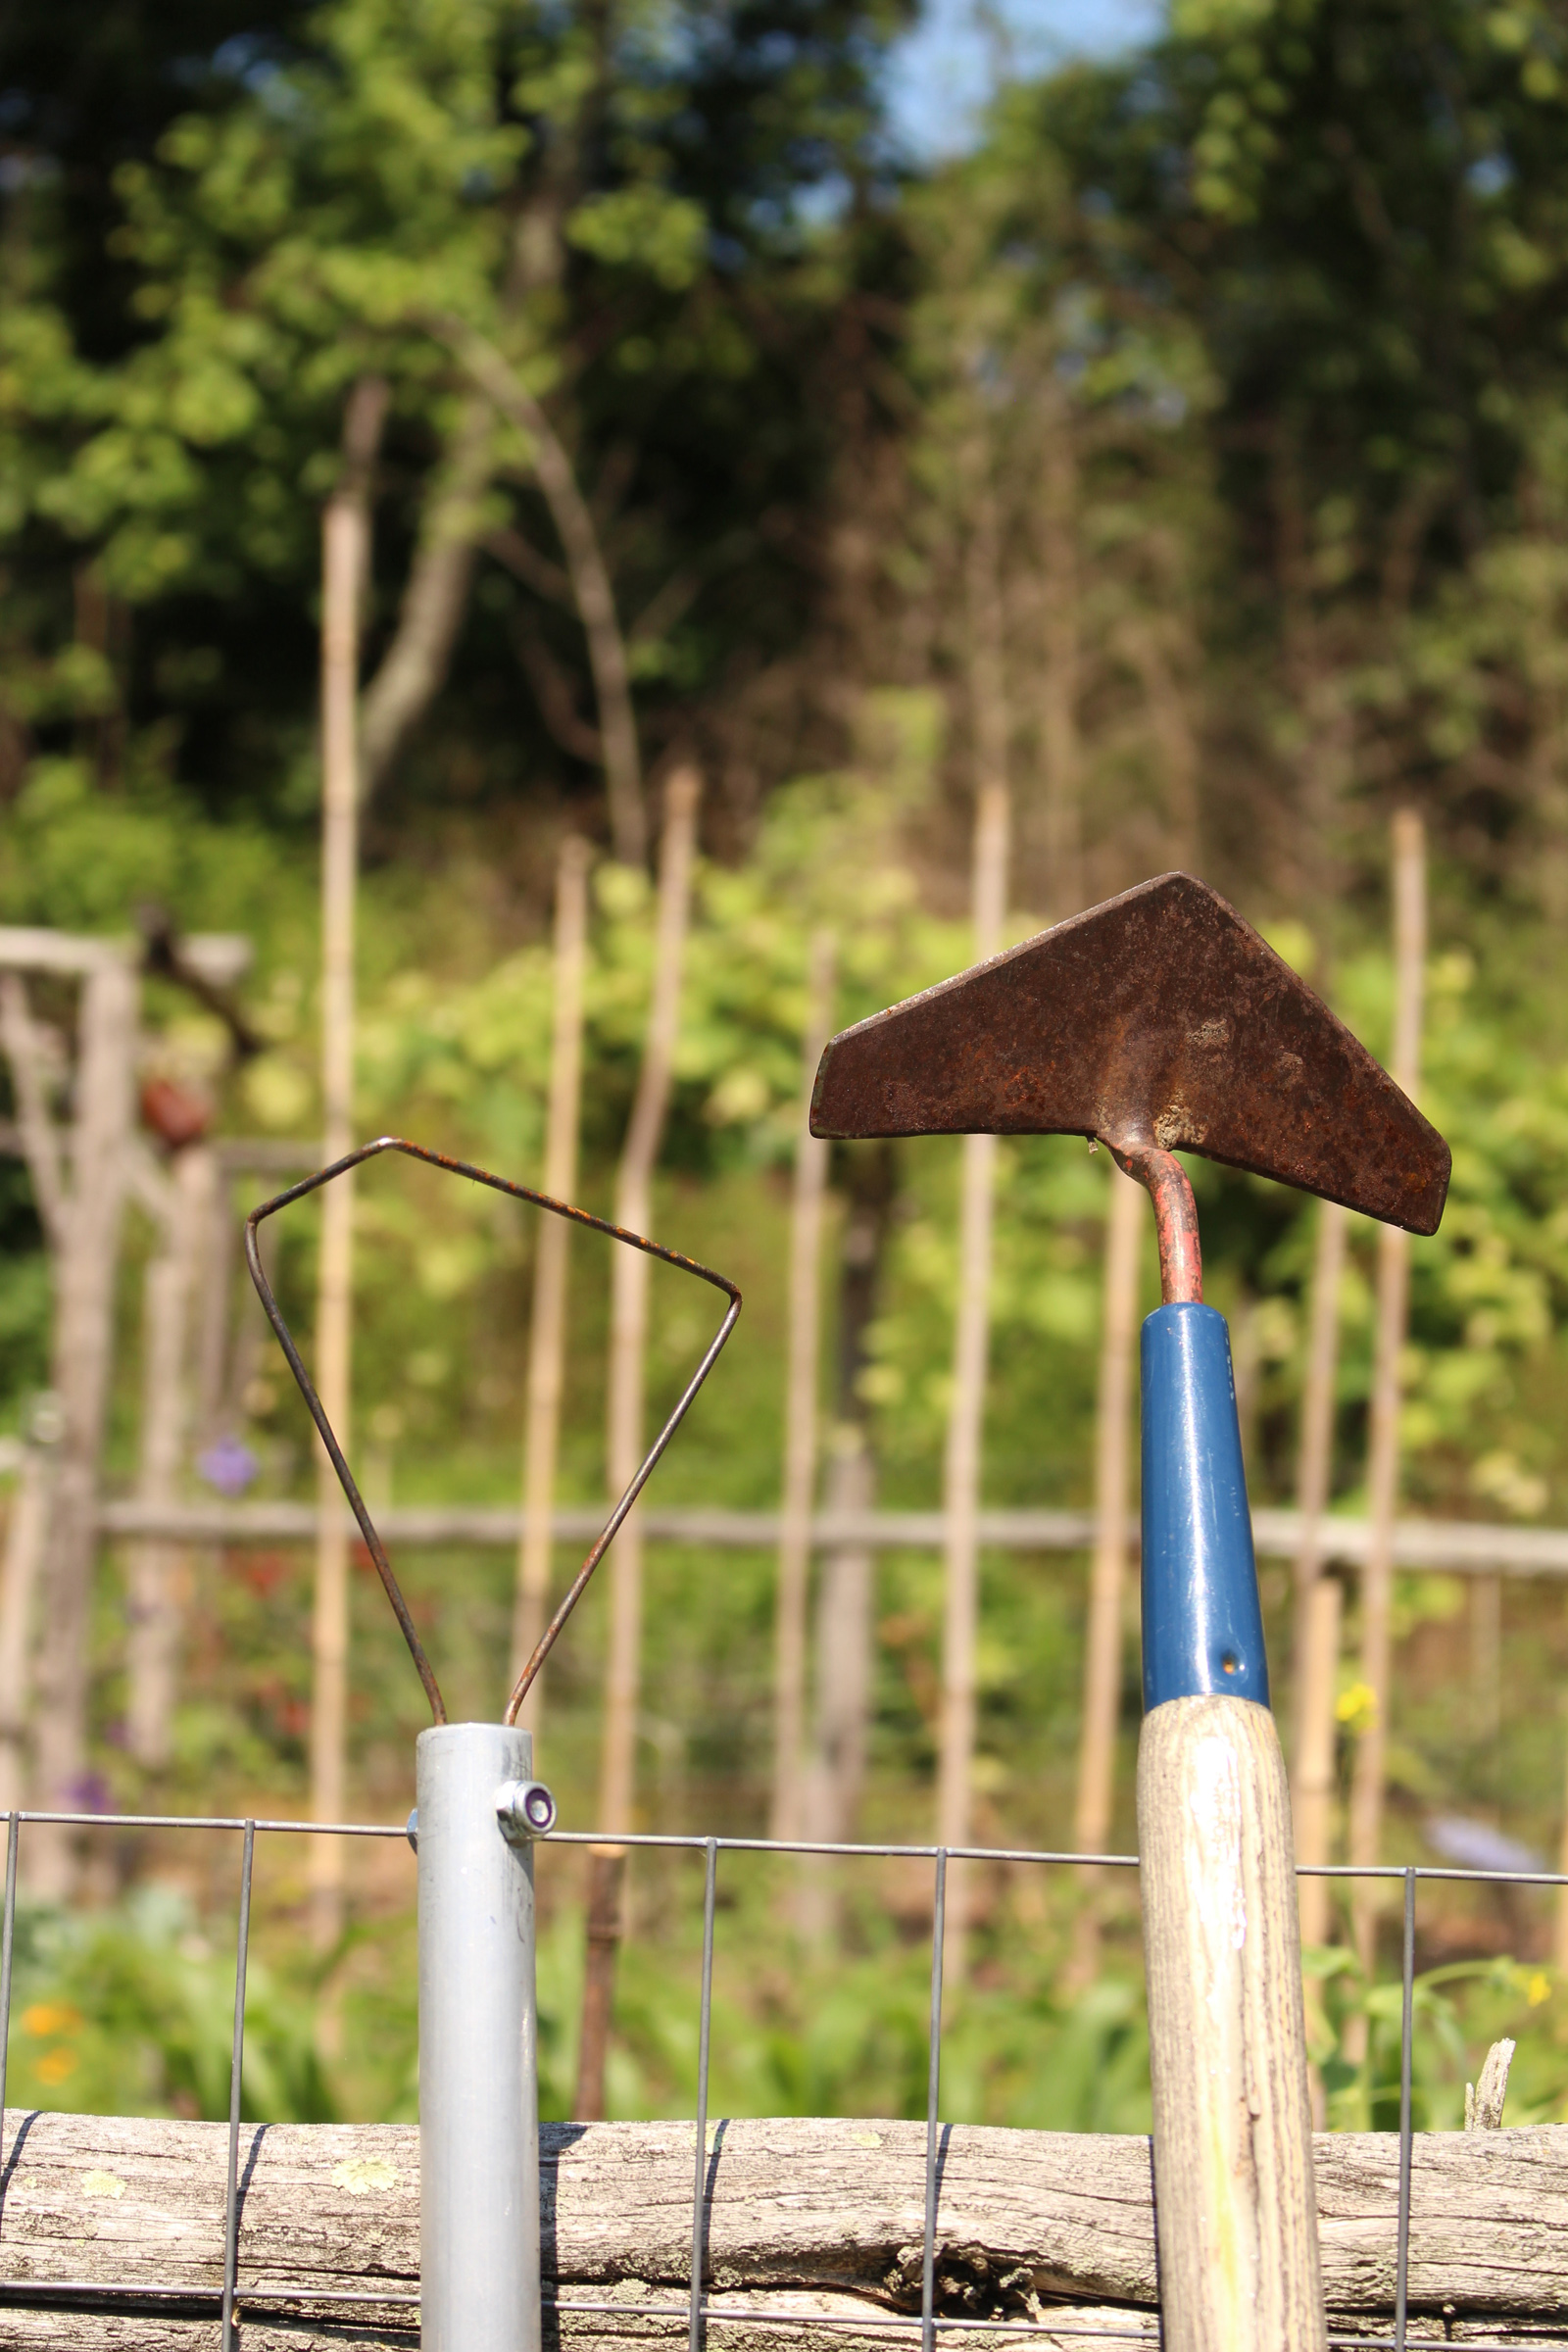
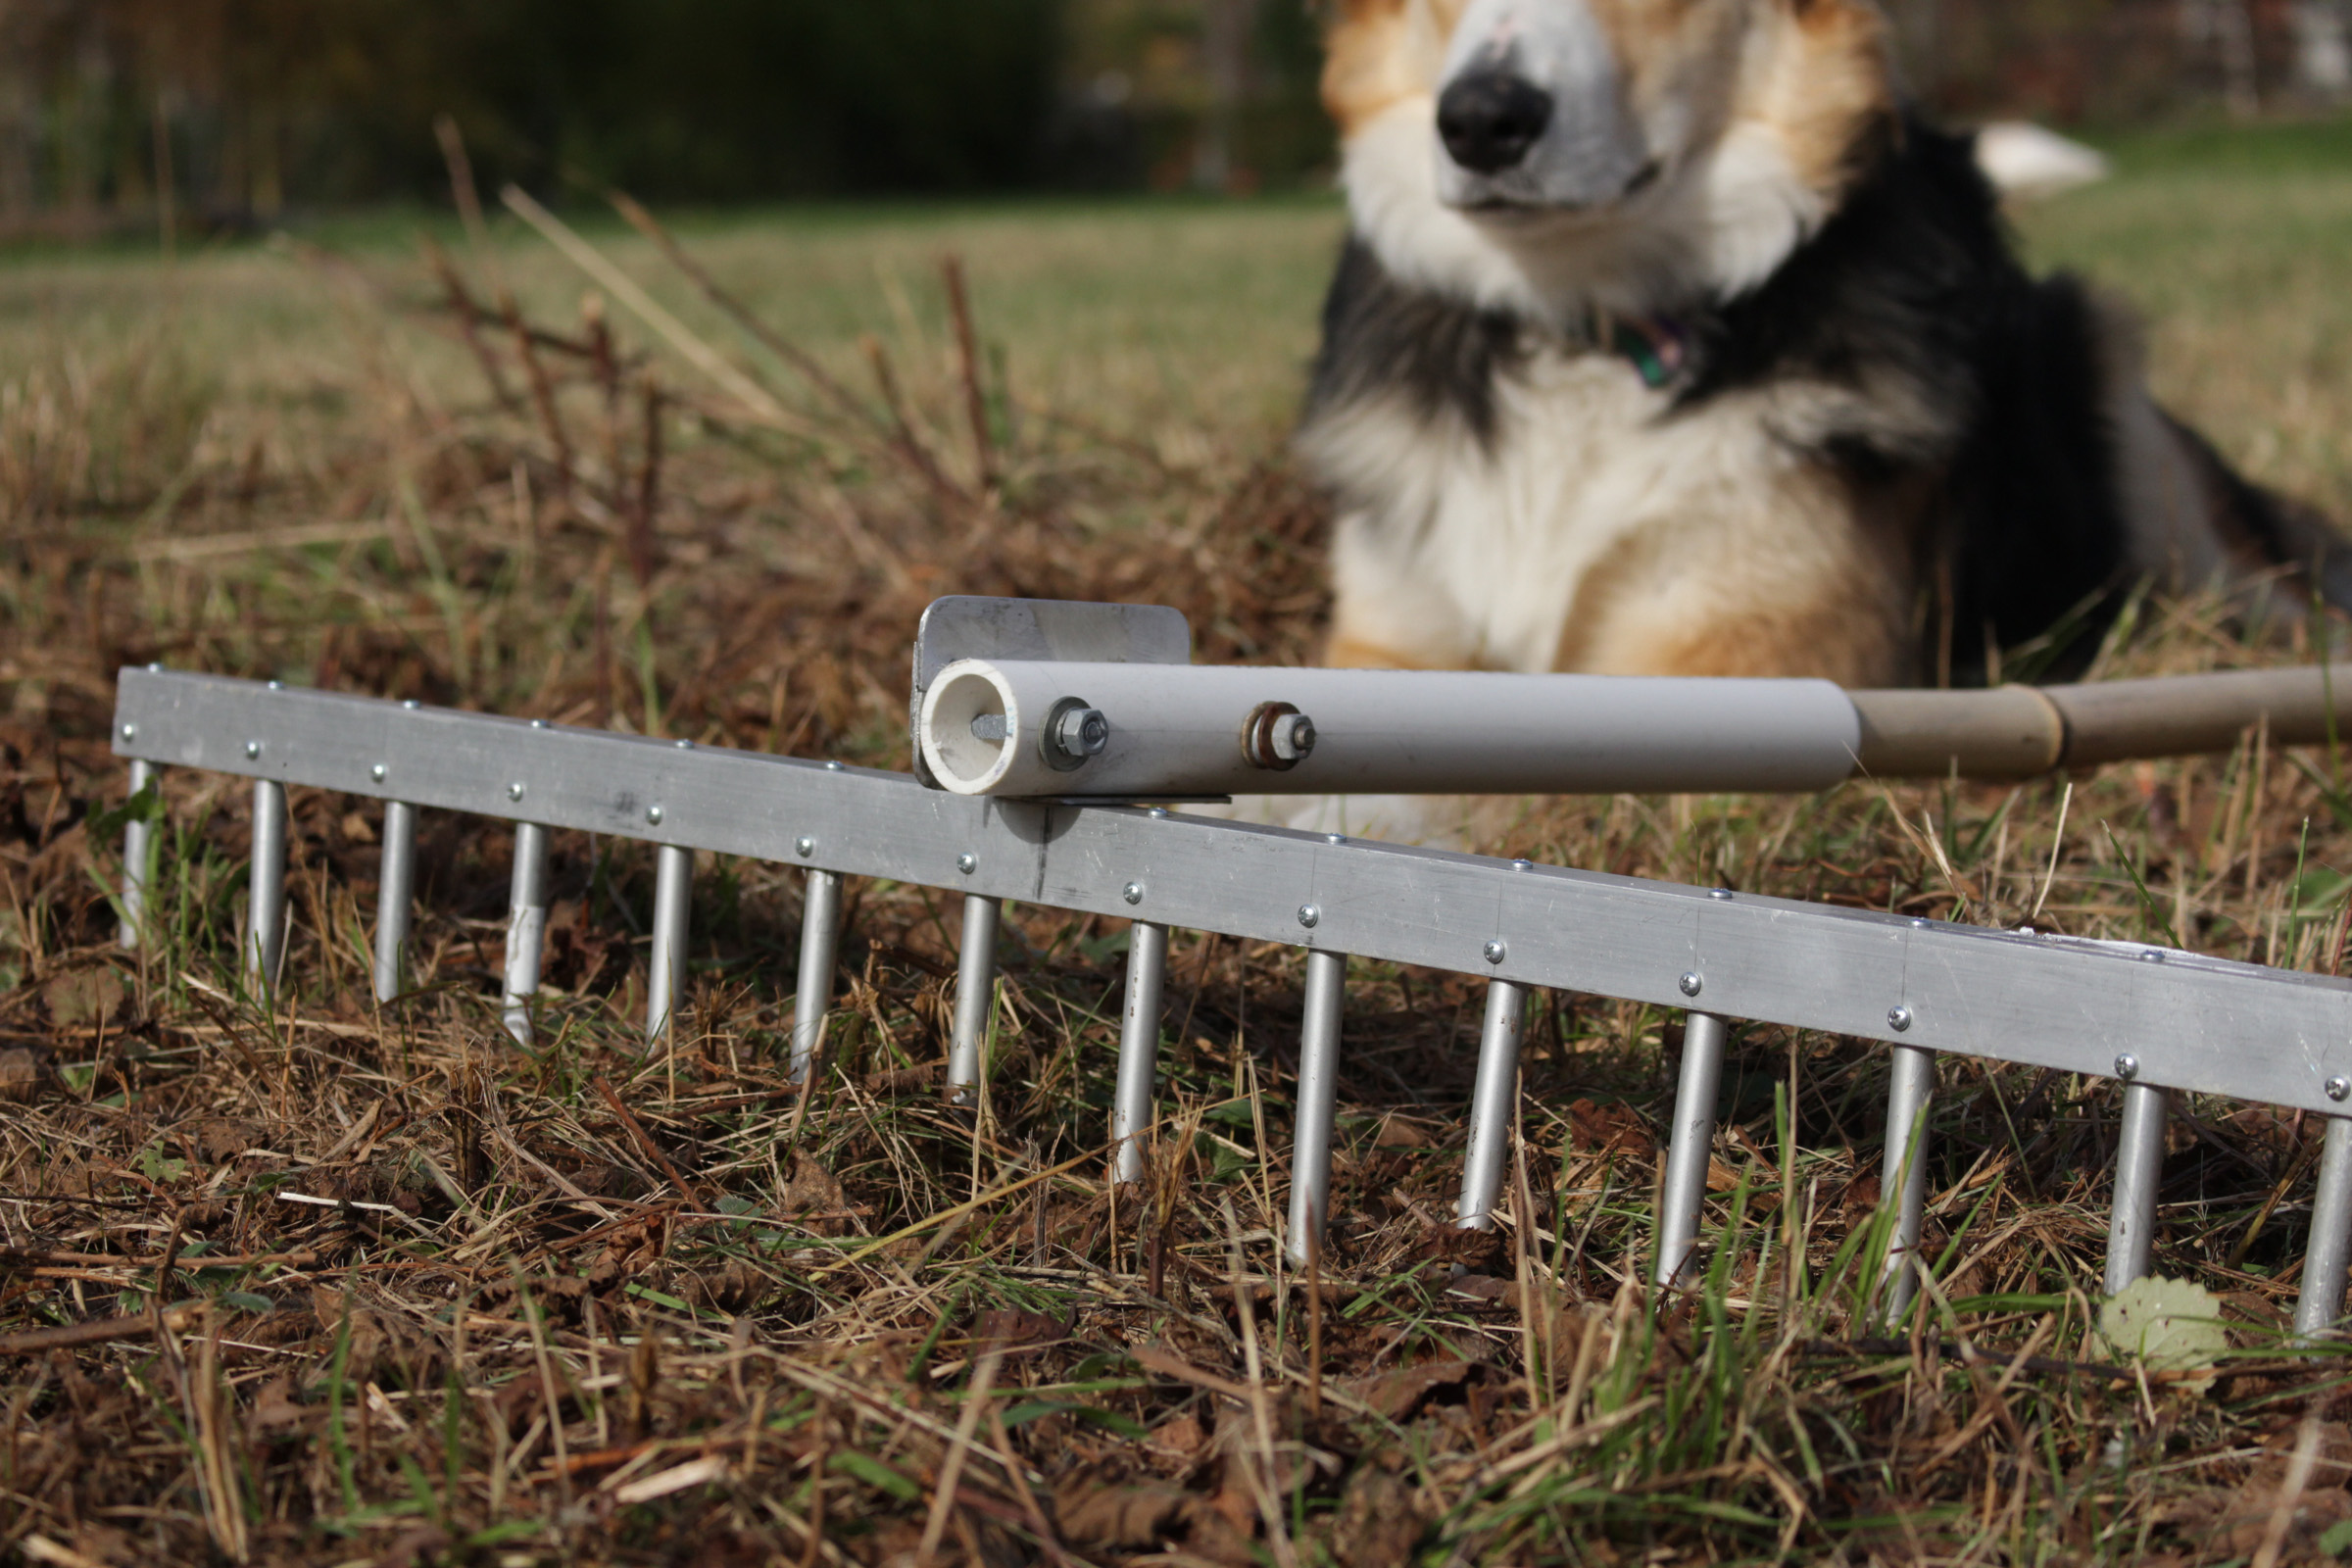
My favorite hoes: wire weeder and winged weeder
But a hoe does good work — if you use the right hoe in the right manner. The best hoes, which include the scuffle hoe, the stirrup hoe, and the colinear hoe, have sharp blades that, in use, run parallel to the surface of the ground. Among these types of hoes, my personal preference has always been for the winged weeder, which looks like an airplane wing, sharpened fore and aft, attached at an angle to a long handle.
I’ve recently taken up with another hoe, the wire weeder (from http://twobadcatsllc.com), whose head is a stiff wire cleverly bent to be easily worked amongst plants. Rotated 90 degrees puts its short edge to work, which is very useful for wending the head in amongst closely spaced plants. The lightweight aluminum handle doesn’t look traditional but makes the tool very light and spry in use.
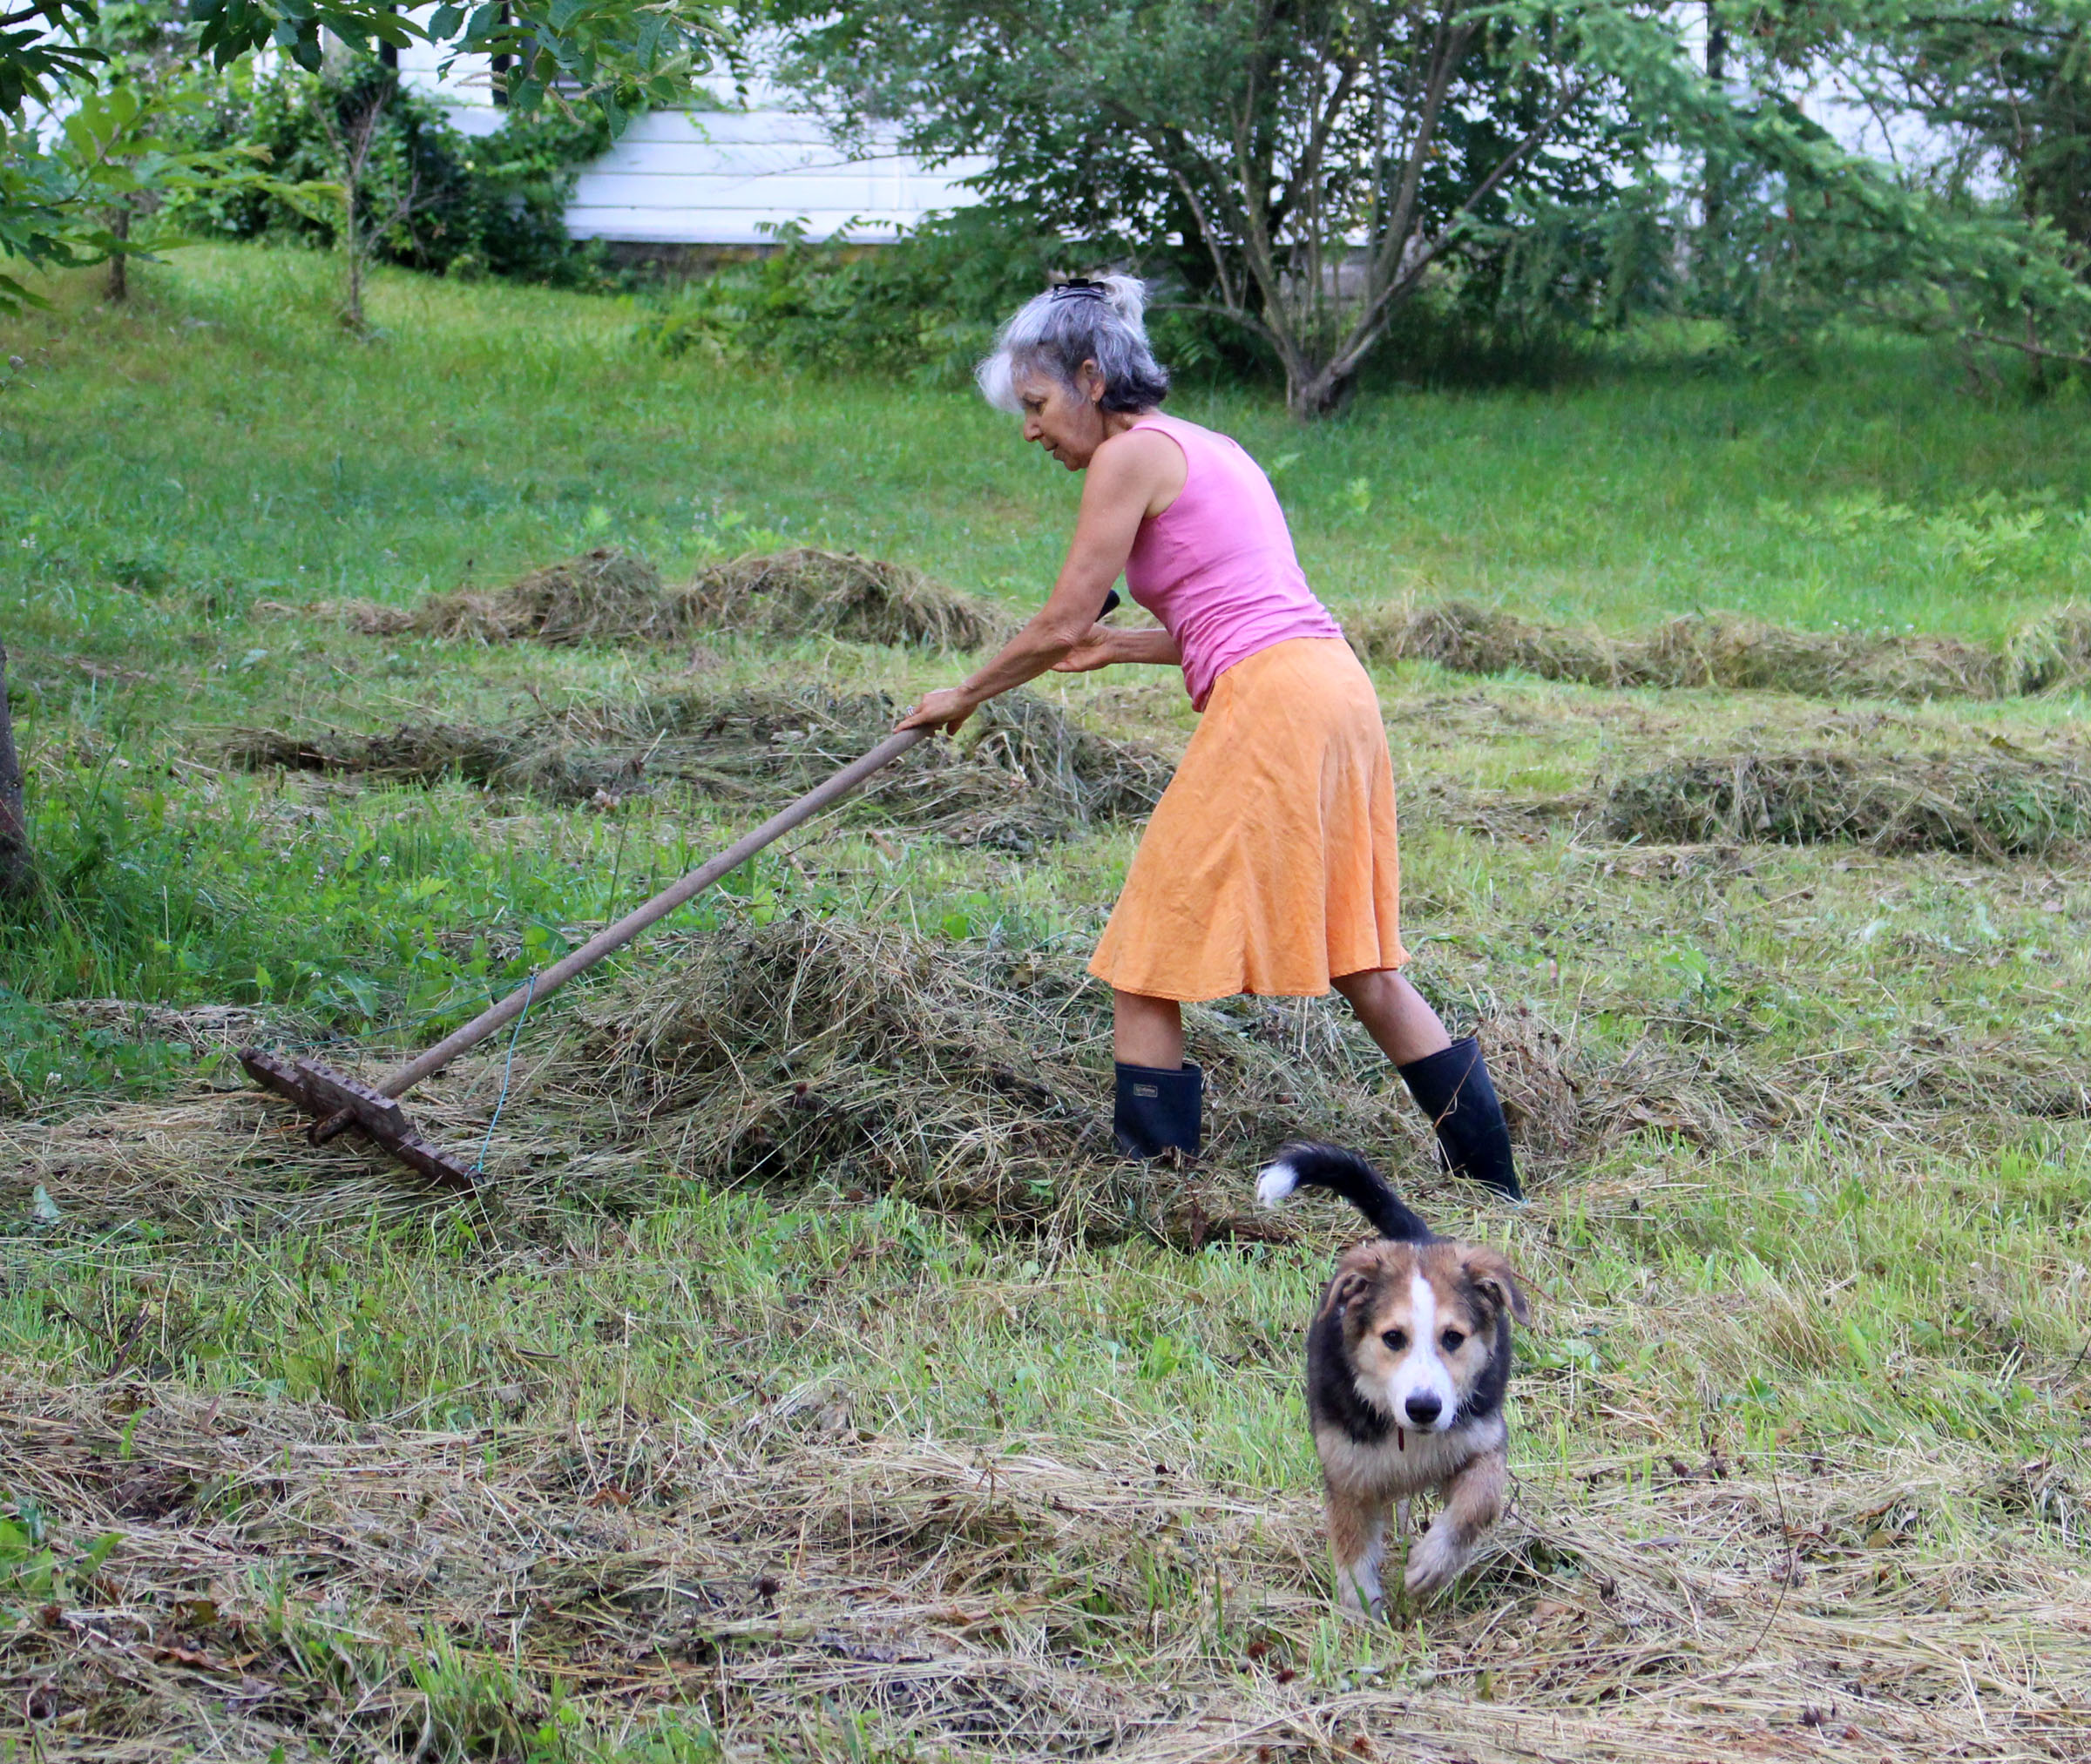
Ideally, I’m out in the garden with my winged weeder or wire hoe on sunny mornings following rains. (I’m not sure which hoe I like better, so I alternate between them.) The goal is to loosen the soil, uprooting weed seedlings before they establish, and leaving a rough surface to welcome in the next bit of rain. The work, if it could be called that, is quick and easy if done before weeds grow large.
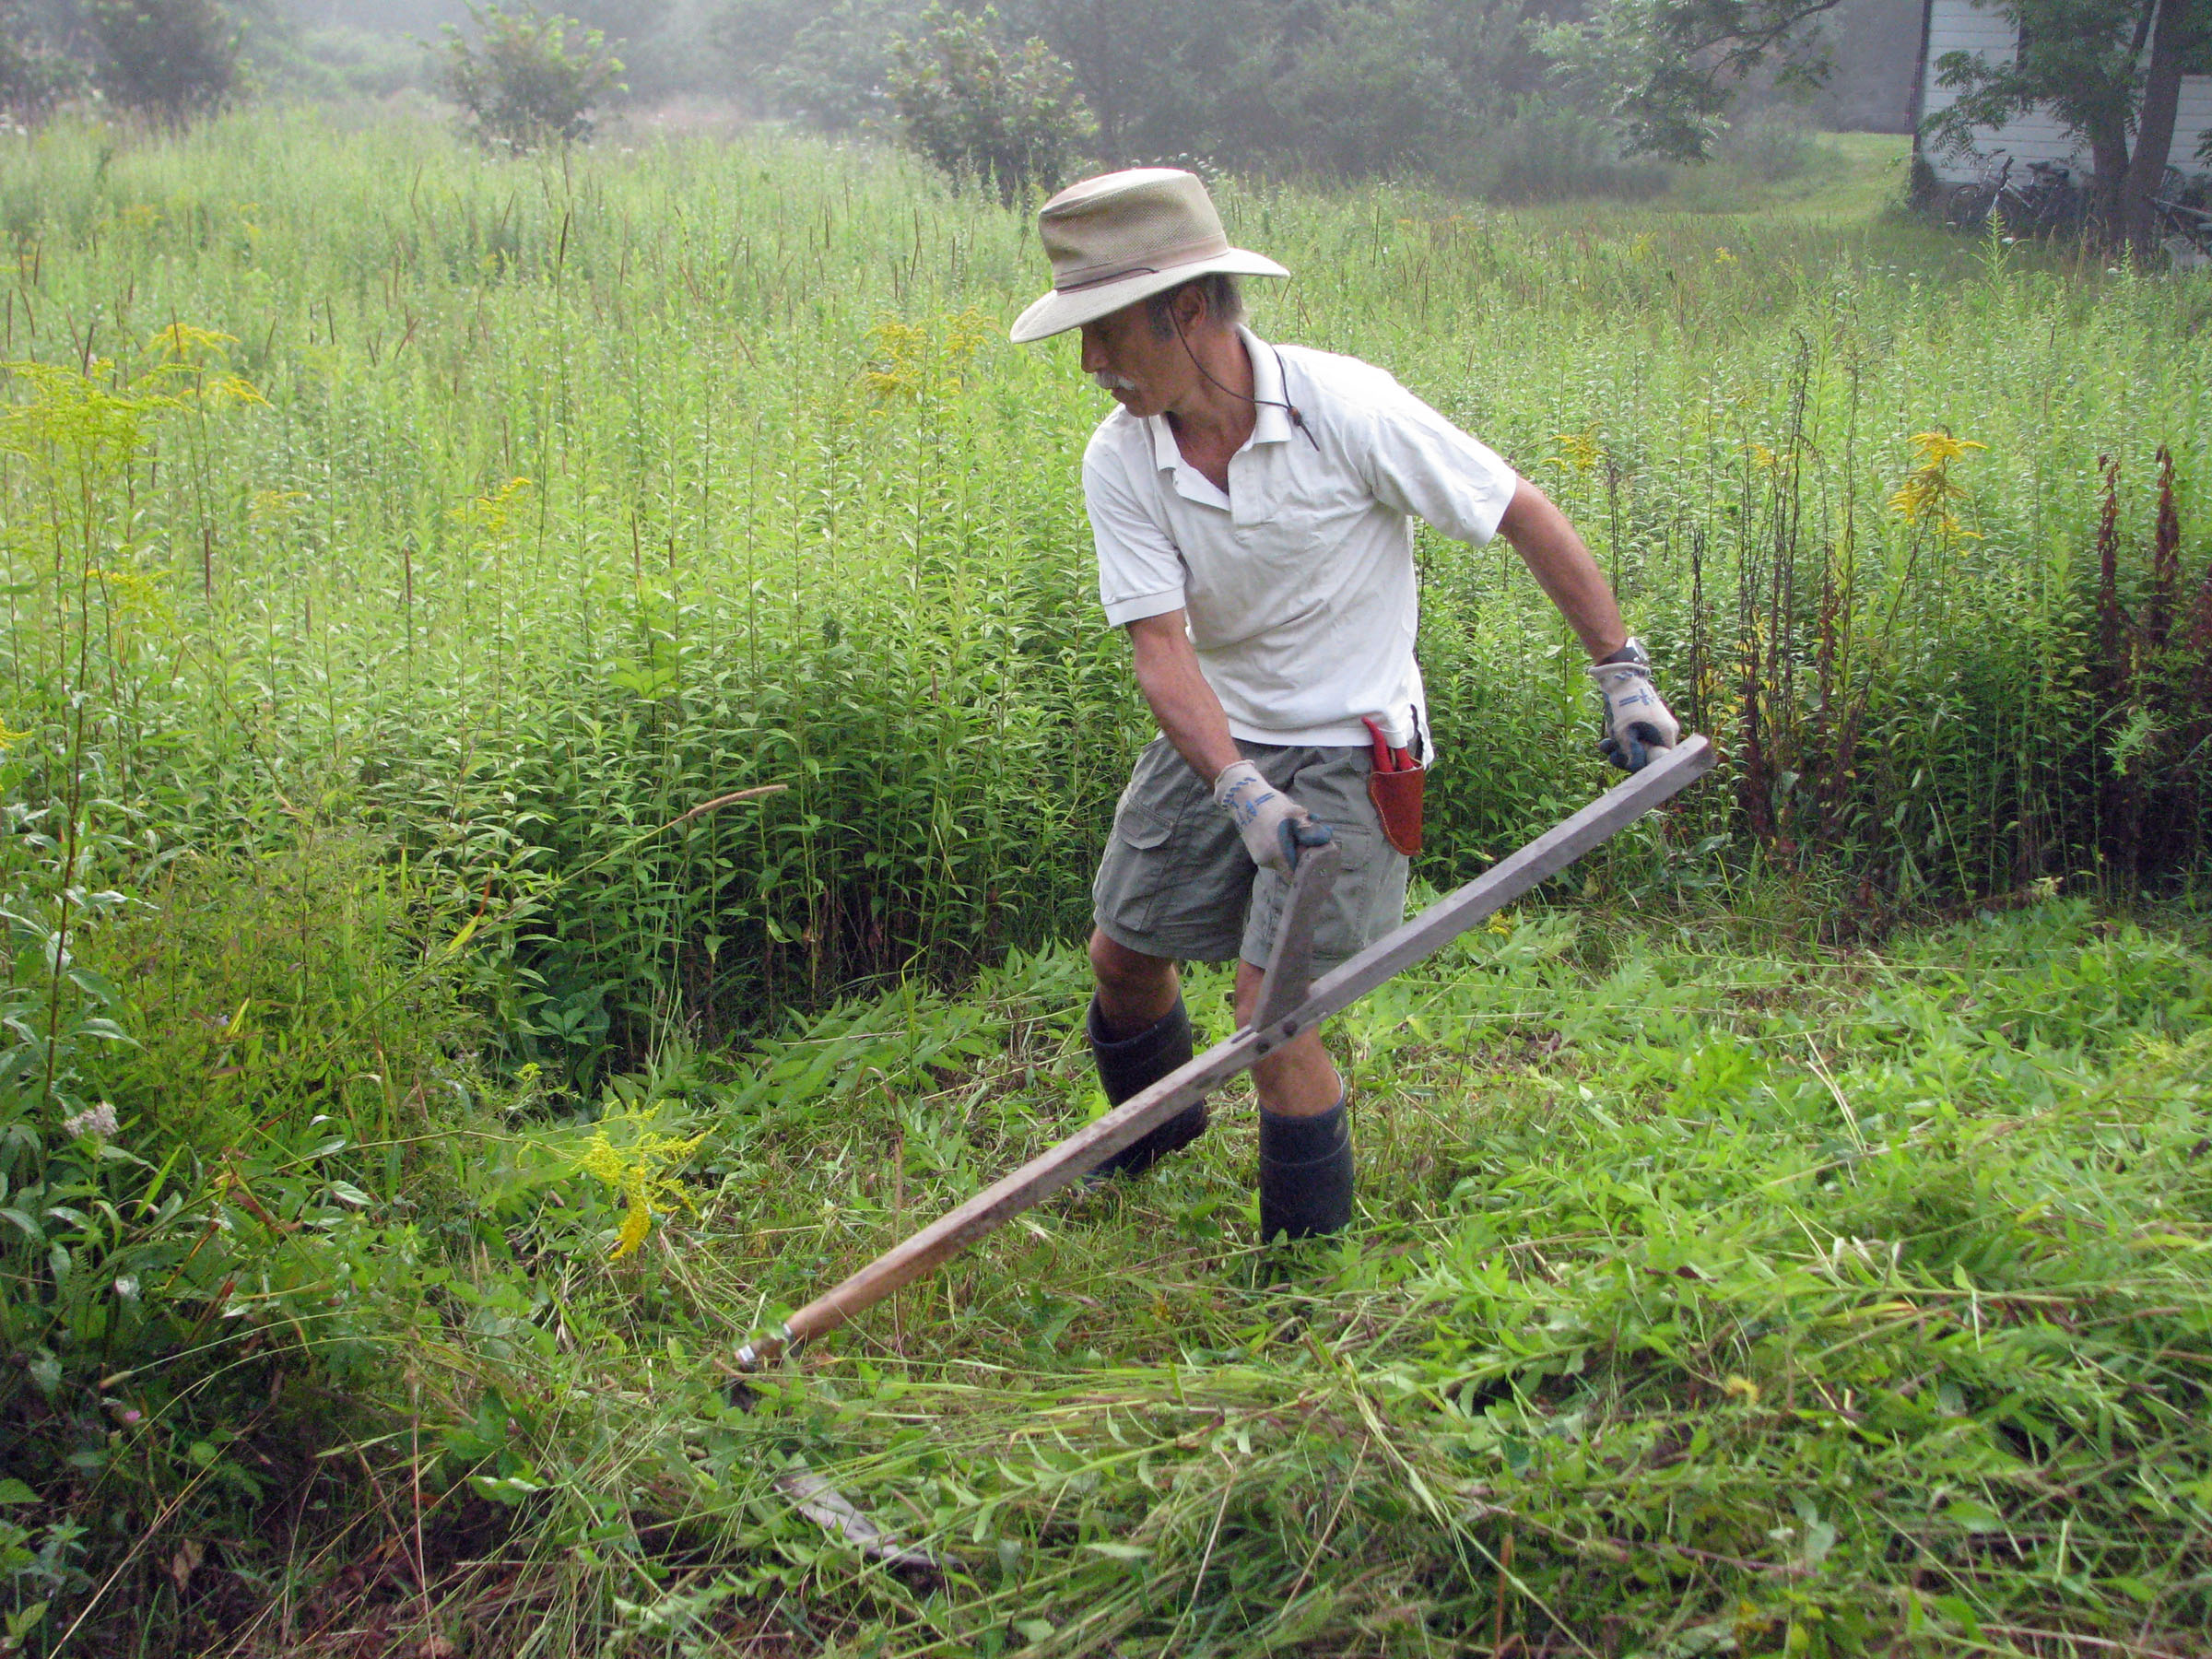
Only when weeds get out of hand is it necessary to get out the tool that most people associate with the word “hoe,” the traditional garden hoe with the large blade at 90 degrees to the handle. This hoe is also the one Charles Dudley Warner was referencing when he stated (My Summer in a Garden, 1870), “what a [gardener] needs is a cast-iron back, with a hinge in it.” I reserve mine for mixing concrete.
Hoe or Mulch
Not that mulching doesn’t also have its place in the battle with weeds`. Mostly, though, you have to do one or the other — mulching or hoeing — thoroughly. It’s impossible to hoe even thinly mulched ground.

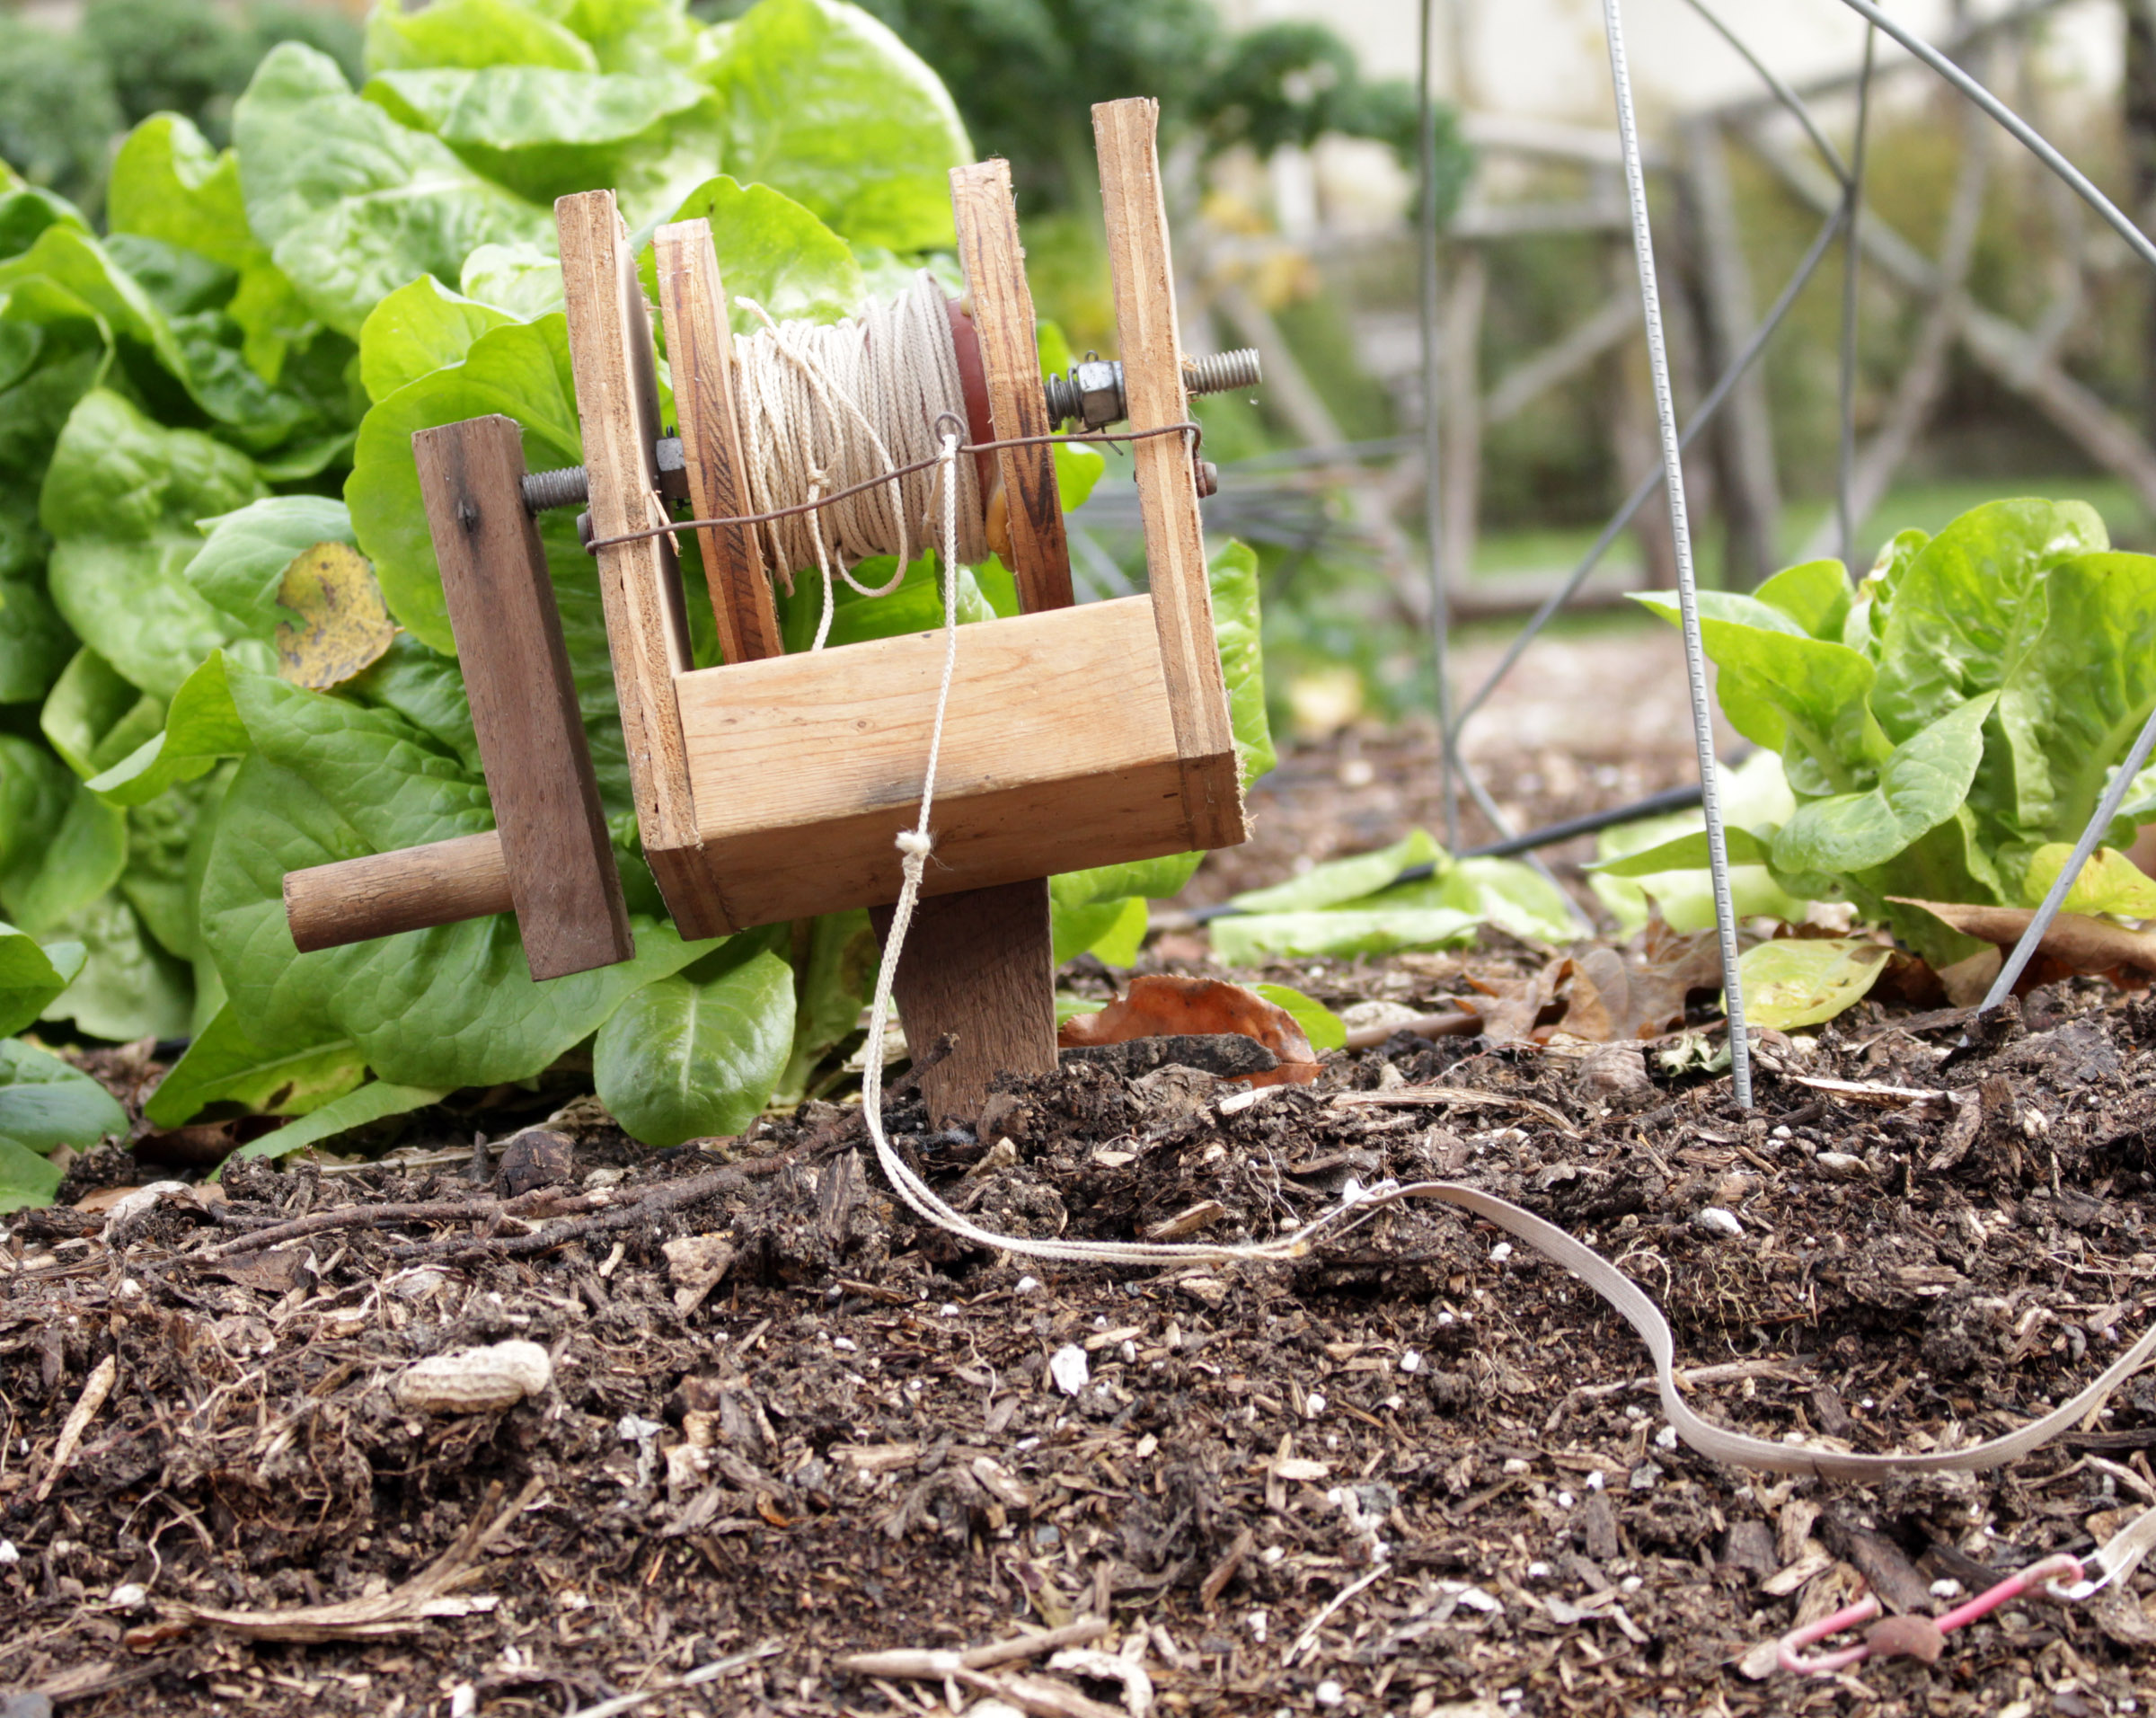
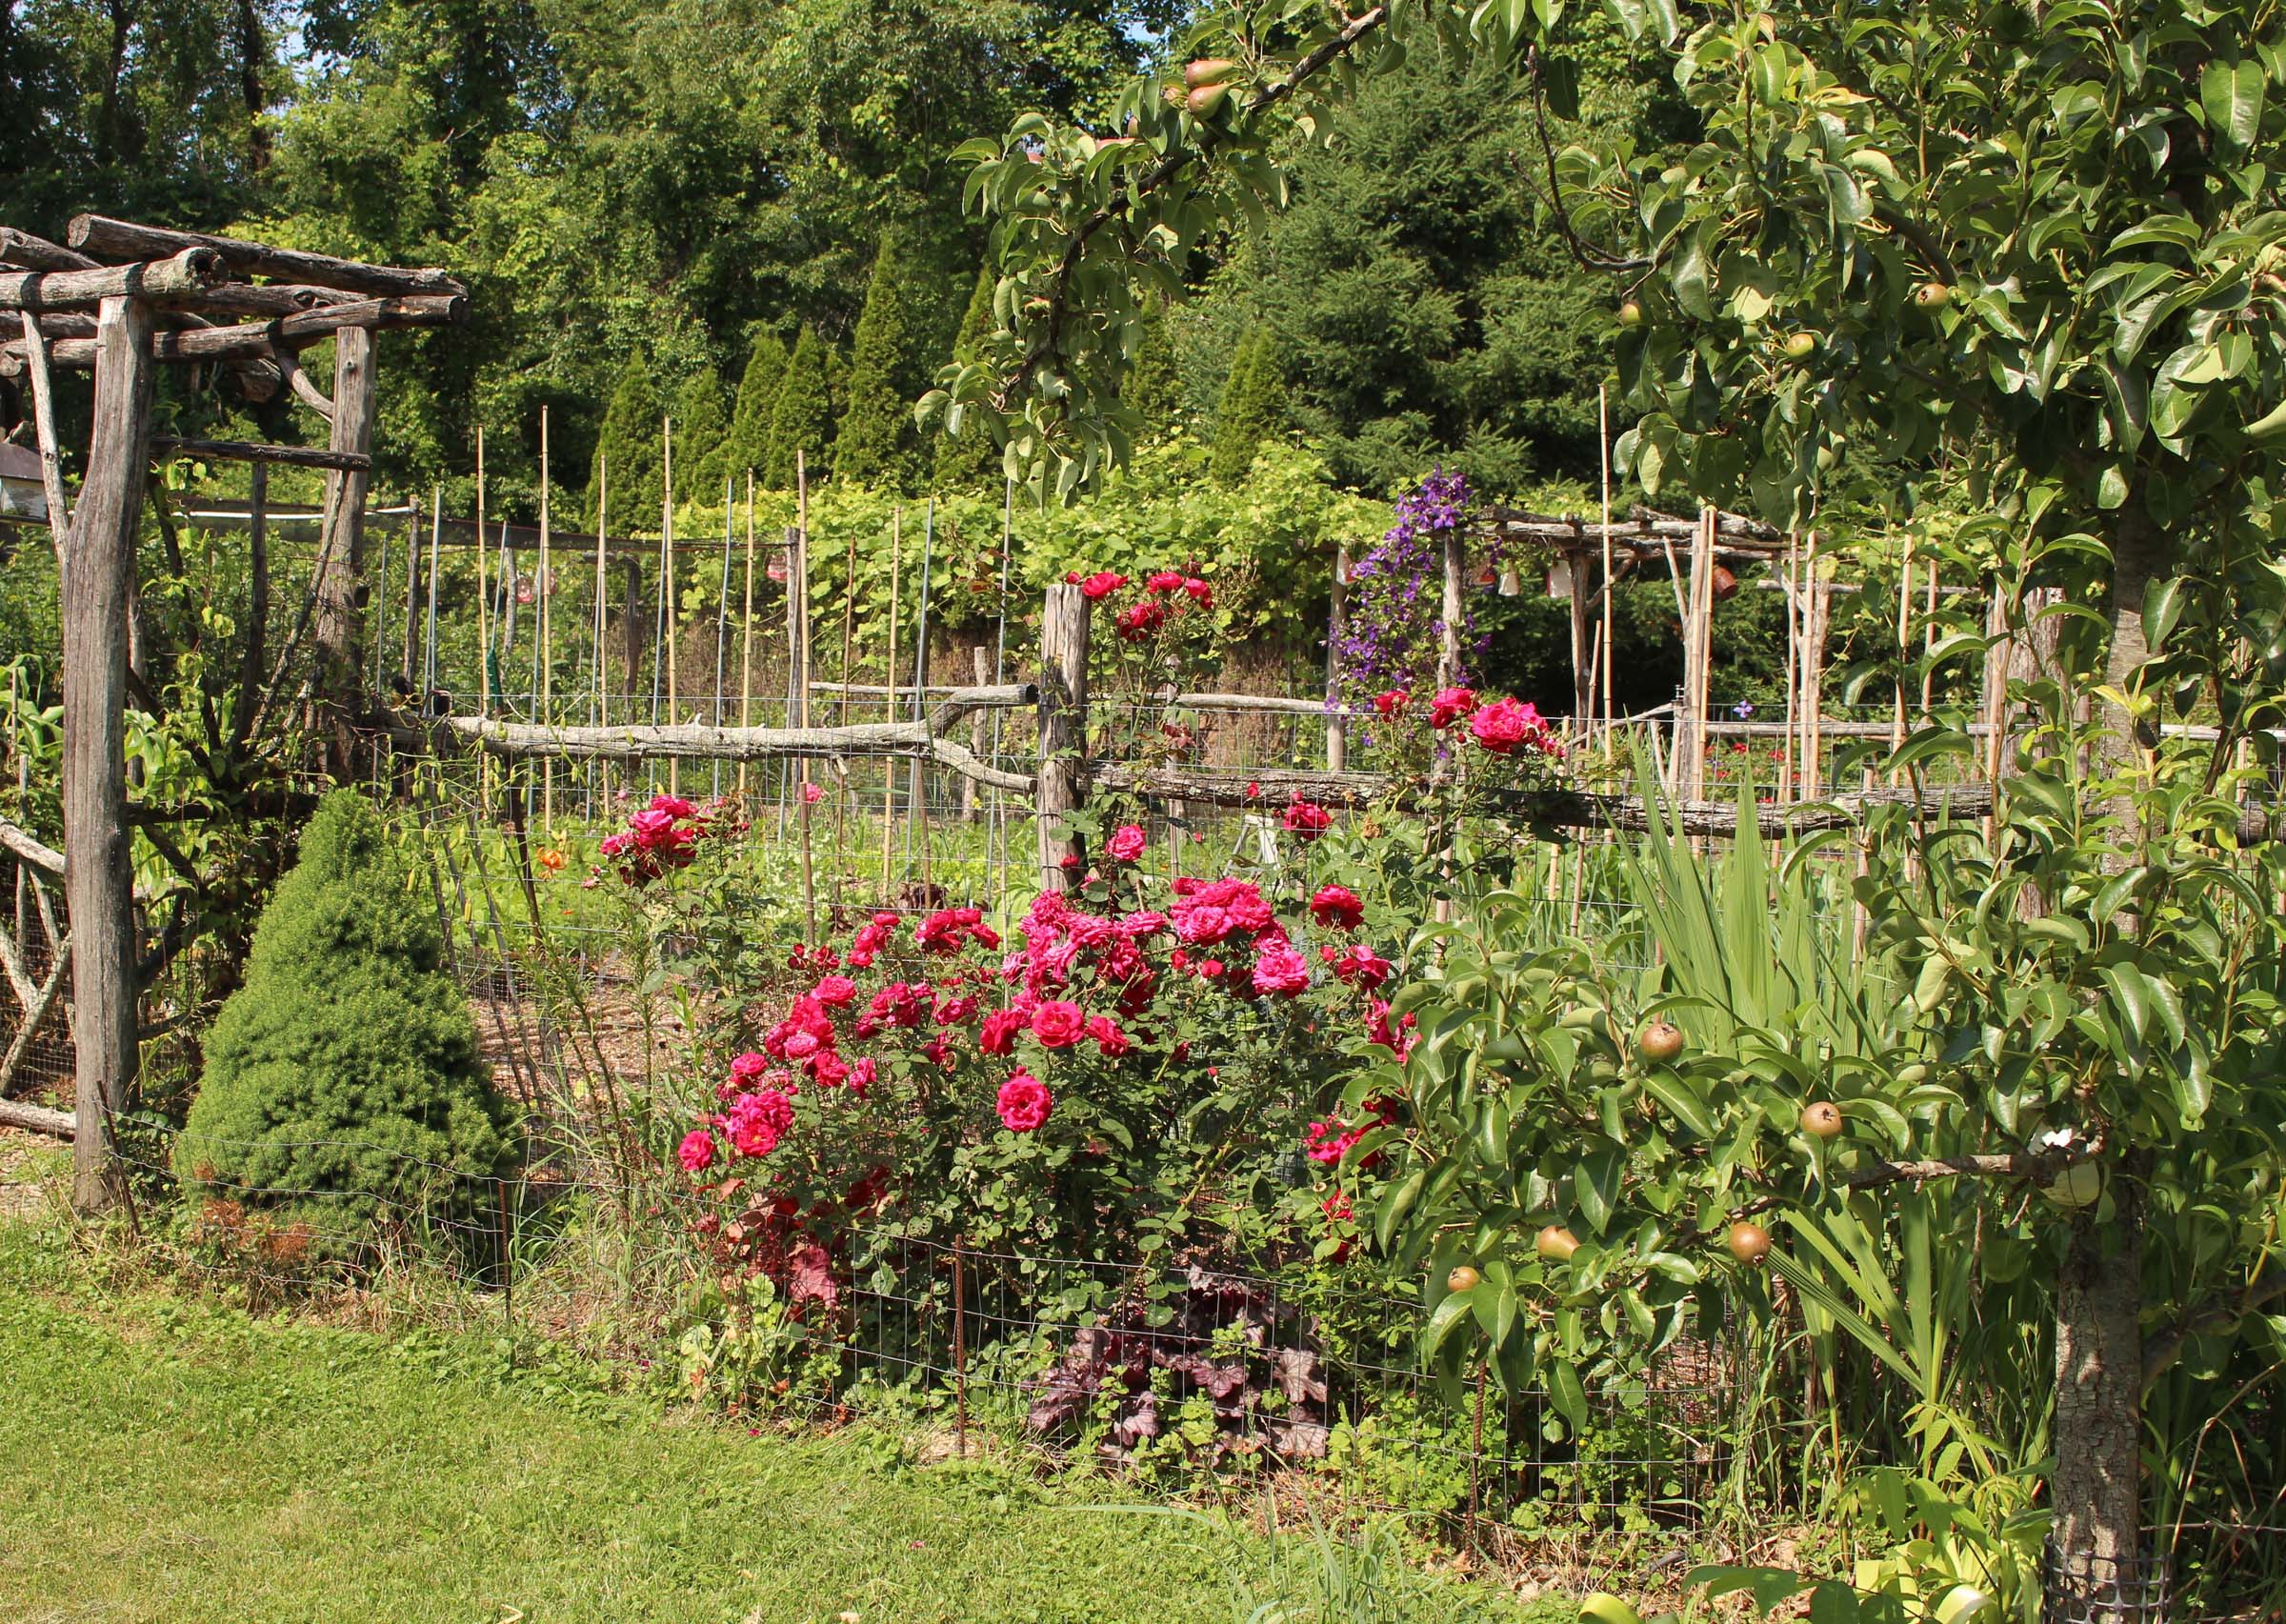
Vegetable garden, kept “weed-free” and fed by compost mulch
Unless, that is, the mulch is compost. Given that mulch is anything that covers the ground, compost qualifies as mulch, except that you can plant right in, or hoe, a compost mulch just as if it was soil.
Weeds occasionally poke up through or sprout within the inch of compost with which I blanket my vegetable garden beds each year. I pull large weeds individually. Periodically, or where small weeds are starting to show, I’m out in the garden, sliding the business end of either my winged weeder or wire hoe back and forth, or just pulling it along, just beneath the surface of the ground.