Pruning Gets Hectic
Easiest to Prune Plants
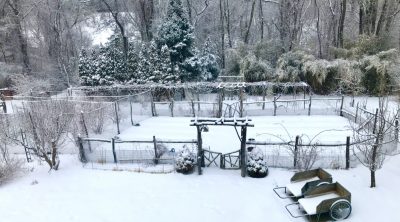
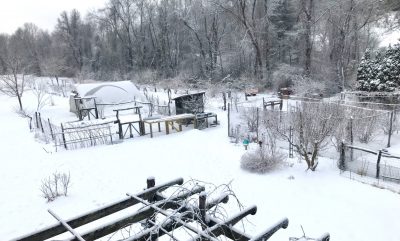
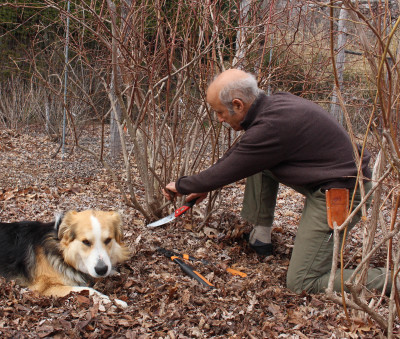
Most of the pruning I do is “dormant pruning,” that is, pruning while plants are leafless. A few weeks ago, pruning was a relaxed affair with still-cold temperatures keeping the buds only slowly swelling in anticipation of upcoming growth. Then a few warm days kicked them into gear, making pruning more hectic.

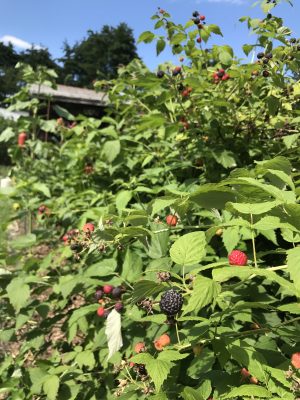
Berries, later
Hecticness is little problem with those plants that are the easiest to prune because the work can be quick; other plants require my standing back with arms folded for some study before every few cuts.
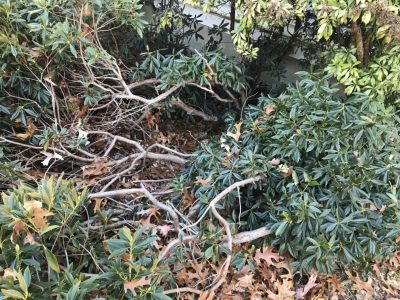
Here on my farmden, easiest to prune plants include mature ornamental trees, shrubs, and vines, and even some fruits. Those fruits are American persimmon, pawpaw, and mulberry. They’re so easy because they can get by with little or no pruning.
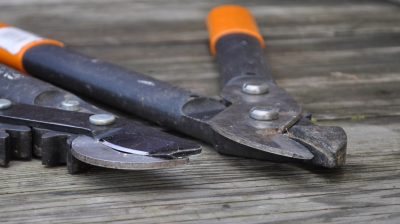
Mostly what I do with the three fruit trees, every year or so, is to take a lopper or a saw and hack back . . . whoops, I mean “prune” . . . a tall limb back to a weaker growing, usually more horizontal, side branch. That’s to keep fruit within safe reach or not falling so far of its own accord that it splatters upon the ground. It also doesn’t leave a tree looking like a victim; done correctly and you hardly know that steel has been taken to the tree.
Easy, but Need Annual Pruning
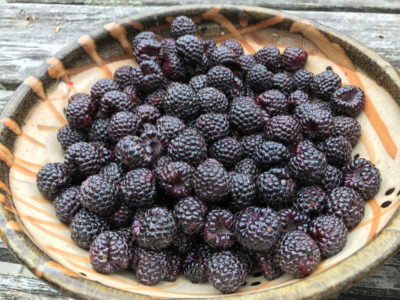
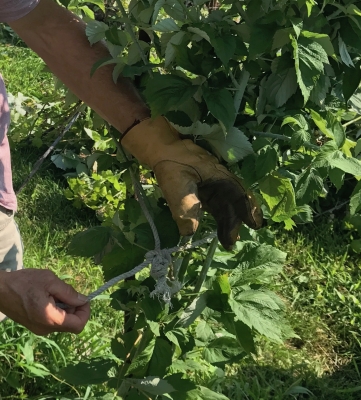
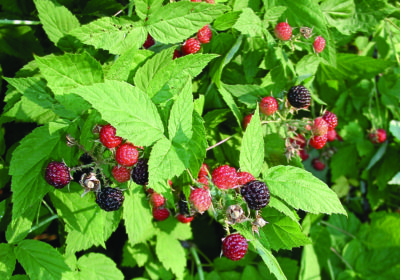
Then there are easy-to-prune plants that do need annual pruning, but pruning them is as easy as following a recipe. Brambles — blackberries and raspberries — are counted in here. They all have perennial roots but their canes are biennial. That is, canes just grow the first year, then fruit and then die their second year.
The first step in pruning these plants, then, is to get down near ground level and cut all the two-year-old canes to the ground. These canes broadcast their age with peeling bark and an old and dead, or dying, appearance.
Gardeners telling tell me about their raspberry or blackberry patches make me cringe. “Patch” does conjure up an image of a cozy, cottage-y planting, but isn’t the way to grow these fruits if you want to make picking easy and limit disease problems. All of which leads to step two of this recipe.
Red or yellow raspberries spread to create a patch by sending up shoots via underground runners; black raspberries and blackberries do so by arching their long canes to the ground where they take root and make new plants. Too many new plants, in either case.
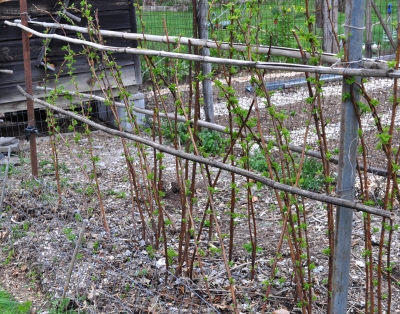
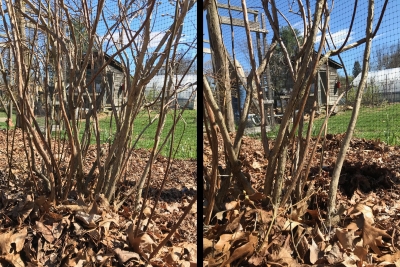
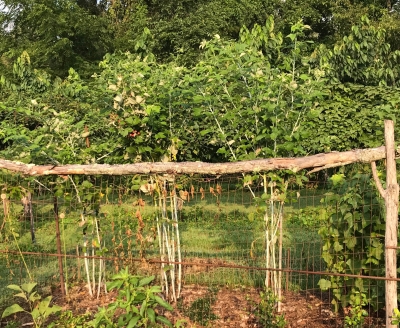
Red raspberry bed, pruned
So I limit my red or yellow raspberries to a swath only a foot wide, and then within that swath remove enough plants so those that remain are a few inches apart.
With black raspberries and blackberries, I remove any plants closer than 3 to 5 feet apart (depending on their vigor) and then thin out remaining canes in each remaining clump to the fattest and healthiest-looking half-dozen.
One more step for these berries is to shorten red or yellow canes enough to keep them from flopping around. How much depends on how tall they are and how they are trellised, if at all. Black raspberries and blackberries fruit on side shoots; these need to be shortened to about 18 inches long.
(So-called everbearing — aka “fallbearing” — red or yellow raspberries can be pruned as described above. Or, just lop the whole planting to the ground late each fall, sacrificing midsummer harvest but still offering late summer and early fall berries.)
Also Easy
Two more fruits also fall into this easy-to-prune category.
Lowbush blueberries, like brambles, bear on two-year-old (and, to a lesser extent, three-year-old stems). But they grow too many stems to selectively prune them.
So I take my hedge trimmer and every other year, or every third year, cut all stems to the ground.

Shearing lowbush blueberries
There’s no crop the year they are pruned but dividing a planting in halves or thirds and pruning a different half or third every year circumvents that drawback.
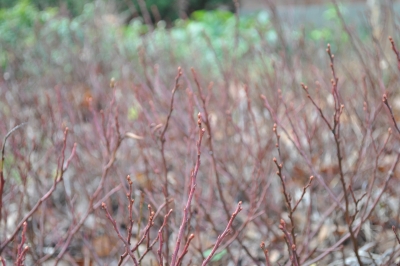
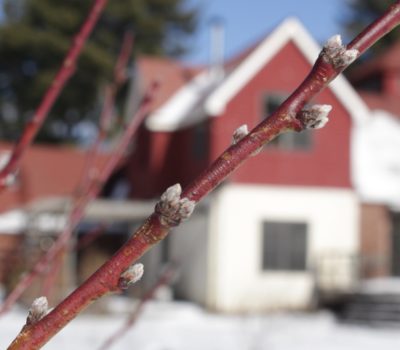
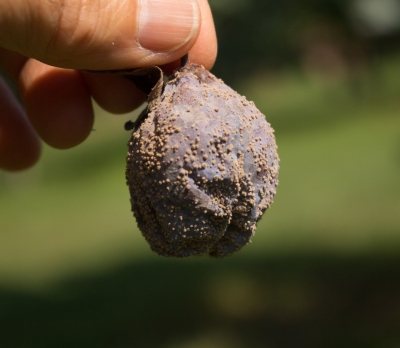
Lowbush blueberries, flower buds
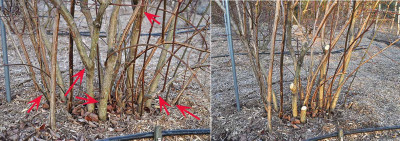
Blackcurrants bear in a similar manner to lowbush blueberries but their stems are few enough for selective pruning. I cut to the ground any 3-year-old stems as well as anything more than the best half-dozen 1-year-old stems.
Blackcurrant, before & after pruning
Just a Wee Bit More Difficult
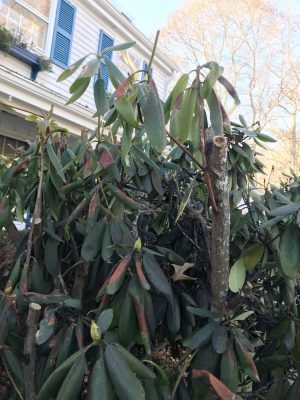
From here, I move on to shrubs — only slightly more difficult to prune — that bear fruit on older wood, which determines which stems I cut out.
Most gooseberries and redcurrants, for example, bear best on stems 2 and 3 years old. So the strategy here is the same as for brambles, except that the stems that I cut away are those that are 4-years-old. After that I remove excess new stems arising from ground level. When pruning is finished, the shrubs are left with about six each of one-, two-, and three-year-old stems.
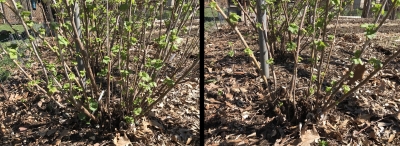
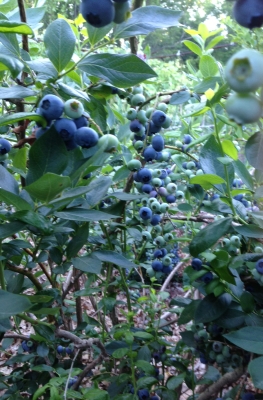
Pruning blueberry bushes also follows the same strategy, except that since the bushes bear well on stems up to six-years-old, I prune away stems older than this and cut to the ground all except the healthiest 4 new stems.
Blueberry before & after pruning
Now on to the fruit trees. Wait, I can’t do it now! I’ve got to run outside, grab my hand shears, lopper, and pocket saw, and do some pruning. Stay tuned next week for fruit tree pruning.
Redcurrant espalier. How to prune it? Some other time.
For more pruning detail, more plants, and more techniques, see my book The Pruning Book.


 The endive seedlings will be ready to move out into the garden in 5 or 6 weeks. I’ve also sown more kale seeds to supplement the spring kale for harvest into and perhaps through (depending on the weather) winter.
 forsythia, mockorange, hydrangea, and any other informal shrub. This technique is known as rejuvenation pruning because, over time, the above ground portion of the shrub is annually rejuvenated. In the case of blueberry, the roots live unfettered year after year but the bush never sports stems more than 6 years old. A perennially youthful blueberry bush can go on like this, bearing well, for decades like this.
 , rose-of-sharon, climbing roses, and flowering quince. These shrubs are among those that perform well year after year on the same old, and always growing older, stems. They also grow few or no suckers each year. The upshot is that thesis shrubs are the easiest to prune: Don’t.
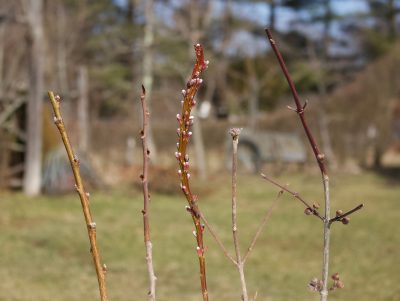
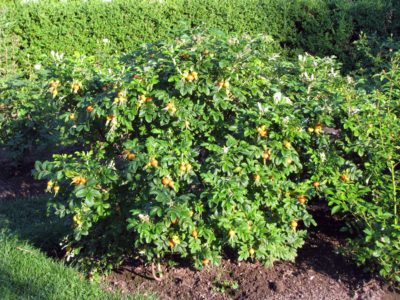
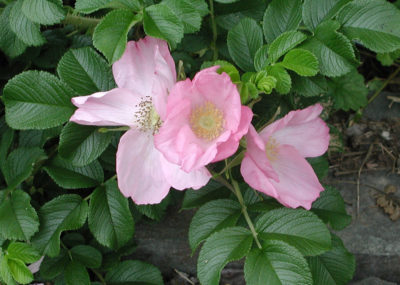 Another rose I grow, rugosa rose, won’t get any pruning this summer. Besides its nonstop, fragrant flowers, rugosa rose also bears nice hips, that is, fruits. The hips make excellent jam and are rich in vitamin C. Pruning in summer would remove spent flowers which then couldn’t go on to swell into fat hips.